
A photo that lacks sharpness isn’t necessarily due to a bad camera. Most often, the problem comes from camera shake, a misplaced focus, a shutter speed that’s too slow, or a subject moving faster than you think.
The good news is that you can correct a large part of these errors with a few simple habits. If you’re still starting with the basics, you can also review the exposure triangle, the article on shutter speed, and the one on natural light.
- Why your photos lack sharpness
- Stabilize the camera before even shooting
- Choose a truly sufficient speed
- Place the focus in the right spot
- Manage light, ISO, and aperture without getting trapped
- Check sharpness on the spot
- The simple plan to apply starting today
Why your photos lack sharpness
When an image looks blurry, you first need to distinguish between two very common causes: either the camera moved during the shot, or the focus wasn’t set where it needed to be. To this, we sometimes add a moving subject, a depth of field that’s too shallow, or an ISO increase that causes a loss of detail.
In practice, always ask yourself: “Was it me who moved, did the subject move, or did the autofocus choose the wrong area?” This question helps much more than randomly turning up the sharpness in post-processing.
Stabilize the camera before even shooting
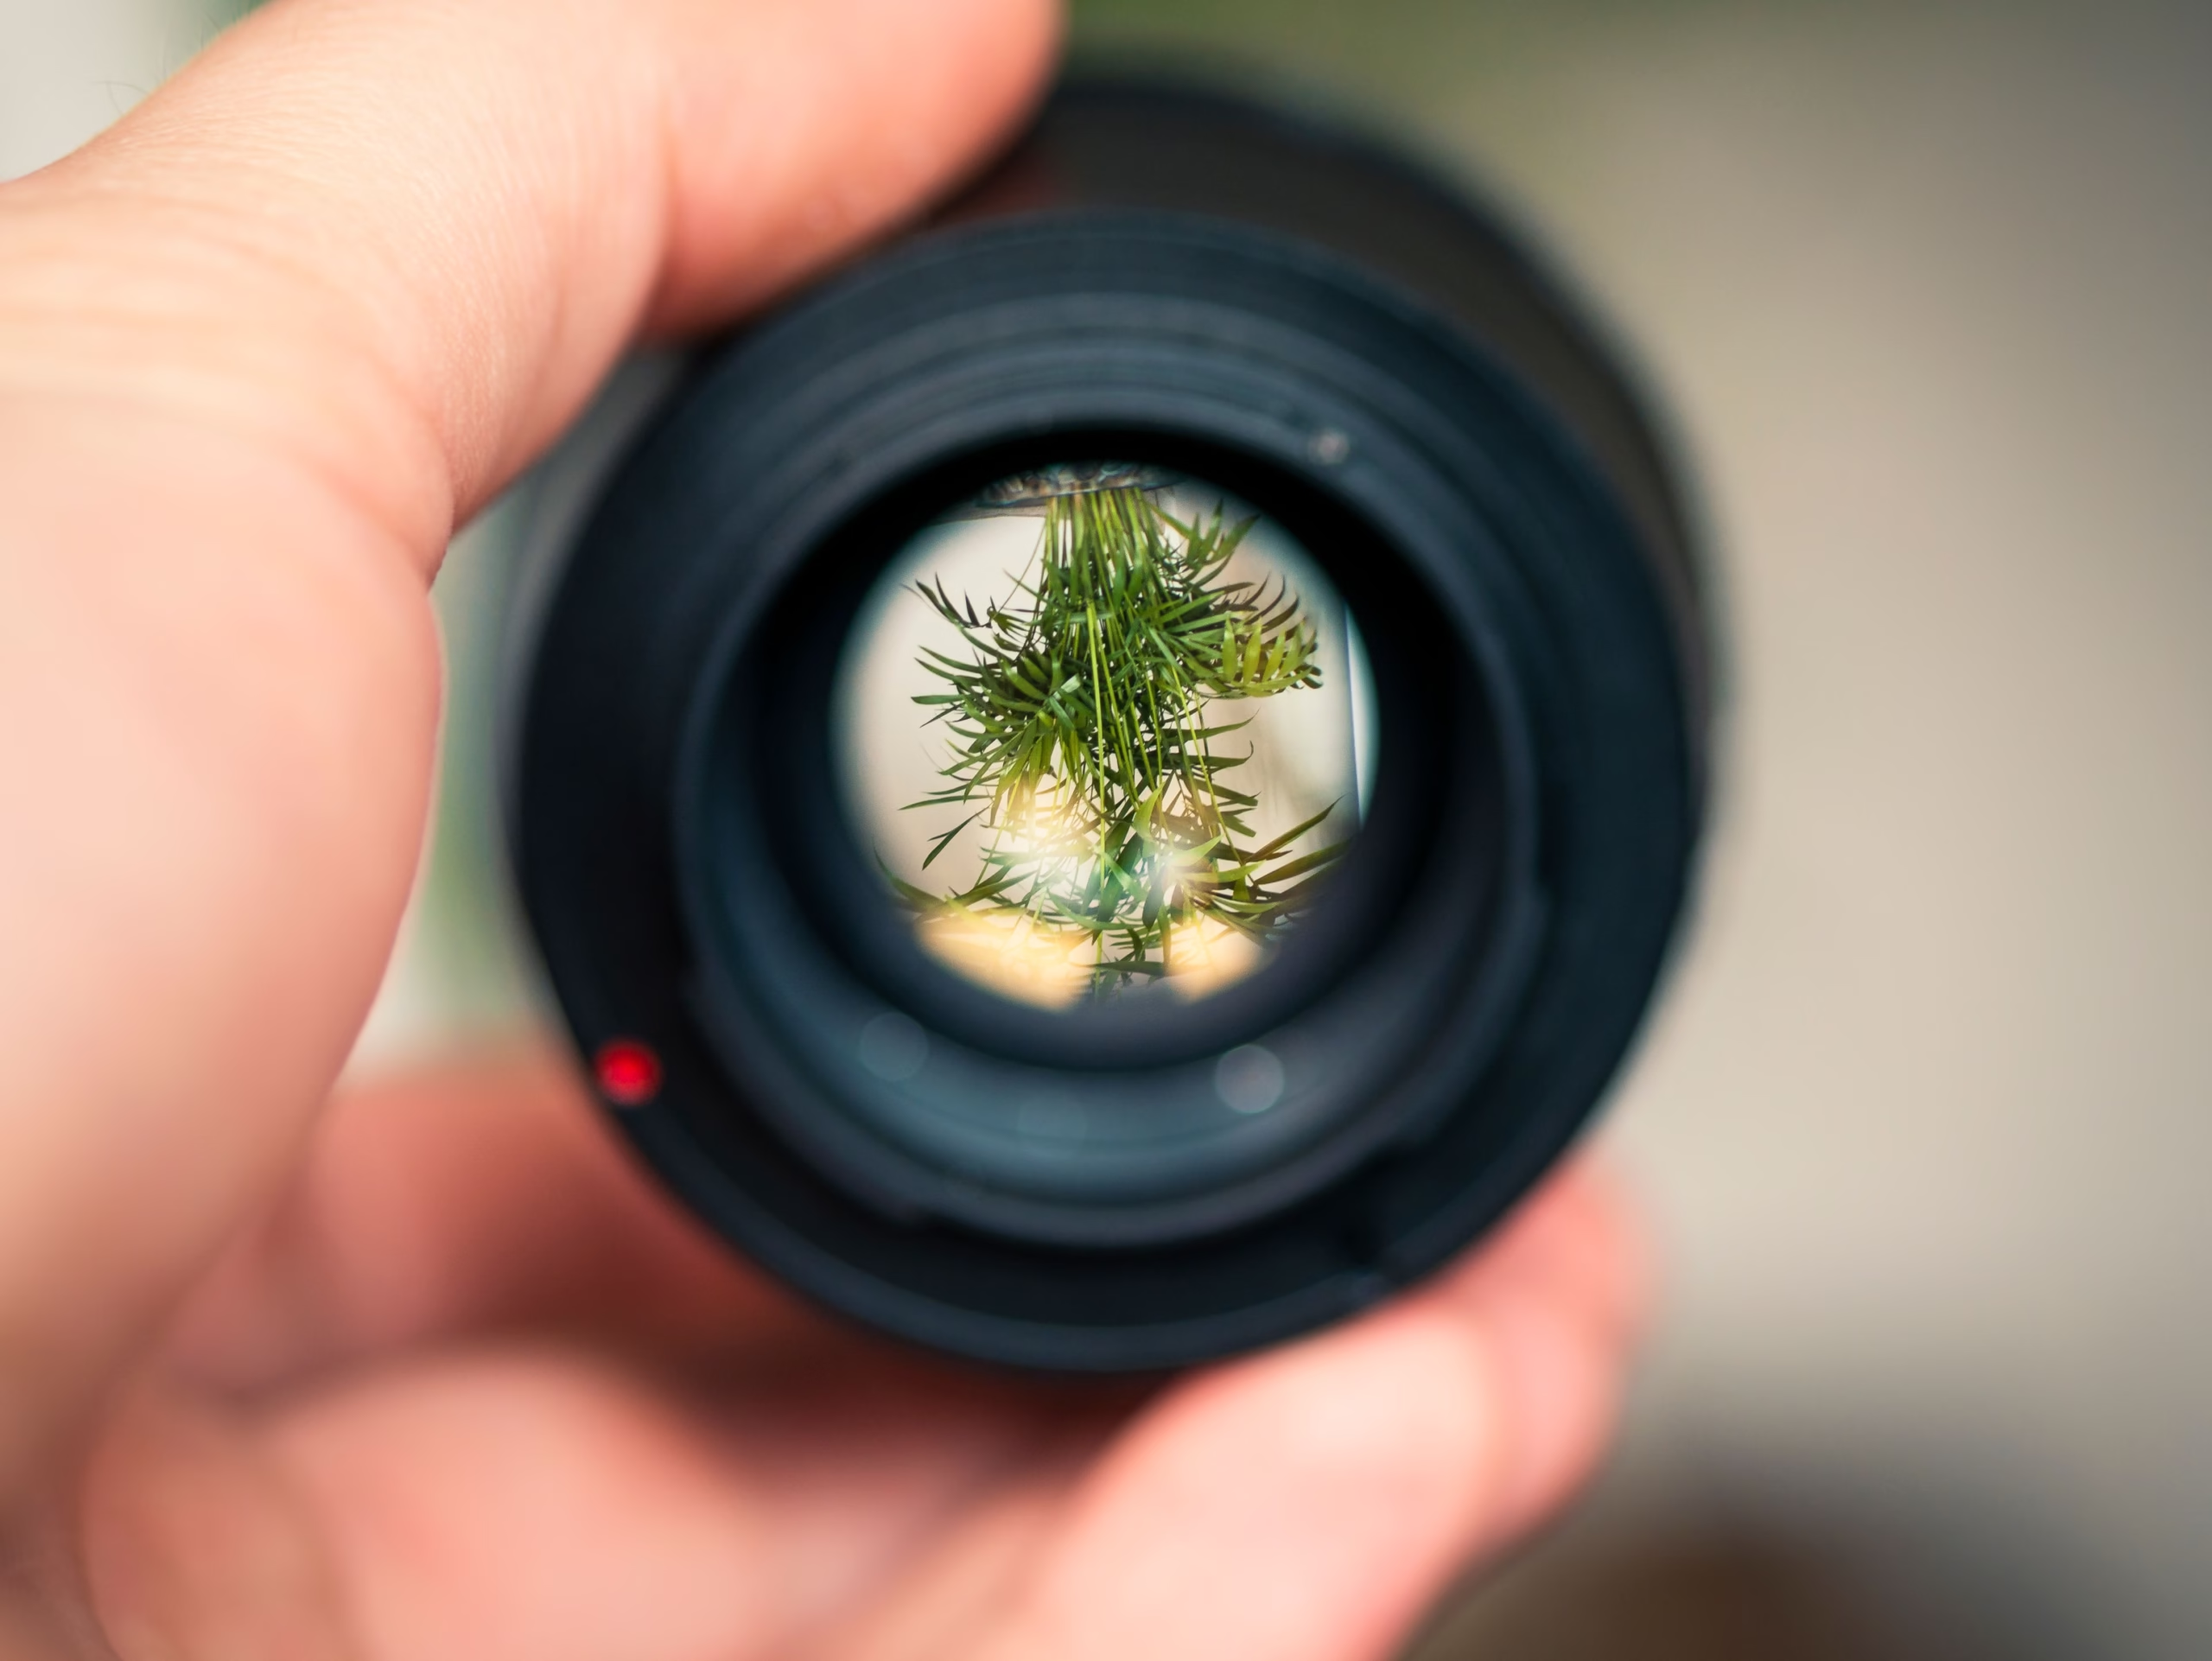
The first habit is very simple: hold the camera steadily. Keep your elbows close to your body, hold your breath slightly when you fire the shutter, and avoid pressing the button abruptly. On a smartphone as on a camera body, this detail already changes a lot.
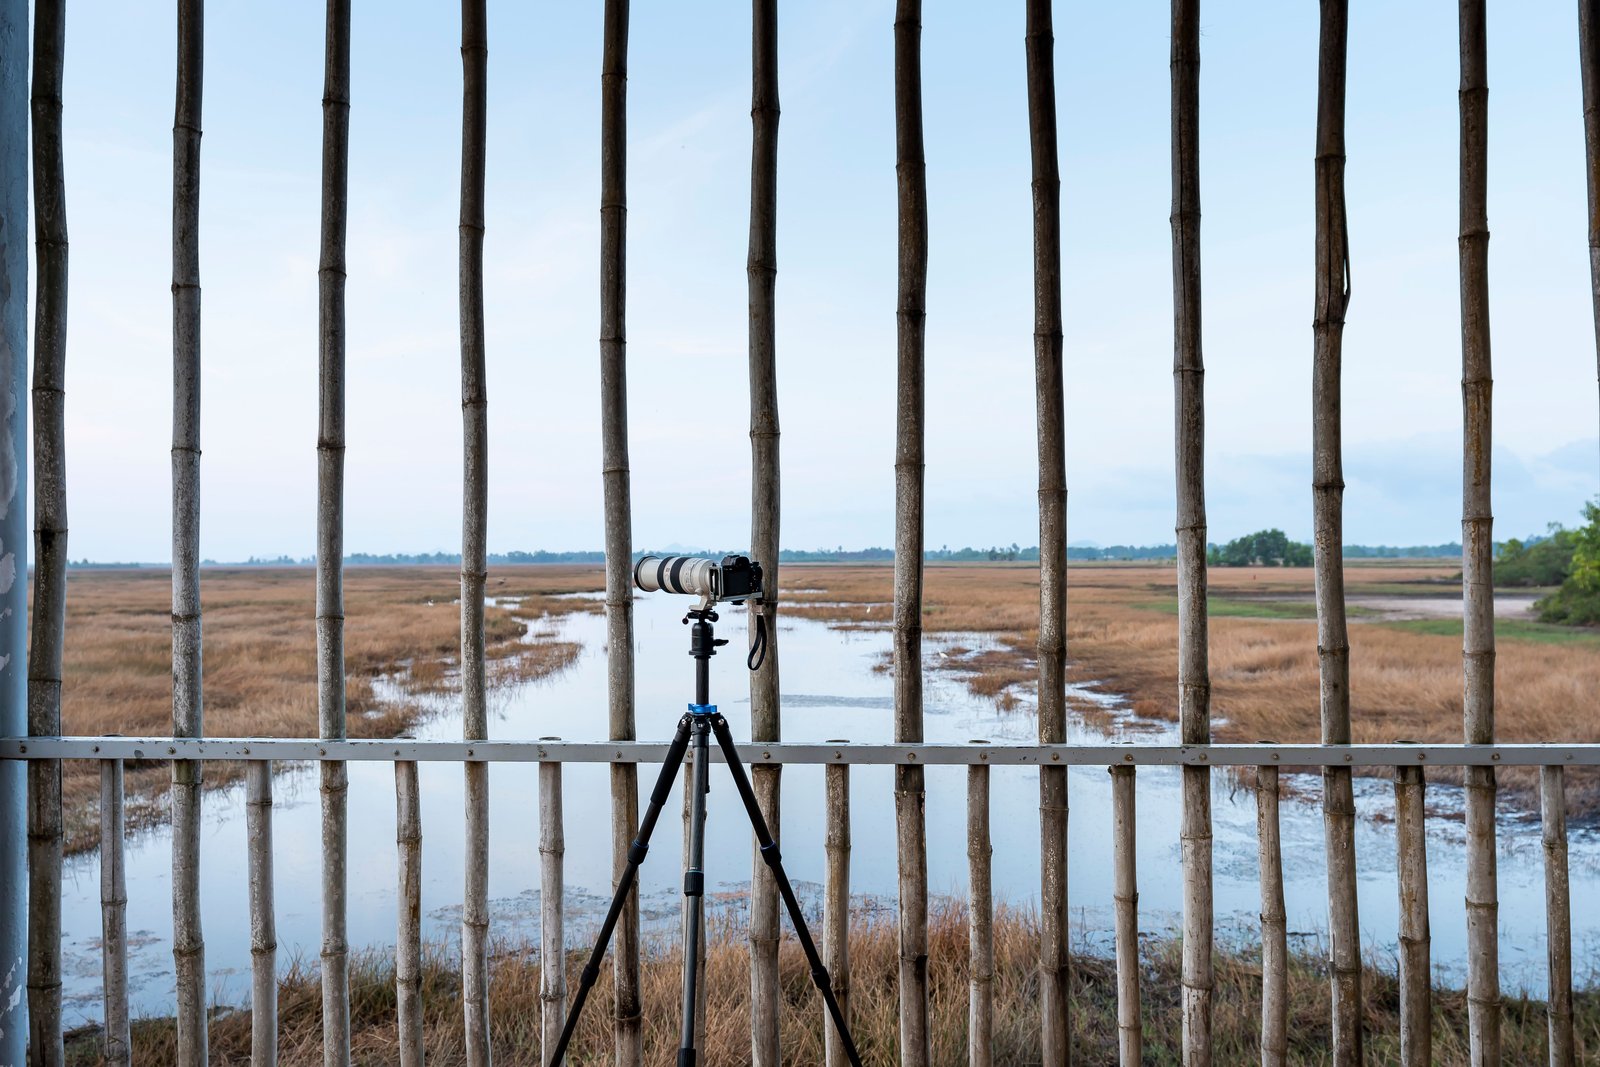
If the light drops, lean against a wall, a railing, or a table. And if the scene allows, use a tripod or simply place the camera on a stable support. For a landscape, a calm scene, or a telephoto shot, this safety measure is often more effective than relying solely on stabilization.
- Hold the camera with both hands.
- Shoot smoothly, without “jerking” the button.
- Use the 2-second timer if you are on a tripod.
- When the focal length is long, be even more rigorous.
A good base at the shoot, then a light finish
When the photo is already clean but lacks a little finishing touch, Luminar Neo allows you to adjust micro-contrast, clarity, and sharpness without going through a complicated workflow. The code BLI10 gives you 10% off. If you want to find the link and explanations, also check the page dedicated to the Luminar Neo promo code.
Choose a truly sufficient speed
Many blurry photos come from a shutter speed that’s too slow. Even if the scene seems calm to you, a slight hand movement or a subject turning their head is enough to ruin the sharpness.
To simplify, remember this:
- 1/250 s is often a good base for a fairly still person.
- 1/500 s and above is safer as soon as there is movement.
- With a long focal length, you often need to go even faster.
- Stabilization helps with your own movement, but it doesn’t freeze a moving subject.
If you want to better understand this point, our guide on shutter speed details very well when to speed up or slow down.
Place the focus in the right spot
A photo can be technically sharp… but not in the right place. On a portrait, if the autofocus catches the ear, the nose, or the background instead of the eye, the feeling of blurriness happens very quickly. On a photo of an object or a flower, the same problem occurs if the sharp area falls in front of or behind the main subject.
The most useful habit is to choose your focus point yourself or touch the right area on a smartphone. If you work with a wide aperture, as explained in our article on aperture and background blur, the depth of field becomes thinner and the error is seen immediately.
Manage light, ISO, and aperture without getting trapped
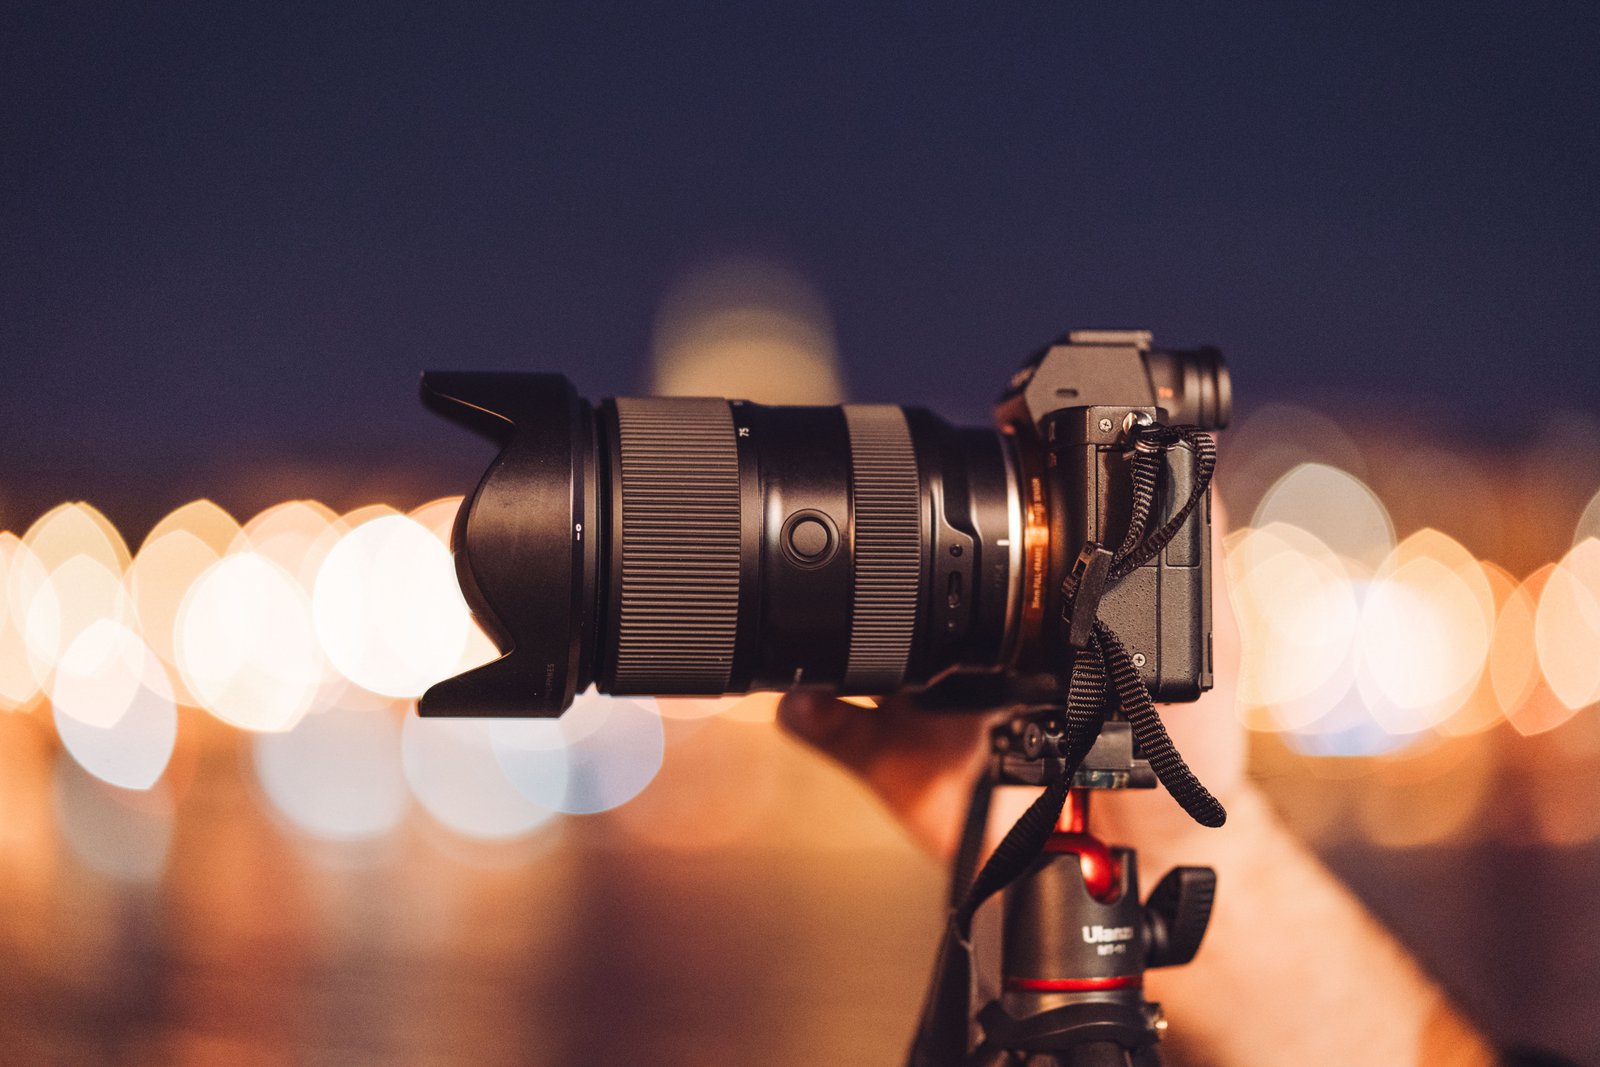
When light is lacking, we often try to save everything with an automatic setting. The risk is getting a shutter speed that’s too slow, an aperture that’s too ambitious, or very high ISOs that erase details. The ideal is to find a realistic balance between these three settings.
- If your subject is moving, prioritize a sufficient shutter speed.
- If the whole scene needs to be sharp, avoid opening the aperture too much.
- Raise the ISO a bit if necessary: a slightly noisy but sharp photo is often better than a clean but blurry photo.
- Also think about the quality of the light, as explained in our article on natural light.
Composition also plays a psychological role: a well-constructed image often seems “stronger” and more readable. If needed, you can review the basics of photo composition to reinforce this effect.
Check sharpness on the spot
A very simple habit saves a huge amount of time: zoom into the image right after taking it. Don’t just look at the photo small on the screen, but check the important point at 100% if possible: the eye, the text, the texture, the main subject.
If the photo isn’t sharp, correct it immediately: change your position, increase the speed, refocus, or shoot a short burst. It’s much more effective than discovering the problem once you’re back home.
The simple plan to apply starting today
- Choose a still subject and take three photos: handheld, leaning on a support, then on a tripod if you have one.
- Redo the same scene with several shutter speeds to see at what point the blur disappears.
- Test a wide automatic focus and then a manually chosen AF area.
- Zoom into the image after each shot to spot what really changes.
Only then, move on to editing. To improve an already sharp image without making it look artificial, our Luminar Neo review and our article on a simple photo workflow can help you go faster.
In short
To get sharp photos more often, remember this above all: stabilize the camera, increase the speed whenever necessary, place the focus precisely, and check your image on the spot. These aren’t spectacular tricks, but they are what make the difference every day.
With a little practice, you’ll know very quickly if the problem comes from camera shake, the subject, or the settings. And from there, progressing becomes much simpler.
Want to finalize your photos without overdoing it?
If your photo is well-taken but would benefit from being slightly enhanced in clarity, contrast, or sharpness, Luminar Neo is an easy-to-use option. The code BLI10 gives you 10% off.
Visuals: Pexels (Lukas Hartmann, Quang Nguyen Vinh, Tibor Szabo).
Publications similaires :
 Enlaps Tikee mini+: Has the new benchmark in timelapse cameras arrived?
 How to read the histogram in photography to better expose your images
 ON1 Photo RAW vs Lightroom: which one to choose when you want a simple workflow?
 RAW or JPEG: Which Format to Choose When You Want to Improve Your Photography?




Leave a Reply