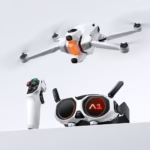
A checklist isn’t glamorous, but it prevents most first-day oversights. Here is the practical version of the Antigravity A1 list. Treat it as a ritual before every takeoff, not just the first one.

Take your time at the start
Discover the Antigravity A1 and prepare for your first flight in the best conditions.
See the official offer →Equipment: checking the A1
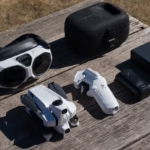
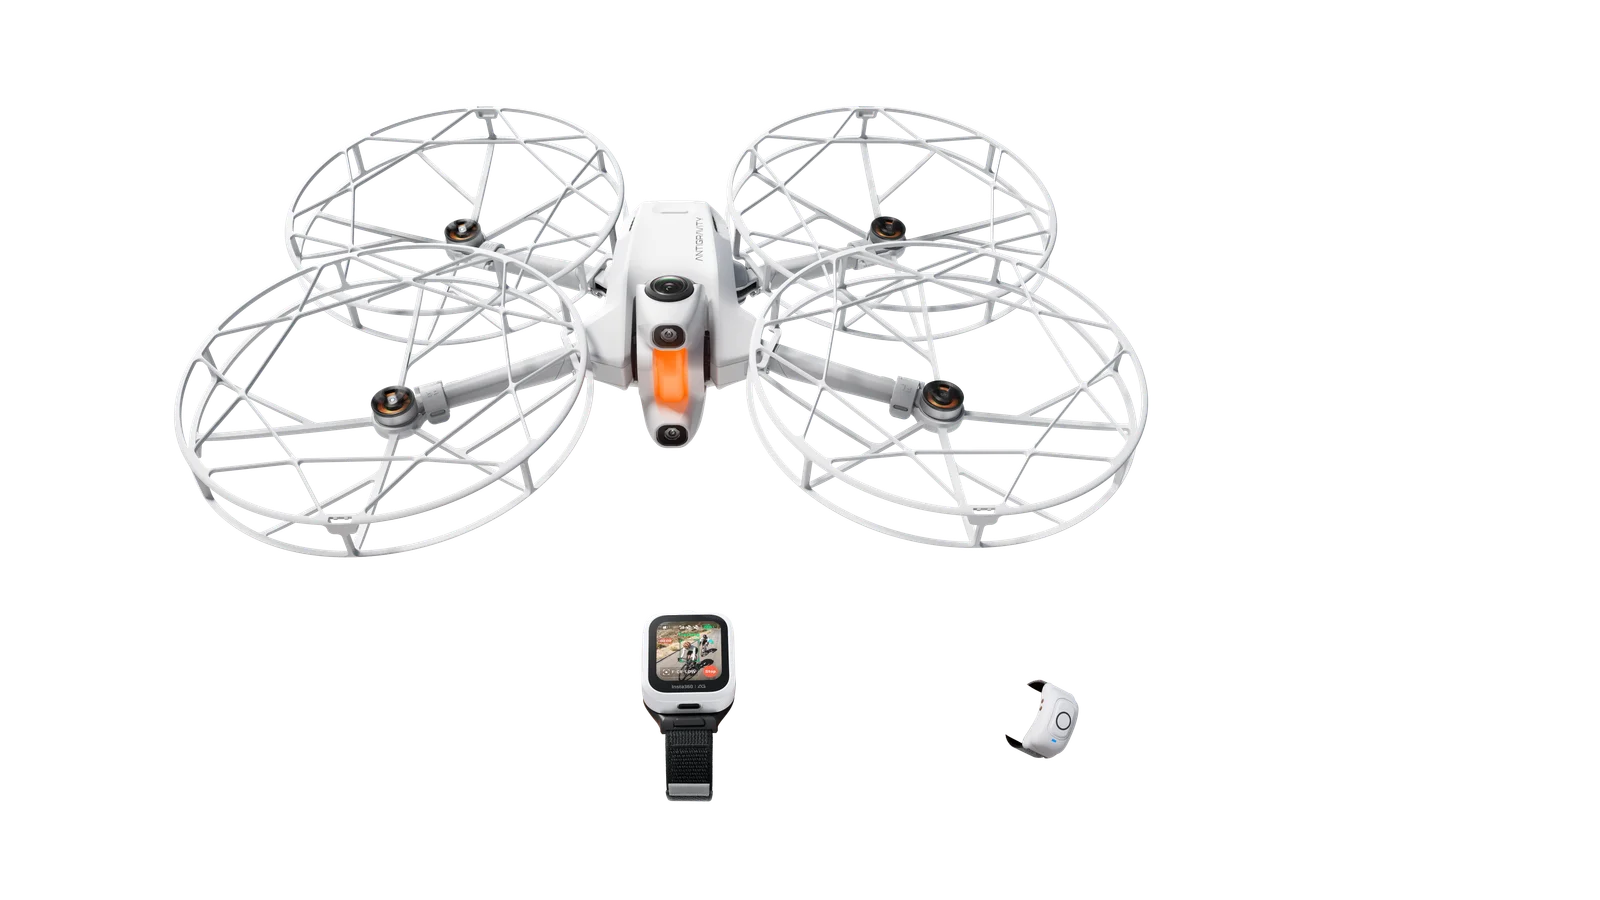
- Flight battery and propellers correctly attached, with no cracks or visible damage.
- Drone body, lenses, and sensors clean.
- Drone, Vision goggles, and grip sufficiently charged.
- microSD card installed in the drone.
- Landing gear able to deploy and retract.
- Only officially approved accessories.
Settings: don’t leave RTH on default without thinking
From the Vision goggles, check the maximum altitude, distance limit, RTH altitude, and the chosen behavior in case of signal loss. These settings must match your environment and local rules. In practice specifies that the RTH altitude cannot be changed during the return: it must be prepared before departure.
Environment: avoidance isn’t magic
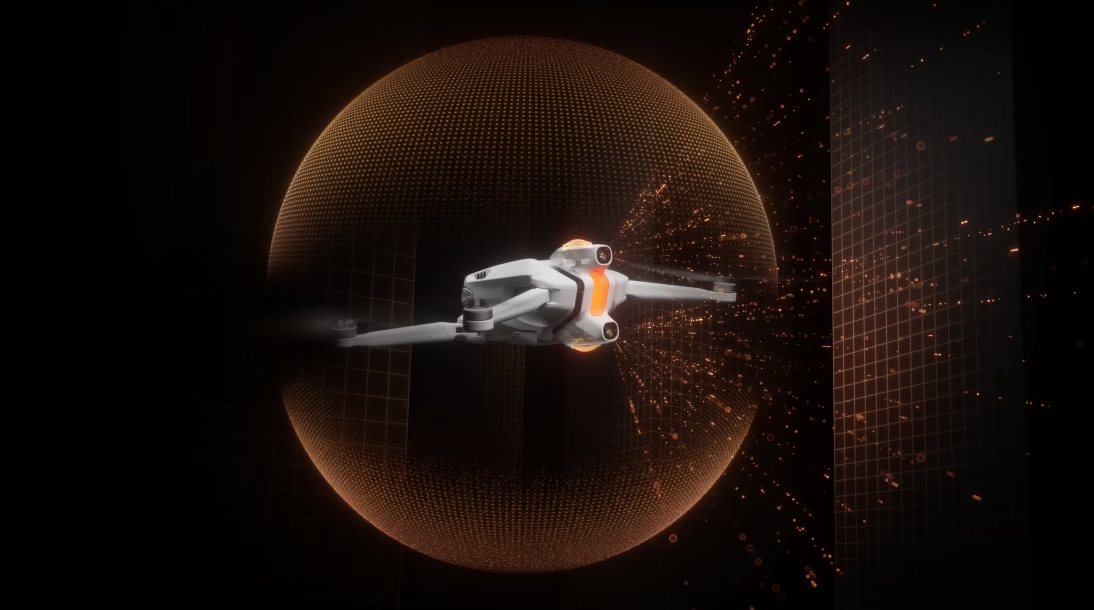
Choose an open, flat, and clear area. Branches, power lines, transparent surfaces like water or glass, and certain low-light conditions can limit detection. Check the GNSS signal, avoidance status, and any alerts in the goggles. For flights with goggles/FPV, In practice requires a close visual observer capable of communicating clearly with the operator.
Just before arming
Update the Antigravity app if necessary, check notifications, and make sure you know how to stop the drone and launch the RTH. As soon as a low battery alert appears, In practice recommends returning immediately to the starting point. No shot is worth a risk near people, animals, or obstacles.
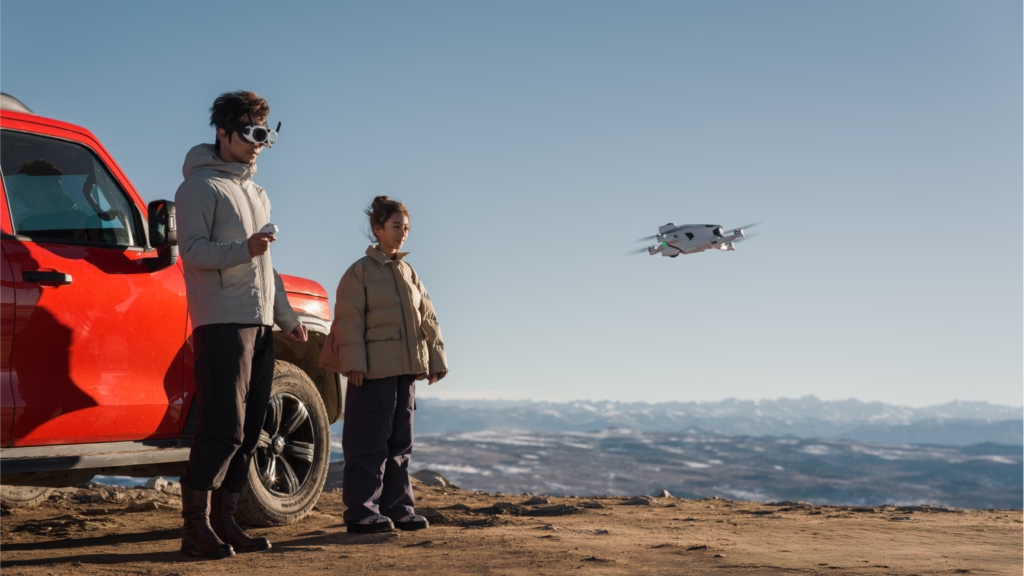
The checklist starts before arriving at the spot
The day before, charge the drone, Vision, and the grip, check your microSD card, and update the app if necessary. In the morning, choose an area where you have permission to fly and check the conditions: wind, light, presence of people, obstacles, and space available for returning to the starting point.
On-site: a full visual tour
Take thirty seconds to check the battery, propellers, arms, landing gear, lenses, and sensors. Nothing should be dirty, cracked, or loose. Only use approved accessories, install the microSD, and check the charge of each of the three devices. A poorly secured Vision cable can ruin an entire outing; check it before putting on the goggles.
The settings that really matter
In Vision, set the maximum altitude, distance limit, RTH altitude, and the action in case of signal loss. The return altitude must exceed realistic obstacles in the area, not be chosen at random. Then check the signal, GNSS, notifications, and obstacle avoidance status. If an alert persists, don’t take off to “see how it goes.”
At the moment of takeoff
Make sure the area in front of the drone is clear. With the goggles, keep a visual observer capable of communicating with you. Take off slowly, stay in a hover, observe the image and flight information, then make a short movement. This few-second check offers you much more safety than an immediate takeoff toward an ambitious shot.
After landing
Cut the motors, turn off the devices properly, and check that no propeller has suffered an impact. Save the files that matter before formatting a card. This little ritual turns a checklist into a habit and extends the life of the equipment.
Ready to fly?
Check the availability of the Antigravity A1 before finalizing your gear.
Check availability →FAQ: the checklist in practice
What should I do if an alert appears before takeoff?
Read it and resolve it before leaving. A persistent alert is not a detail to be ignored just to save two minutes.
Should I check the RTH every time?
Yes, because the location changes. A correct altitude at the seaside may become insufficient in a forest or near hilly terrain.
Is the checklist also useful after a short flight?
Yes. After landing, inspect the propellers and save useful files. It’s the right time to spot a small impact before the next departure.
To Go Further
These guides can help you further depending on your needs: