
RAW or JPEG: Which Format to Choose to Improve Your Photography?
RAW or JPEG: the right choice depends less on your camera than on what you want to do with your images. JPEG is fast, lightweight, and ready to share; RAW retains more latitude to correct exposure, color, and detail. To improve without complicating things, you can easily start with JPEG, then switch to RAW as soon as you want to edit your photos with more precision.
In this guide, you’ll understand what each format actually records, in which cases one is more suitable than the other, and how to choose a simple setting for your next outing.
Transparency: some links to Luminar Neo are affiliate links. If you use them, I may receive a commission at no extra cost to you.
The Short Answer: JPEG for Speed, RAW for Flexibility
Choose JPEG if you want images ready to send, publish, or print in small format. The camera already applies an interpretation: contrast, color, sharpness, noise reduction, and white balance.
Prefer RAW if you’re photographing high-contrast scenes, sunsets, interiors, important portraits, or if you enjoy refining your images after shooting. The file contains much more information captured by the sensor, but it needs to be developed in software.
- Beginner who mainly shares on their phone: JPEG.
- Beginner who wants to learn editing: RAW+JPEG for a few outings.
- Landscape, travel, difficult lighting: RAW.
- Sports, family, immediate sharing: JPEG or RAW+JPEG depending on available space.
RAW: What Does It Actually Change?
A RAW file is not a “finished” photo. It’s the raw recording of sensor data, with an embedded JPEG preview. Depending on the brand, its extension varies: .CR3 for Canon, .NEF for Nikon, .ARW for Sony, etc. It’s generally encoded at 12 or 14 bits per color, compared to 8 bits for a standard JPEG. This reserve is useful when an image requires delicate adjustment.
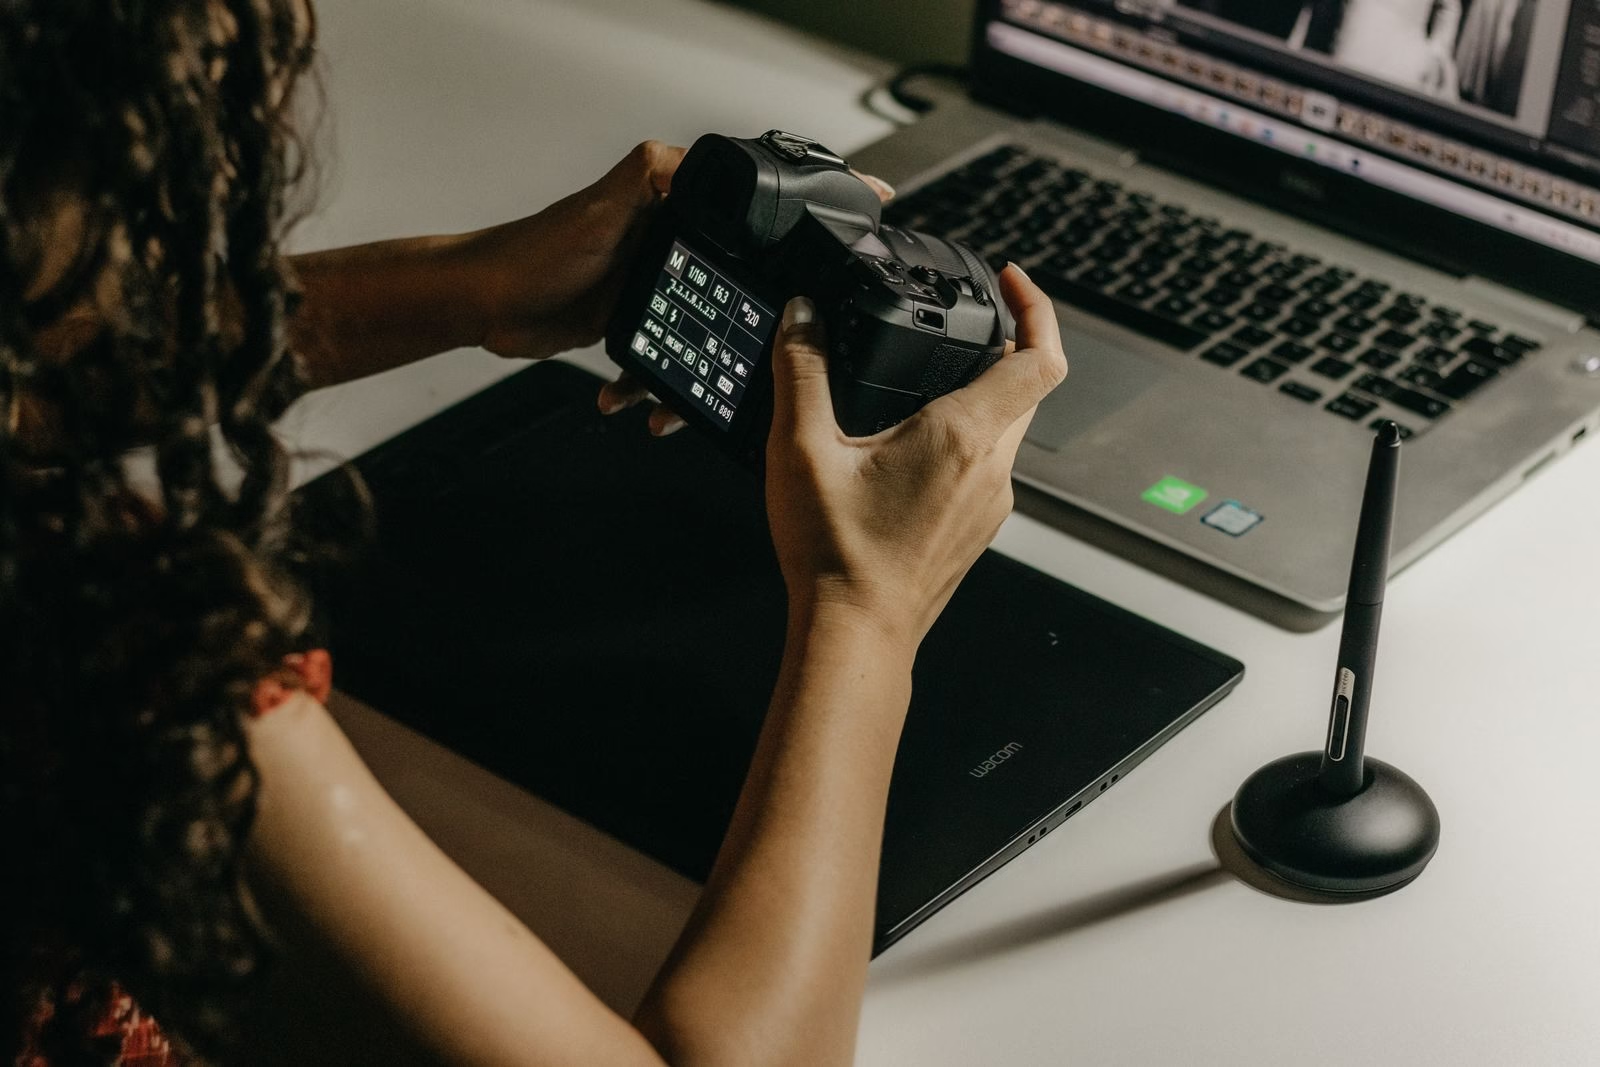
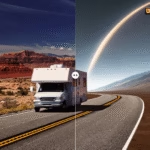
Example: you photograph a landscape with a very bright sky and a dark foreground. In JPEG, significantly lifting the shadows can reveal noise or dull colors. In RAW, you’ll often have more flexibility to recover shadows and tame highlights, provided nothing is completely blown out. This complements the techniques explained in our guide to understanding the exposure triangle: RAW provides a margin for correction, it doesn’t replace proper exposure.
JPEG: Why This Format Remains an Excellent Choice
JPEG is not the “beginner’s” format. It’s a practical and very efficient format when you like your camera’s rendering. It’s compressed, so it takes up less space, opens everywhere, and allows longer bursts. For family events, an outing where you want to share immediately, or a properly exposed photo, it’s often the simplest path.
- You save time: little or no processing needed.
- You save space on the memory card and disk.
- Colors and sharpness are already set, according to the picture style chosen in the camera.
- The file is immediately compatible with messaging apps, social networks, and photo labs.
Its limitation appears when the shot is imperfect or you want a different interpretation. The camera has already chosen a white balance, noise reduction, and part of the rendering. You can modify a JPEG, but each significant correction leaves less latitude. If your images are too yellow or too cool, also start with these guidelines on white balance in photography.
The best format is the one that lets you photograph with pleasure. A well-exposed JPEG is better than a RAW forgotten on a disk.
RAW vs JPEG: Practical Everyday Differences
| Criterion | RAW | JPEG |
|---|---|---|
| File Size | High | Low to moderate |
| Ready to share | No, development recommended | Yes |
| Exposure and color correction | Wide latitude | More limited |
| Burst and storage | More demanding | More comfortable |
| Advanced editing | Very suitable | Possible, with less margin |
The Simplest Setting to Start: RAW+JPEG
Hesitating? Enable RAW+JPEG for two or three outings. You get a ready-to-use version and its digital negative for the images you really like. After the outing, compare the two: try correcting a sky, a shadow, or a color cast on the RAW. The difference becomes quickly apparent, without forcing you to process every photo.
Ready to Finally Use Your RAW Files?
Luminar Neo offers a visual workflow to adjust exposure, colors, and detail without multiplying complex settings. With code BLI10, get 10% off.
When RAW Really Makes a Difference
RAW becomes particularly useful in four situations. First, in low light: a slightly imperfect exposure and high ISO often require finer processing. Next, facing very contrasty light, like a sunrise or a window in a dark room. It also helps when white balance is difficult to estimate, and when a photo is intended for printing or an important project.
However, don’t confuse RAW with a magic wand. A missed focus stays missed and completely white areas won’t miraculously recover detail. To secure your images before editing, review our tips for getting sharp photos and our method for reducing digital noise without destroying detail.
Which Format to Choose Based on Your Practice?
- Vacation photos: JPEG if you want to share the same evening; RAW+JPEG if you care about your landscapes and sunsets.
- Portrait: RAW to finely adjust skin, tones, and light; JPEG is enough if the lighting is simple and you like the camera’s rendering.
- Sports or children: JPEG to preserve burst speed and space, or RAW if your camera stays responsive and the images really matter.
- Landscape: RAW, especially at dawn, dusk, and in high-contrast scenes.
- Street photography: JPEG if you like a direct rendering and a light workflow; RAW+JPEG if you’re still experimenting.
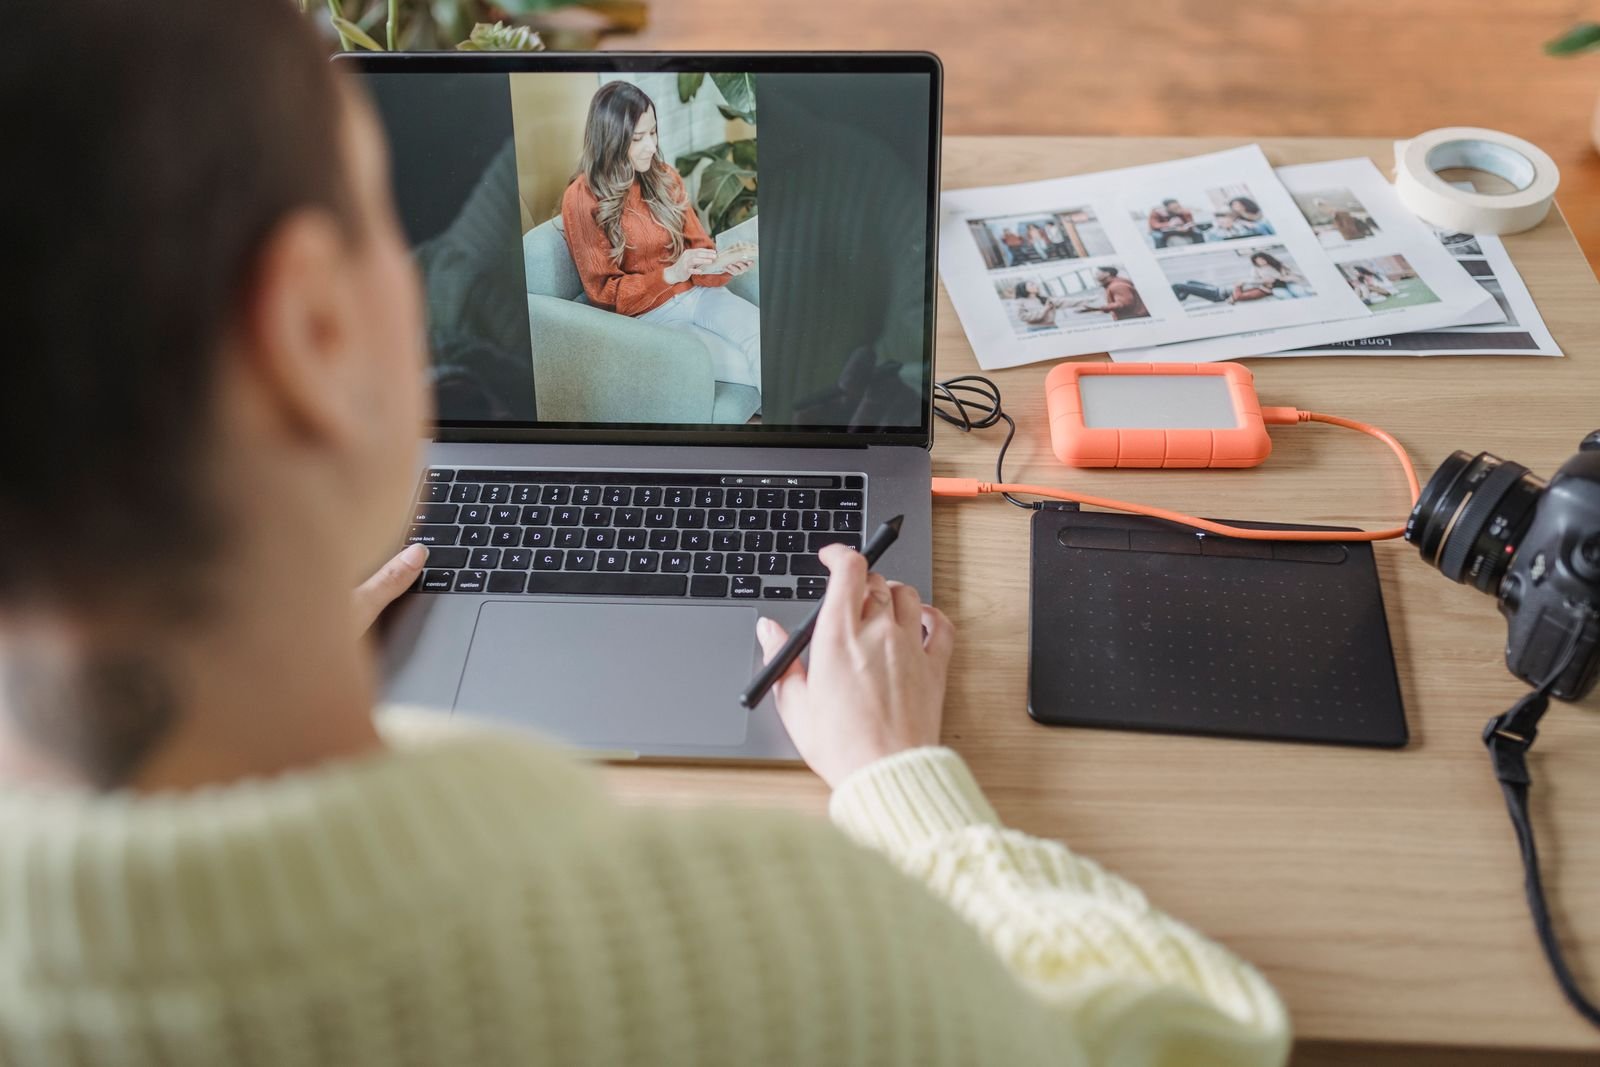
A Five-Minute Mini RAW Workflow
- Keep your best images and eliminate blurry or poorly framed duplicates.
- Adjust overall exposure, then gently recover highlights and shadows.
- Correct white balance aiming for credible tones, not necessarily spectacular ones.
- Adjust contrast and colors with restraint.
- Finish with sharpness and noise reduction, zooming to 100% before exporting.
A short, regular edit is more useful than a complex session. For RAW files, Luminar Neo can serve as a simple starting point: check the official offer and use code BLI10 for 10% off.
Verdict: Don’t Choose a Side, Choose Your Intent
JPEG is ideal for keeping things simple and fast. RAW is your best ally when you want to learn to control the final rendering, especially in difficult lighting. If you’re starting out, RAW+JPEG is the most reassuring compromise: share the JPEG and only develop the RAW files worth it. Next time, try the same high-contrast scene: you’ll immediately see what this correction reserve can bring you.
Frequently Asked Questions About RAW and JPEG
Can You Convert a JPEG to RAW?
No. Converting a JPEG changes its extension but doesn’t recreate the information removed during processing and compression. It’s better to keep the RAW from the start when the image is important.
Is RAW Always Better Looking?
Not automatically. An undeveloped RAW often looks flatter than a JPEG. It provides more possibilities; the result then depends on exposure and development.
How Much Space Should You Plan For?
It depends on the sensor and manufacturer, but a RAW often takes up several times the size of a JPEG. Check the size displayed by your camera, then plan for an appropriate card and backup.
To Go Further
- Understanding the Exposure Triangle Without Jargon
- Why White Balance Changes Your Colors
- The Basics of Photo Composition
Sources: Adobe Camera Raw (RAW development principles); Pexels (visuals under Pexels license).




Leave a Reply