
A great landscape photo doesn’t depend on an overpriced camera. It mostly comes down to a few decisions made before you press the shutter: choosing the right light, simplifying the frame, and protecting highlights. Whether you’re using a smartphone, a mirrorless camera, or a DSLR, these habits already make images stronger. Here’s a simple method to repeat in the field to improve without weighing yourself down.
On the agenda: prepare the shot, build a clear composition, set exposure, then give the file a natural finish. Links to Luminar Neo in this article are affiliate links: they help support the site at no extra cost to you.
Tip #1: photograph the light, not just the place
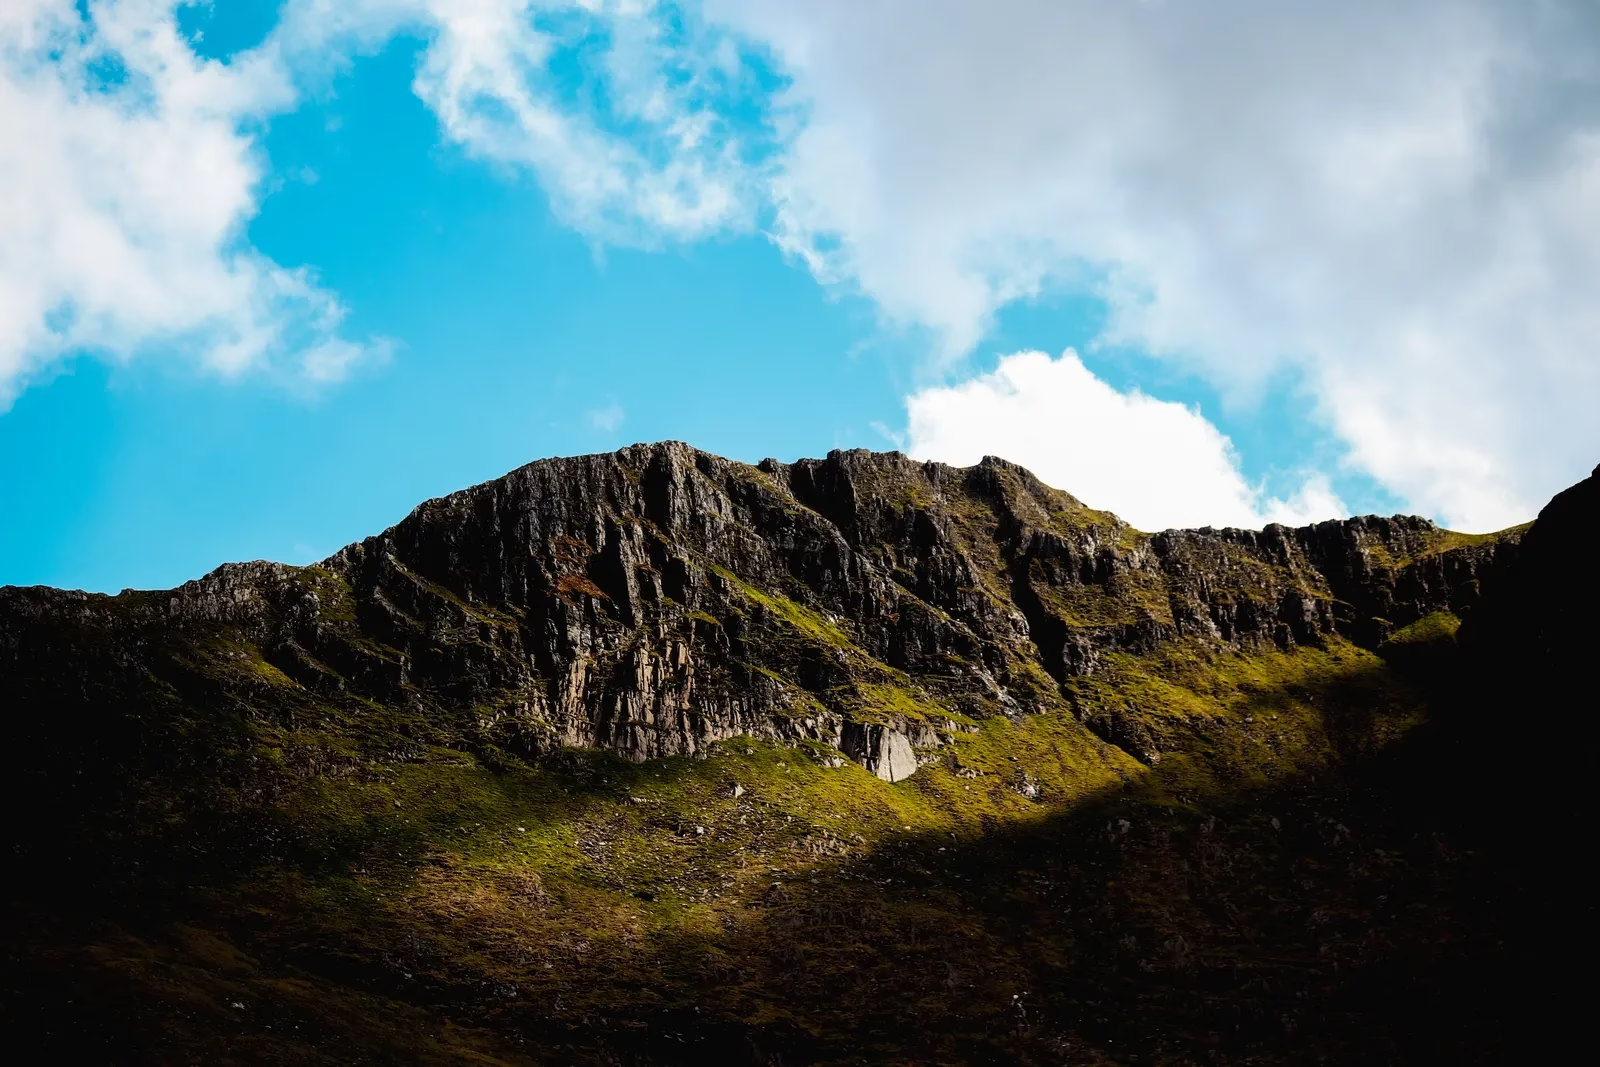
An impressive panorama at noon can produce a flat photo: very bright sky, blocked-up shadows, and little color nuance. If you can, arrive early or stay until the end of the day. Low light shapes the terrain, warms the rocks, and creates shadows that are easier to read.
- In the morning, watch for light mist or side light on textures.
- Late in the day, expose carefully for the sky and wait for contrast to soften.
- In overcast weather, look for details: forest, waterfall, rocks, or a graphic pattern. The clouds then act as a natural diffuser.
Before you head out, check the weather and the sunrise or sunset time. On location, give yourself ten minutes without the camera: observe the direction of the light and imagine what deserves to guide the eye.
Compose in three layers to add depth
A landscape often feels bigger in real life than on a screen. To recreate that feeling, build the image with a foreground, a midground, and a background. A rock, flowers, a fence, or a puddle in the foreground immediately creates an entry point into the photo; then a valley, road, or river can lead toward the mountains or the sky.
The rule of thirds and leading lines are helpful guides, not obligations. Turn on your camera’s grid, place the horizon near a third, then ask yourself: “Where does my eye enter, and where does it go?” If nothing answers that, move closer to a subject, change your height, or remove a distracting element from the frame.
A wide-angle lens doesn’t make a landscape interesting on its own: you need a close foreground and a line that connects the different layers.
Protect the sky: exposure comes first
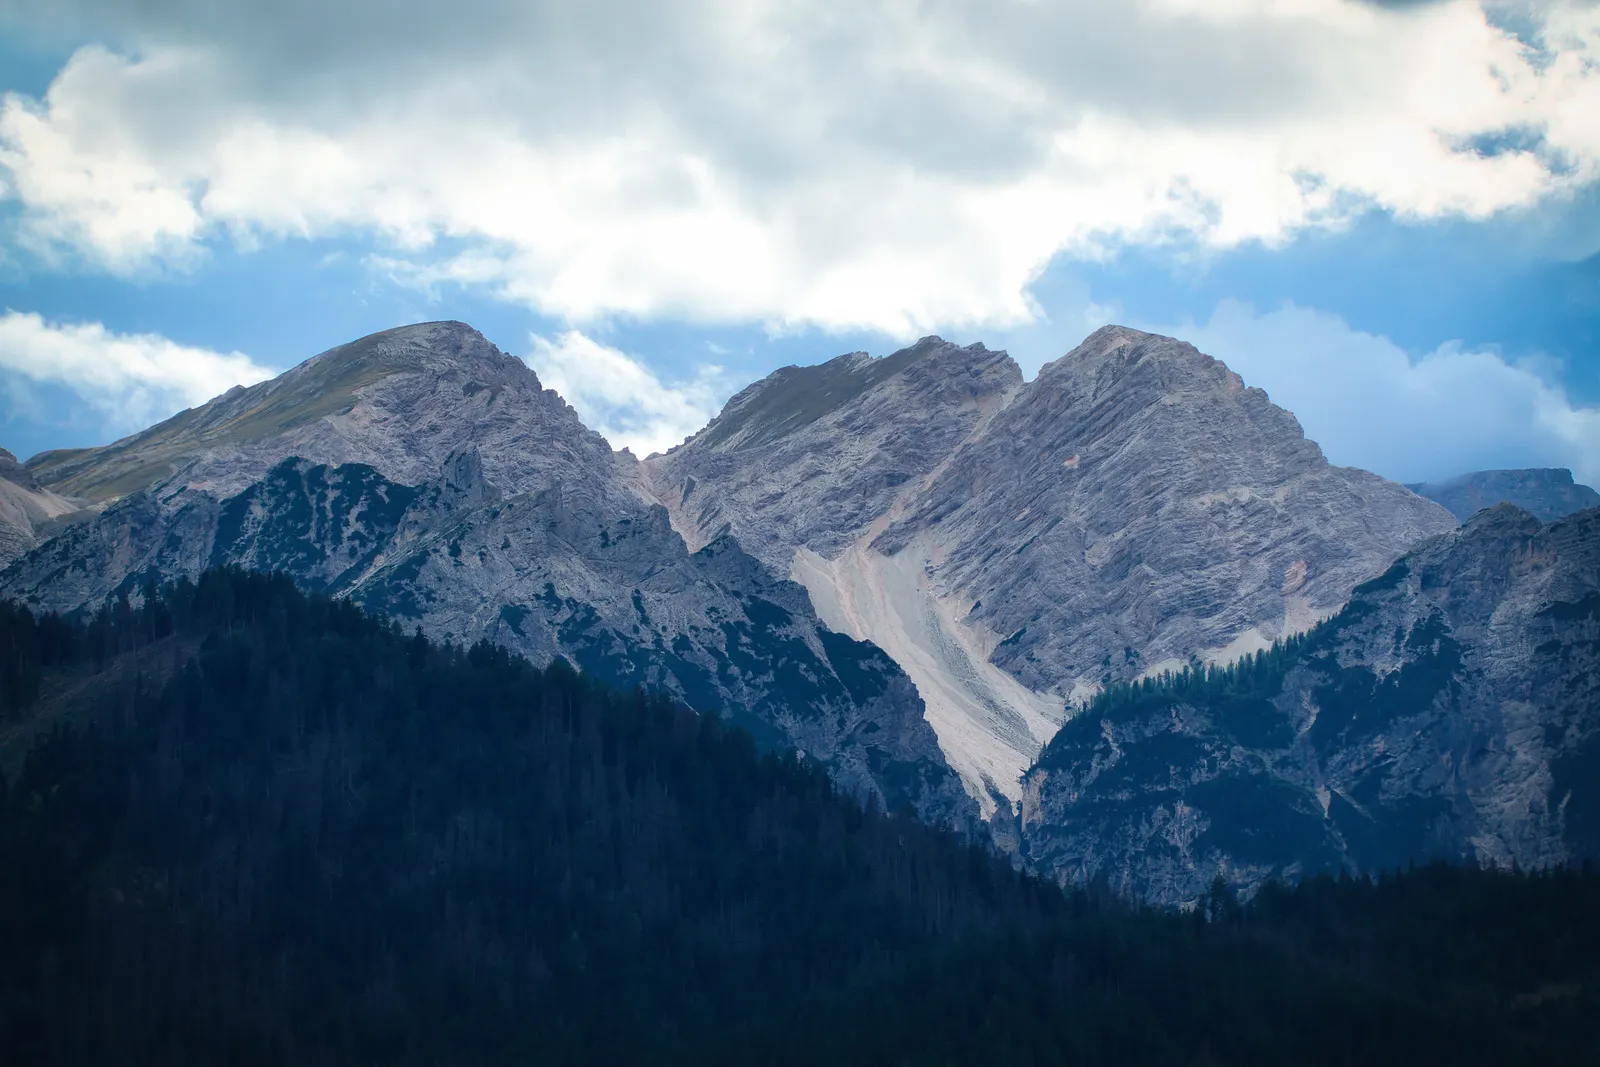
In landscape photography, the most common challenge is the brightness gap between the sky and the ground. Check the histogram if your camera offers it, or lower exposure slightly as soon as clouds start losing detail. It’s generally easier to lift moderate shadows than to recover a completely white sky.
- In auto mode, use exposure compensation from –0.3 to –1 EV if the sky is bright.
- In RAW, keep ISO as low as possible and watch the blinking overexposure warnings.
- On a smartphone, tap the sky, then lower the exposure slider before shooting.
Basic settings quickly become intuitive once you understand the exposure triangle. For a calm scene, a tripod lets you stop down a bit and keep the image clean. If it’s windy, prioritize a fast enough shutter speed to keep branches and grass sharp.
Get a sharp image, even without a tripod
Focus about a third into the scene, on an element in the midground, rather than on infinity every time. Handheld, steady yourself: feet slightly apart, elbows against your body, gentle shutter press. On a camera, a shutter speed of at least 1/125 s is a good starting point; increase it if you’re using a long focal length or if wind is moving the scene.
Don’t always zoom all the way in. A telephoto lens isolates a ridge, compresses layers, and can reveal a pattern that a wide-angle dilutes. Take both versions: a wide shot to tell the story of the place, and a tighter shot to tell the story of a detail. Find more tips in our guide to getting sharp photos.
A subtle edit is often enough
After shooting, start with exposure, highlights, shadows, and white balance. Luminar Neo can help bring back detail in a sky or harmonize colors without changing the scene. The code BLI10 gives 10% off.
Choose one strong subject rather than the whole panorama
A landscape photo has more impact when it has a subject: a lone tree, a cabin, a silhouette, a sunlit peak, or a curve in a river. Move a few steps to isolate it against a simple background. Also wait for a cloud, a person, or a patch of light to land in the right spot. That little wait often does more than any filter.
Keep the horizon straight, check the edges of the frame, and visually clean up cut-off or distracting elements. A simple composition ages better than an image overloaded with effects. If colors look inconsistent on screen, go back to the basics of white balance in photography before increasing saturation.
A simple field routine
- Spot the light and a main subject before taking out the camera.
- Frame wide, then look for a foreground and a leading line.
- Check the horizon and lower exposure slightly if the sky is bright.
- Take three shots: one wide, one lower, and one with a telephoto lens.
- Check sharpness and highlights at 100% before leaving the spot.
Edit a landscape without making it look artificial
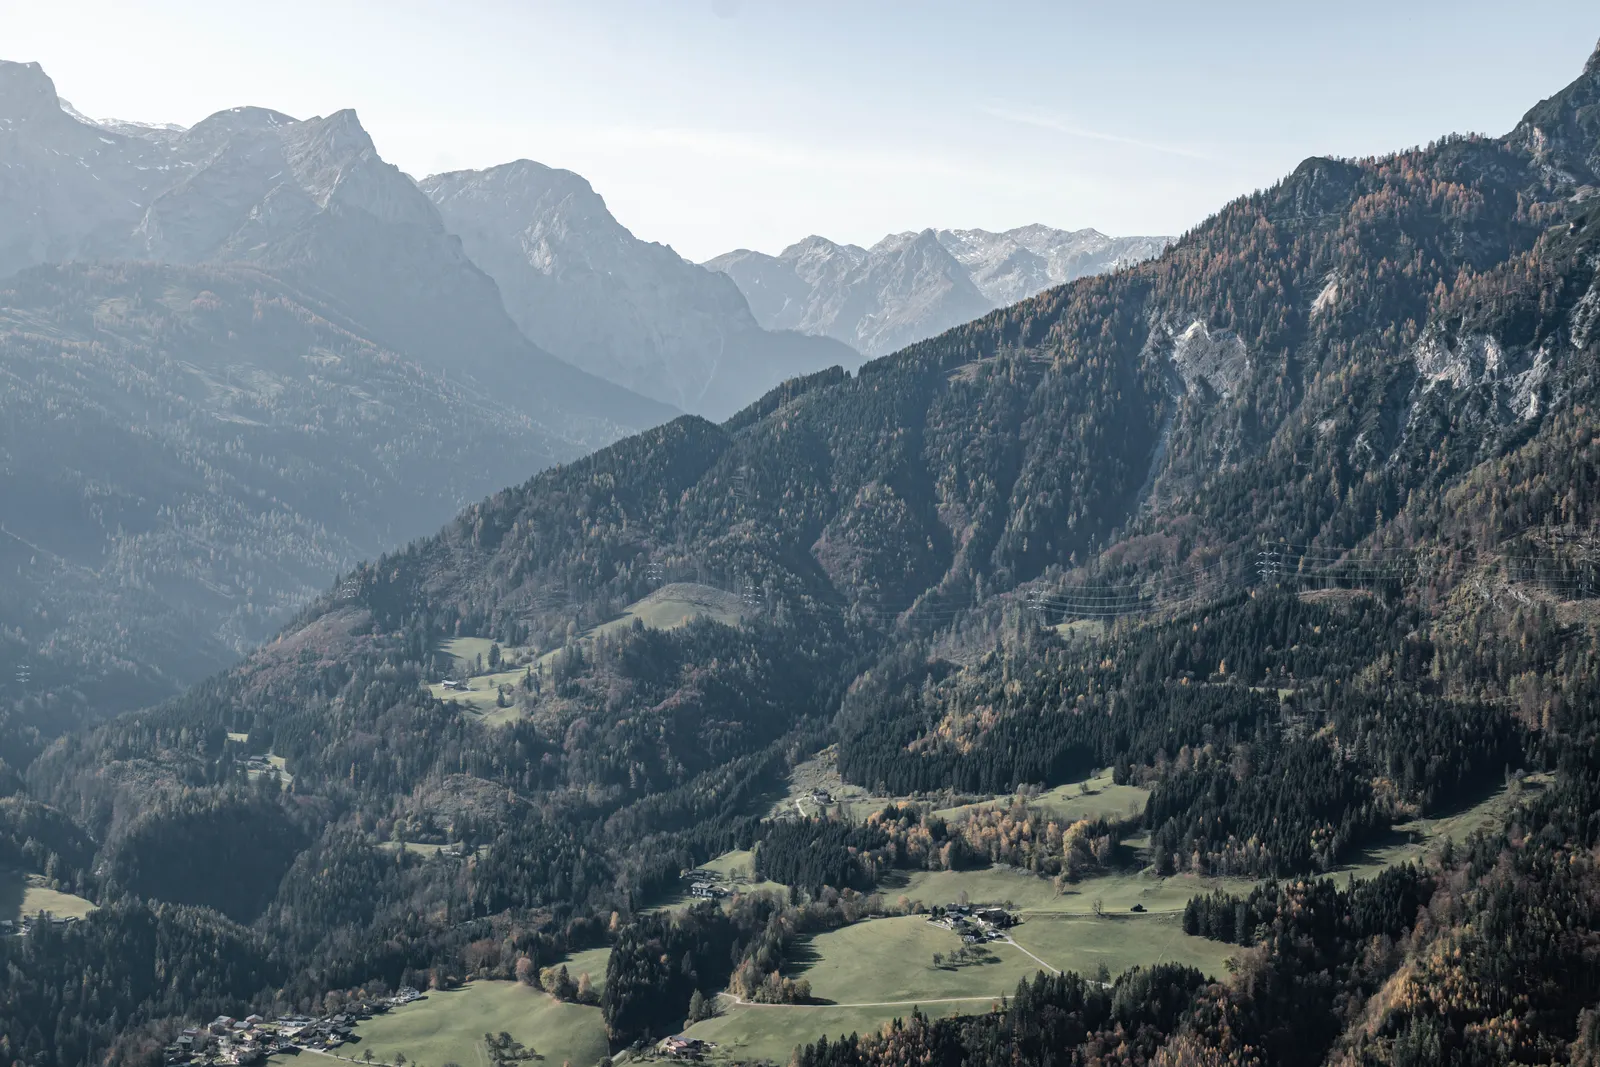
Editing should confirm the mood you experienced, not create weather that wasn’t there. Start with cropping, overall exposure, and highlights. Then add a bit of local contrast and texture, in moderation. For color, selectively adjusting the sky’s blue or the vegetation’s green often looks more natural than a global saturation slider.
Shoot in RAW when your gear allows it: you’ll have more latitude to adjust highlights and shadows. Our RAW vs JPEG comparison will help you choose based on your needs.
Conclusion: chase the light, then simplify
For better landscape photos, remember this above all: great light, a foreground, a clear subject, and careful exposure do most of the work. Go back to the same spot at a different time—it’s one of the most effective ways to improve and see the light differently.
When your image is already solid in-camera, Luminar Neo can speed up the final tweaks to the sky, contrast, and colors. Use the code BLI10 for 10% off via our partner link.
Frequently Asked Questions
Do you need a tripod for landscape photography?
No, but it becomes very useful at dawn, at dusk, for long exposures, or to fine-tune framing precisely. Handheld, just adapt your shutter speed and steady yourself.
Which lens should you use for landscapes?
A wide-angle lens is versatile, but a telephoto is excellent for simplifying the scene and bringing the terrain closer. The best choice is the one that serves your subject, not necessarily the widest.
Updated on August 21, 2026. Visuals: Pexels.








Leave a Reply