
When filming with an Insta360 camera, we often think about the image: 8K, stabilization, post-framing, the invisible boom mic effect… But there is one point that can really change the quality of a video: the sound.
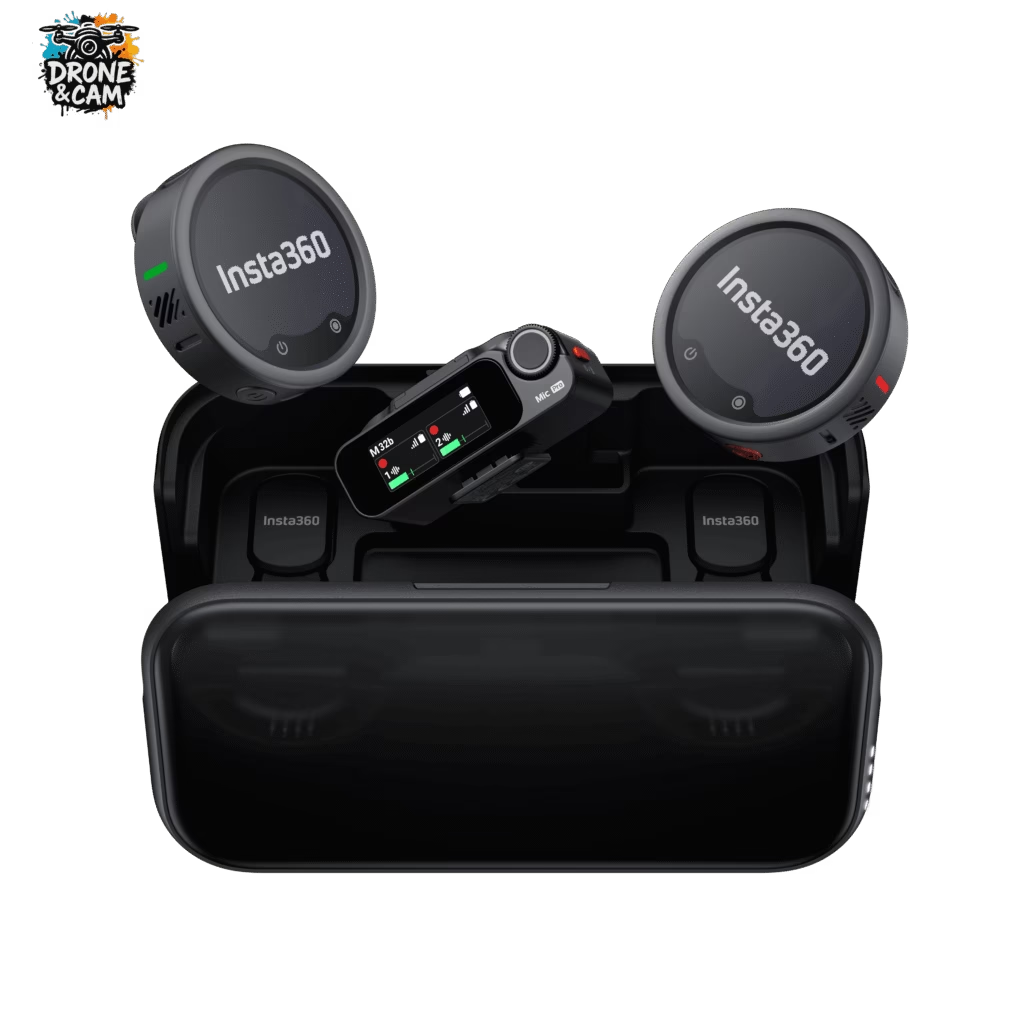
And that’s where the Insta360 Mic Pro becomes really interesting. This wireless microphone was designed for creators who want a cleaner sound without necessarily adding a complicated setup. The idea is simple: get a clear voice, reduce background noise, and avoid bad takes.
If you already use a camera like the Insta360 X5 , Insta360 X4 Air , Insta360 Ace Pro 2 or Insta360 GO Ultra, the Insta360 Mic Pro can clearly become the most logical audio accessory to add to your bag.

Why add an external microphone to an Insta360 camera?
Insta360 cameras are excellent for video, especially if you’re filming while traveling, hiking, vlogging, or capturing action. But like all small cameras, their built-in microphones have their limitations.
As soon as there’s wind, distance, background noise, or a voice that’s a little too quiet, the sound quality can quickly degrade. And even with a great picture, a video with poor sound immediately looks less professional.
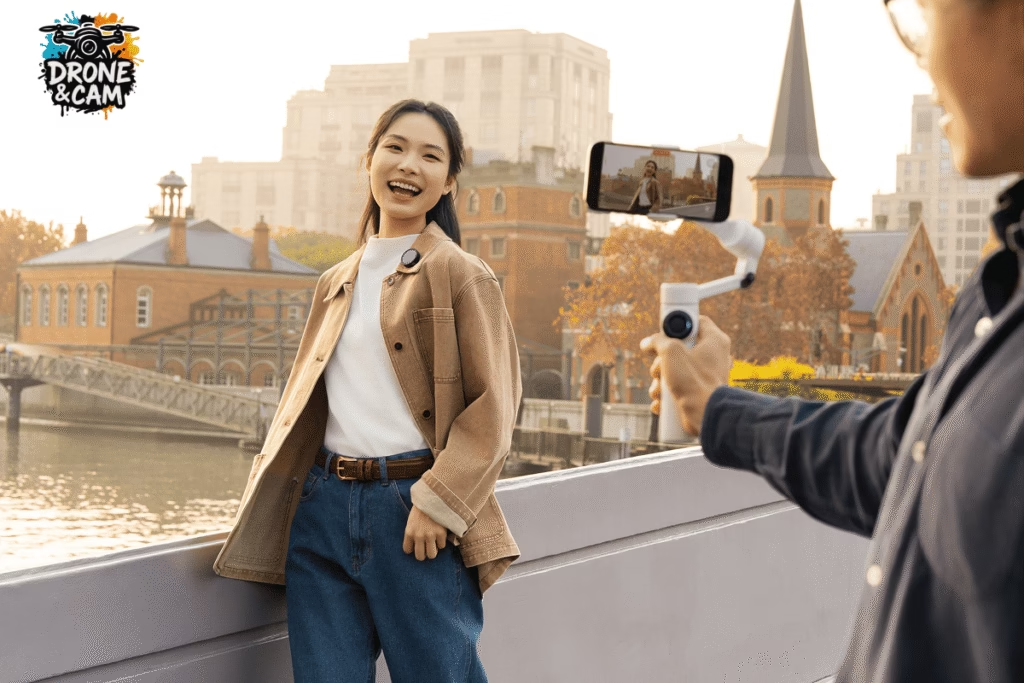
An external microphone like the Insta360 Mic Pro allows you to capture the voice more closely. The result: the voice is more present, clearer, and much more pleasant to listen to.
This is particularly useful for:
- vlogs facing the camera;
- product testing;
- the interviews;
- travel videos;
- YouTube videos;
- the tutorials;
- outdoor content;
- filming with multiple people.

Which cameras are good with the Insta360 Mic Pro ?
The Insta360 Mic Pro makes perfect sense with the latest cameras in the Insta360 ecosystem.
With the Insta360 X5 , for example, it’s a very interesting combination for creators who want to film in 360°, then crop the footage, all while maintaining a clean voiceover. For travel vlogs, hikes, or immersive videos, it’s probably one of the most versatile setups.
With the Insta360 X4 Air , the benefit is also obvious: you keep a light, compact and easy-to-use setup, but you greatly improve the audio quality.
With the Insta360 Ace Pro 2 , the Insta360 Mic Pro becomes perfect for action videos, face-to-camera shots, tutorials, motovlogs, or more classic wide-angle content.
How do I connect the Insta360 Mic Pro to an Insta360 camera?
One of the major advantages of the Insta360 Mic Pro is its direct connection with certain compatible Insta360 cameras via Bluetooth.
In practical terms, this allows you to connect the microphone to the camera without necessarily using the receiver. For a creator who often films on the go, this is a real advantage: fewer cables, fewer accessories to set up, and less risk of forgetting something.
The principle is simple:
- Turn on your compatible Insta360 camera.
- Turn on your Insta360 Mic Pro .
- Open the camera’s audio or Bluetooth settings.
- Start the microphone pairing process.
- Check that the camera is correctly using the external microphone as the audio source.
- Do a short test before filming your real sequence.
Even though a direct connection greatly simplifies setup, I always recommend doing a test run of a few seconds before recording. It’s a small habit that prevents a lot of unpleasant surprises.
What settings should you use depending on your video?
The Insta360 Mic Pro is interesting because it doesn’t capture sound in just one way. It offers several polar patterns, allowing you to adapt it to your scene.
For a typical vlog, cardioid mode is often the most logical. It focuses more on the voice facing the microphone and limits some of the surrounding sounds.
For a more natural ambiance, for example when traveling or in an immersive setting, the omnidirectional mode can be useful. It captures a wider range of the environment.
For a two-person interview, the figure-eight mode is very practical, as it picks up sound from both the front and back of the microphone. This is ideal if two people are talking face to face.
The 32-bit float is also a real plus. It helps to protect recordings when the volume varies significantly. If you speak softly and then much louder, you have more leeway to recover the audio during editing.
The ideal setup for vlogging with an Insta360 camera
For a simple and effective setup, I would go with:
- a camera like the Insta360 X5 or the Insta360 Ace Pro 2 ;
- the Insta360 Mic Pro attached to the t-shirt;
- AI noise reduction activated outdoors;
- internal recording activated to secure the sound;
- a quick audio test before each important take.
This setup remains lightweight, quick to install and very suitable for solo creators.
Is the Insta360 Mic Pro essential with an Insta360 camera?
Indispensable, no. But very useful, yes.
If you’re only filming action shots without speaking, the built-in microphone may be sufficient. However, if you’re doing vlogging, product reviews, interviews, or YouTube videos, the Insta360 Mic Pro can significantly improve the final result.
It’s the kind of accessory that isn’t always noticed when it’s good, but is immediately missed when the sound is bad.
Which Insta360 setup should I choose for better sound?
If you are already in the Insta360 ecosystem, the Insta360 Mic Pro is probably one of the best accessories to add to your camera.
With an Insta360 X5 , it forms a very powerful setup for immersive vlogging and travel videos. With an Insta360 Ace Pro 2 , it becomes perfect for on-camera videos, tutorials, or narrated action scenes. With an Insta360 X4 Air , it allows you to maintain a lightweight setup while clearly gaining in audio quality.
In summary, if your voice matters in your videos, the Insta360 Mic Pro is a very sensible choice.
👉 Discover the Insta360 Mic Pro on the official store.


Leave a Reply