

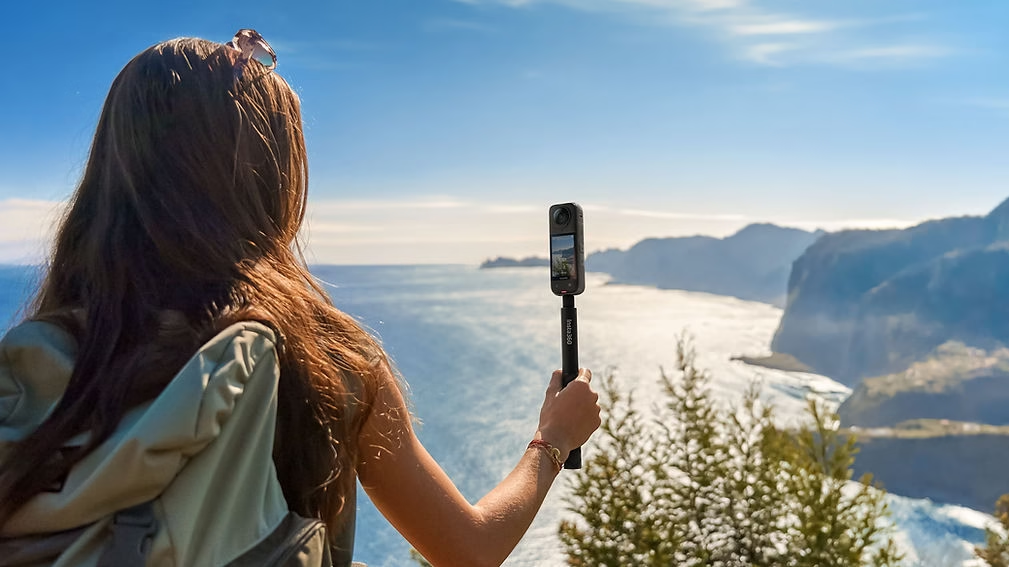
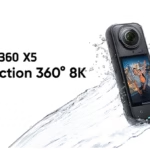
When you buy a camera like the new Insta360 X5 , you want to enjoy 8K quality… but you also want clean sound. And that’s often where the problem lies: at the slightest wind, background noise, or distance, the internal microphones quickly show their limitations.
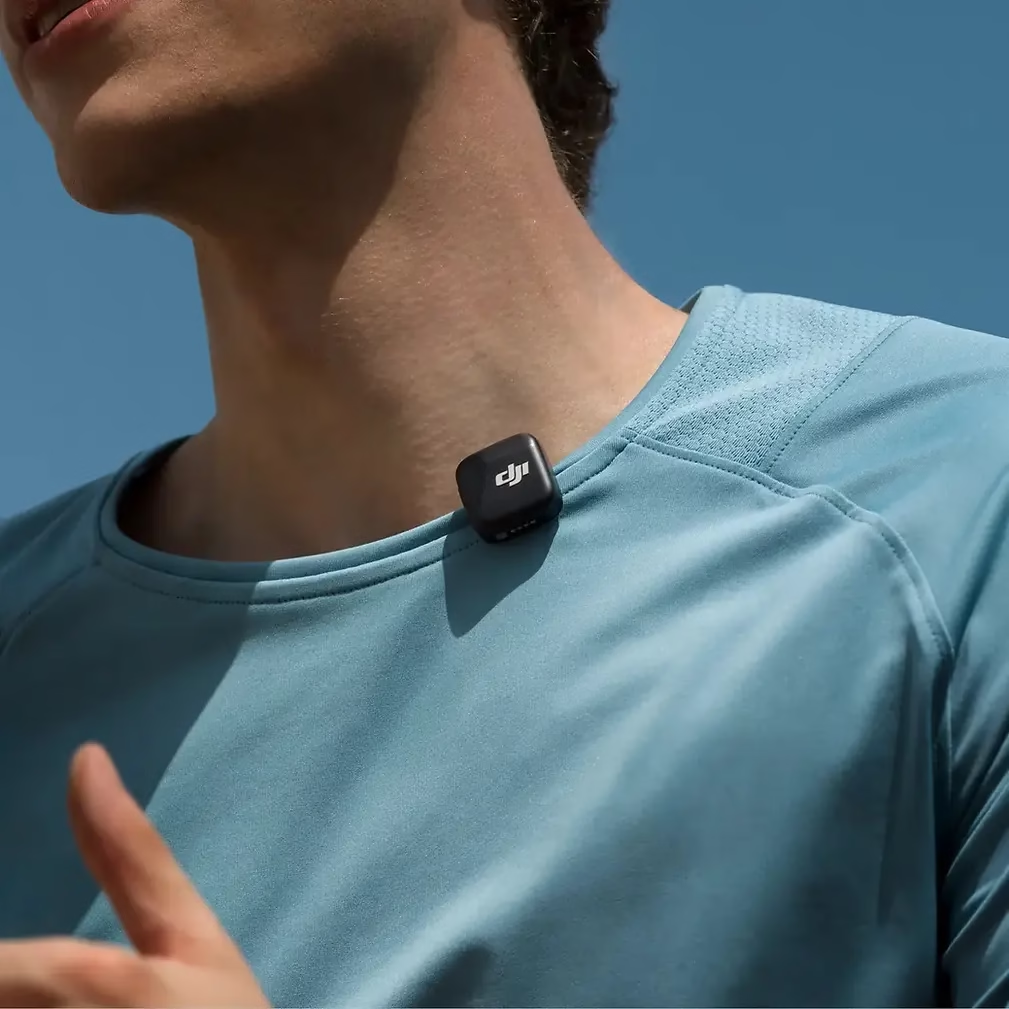
Good news: the DJI Mic Mini is an excellent compact wireless microphone, perfect for vlogging, travel, and even motorcycling. And with the Insta360 X5 , you now have three different ways to connect the microphone depending on your shooting style.
We’ll look at them all step by step, with their advantages, their limitations… and especially when to choose one over the other.
🎤 Why use the DJI Mic Mini with the Insta360 X5 ?
The X5 films in 8K at 360°, but if the sound is bad, the video instantly loses perceived quality.
The DJI Mic Mini offers:
- a clean and consistent sound, even if you move away from the camera
- much less wind saturation
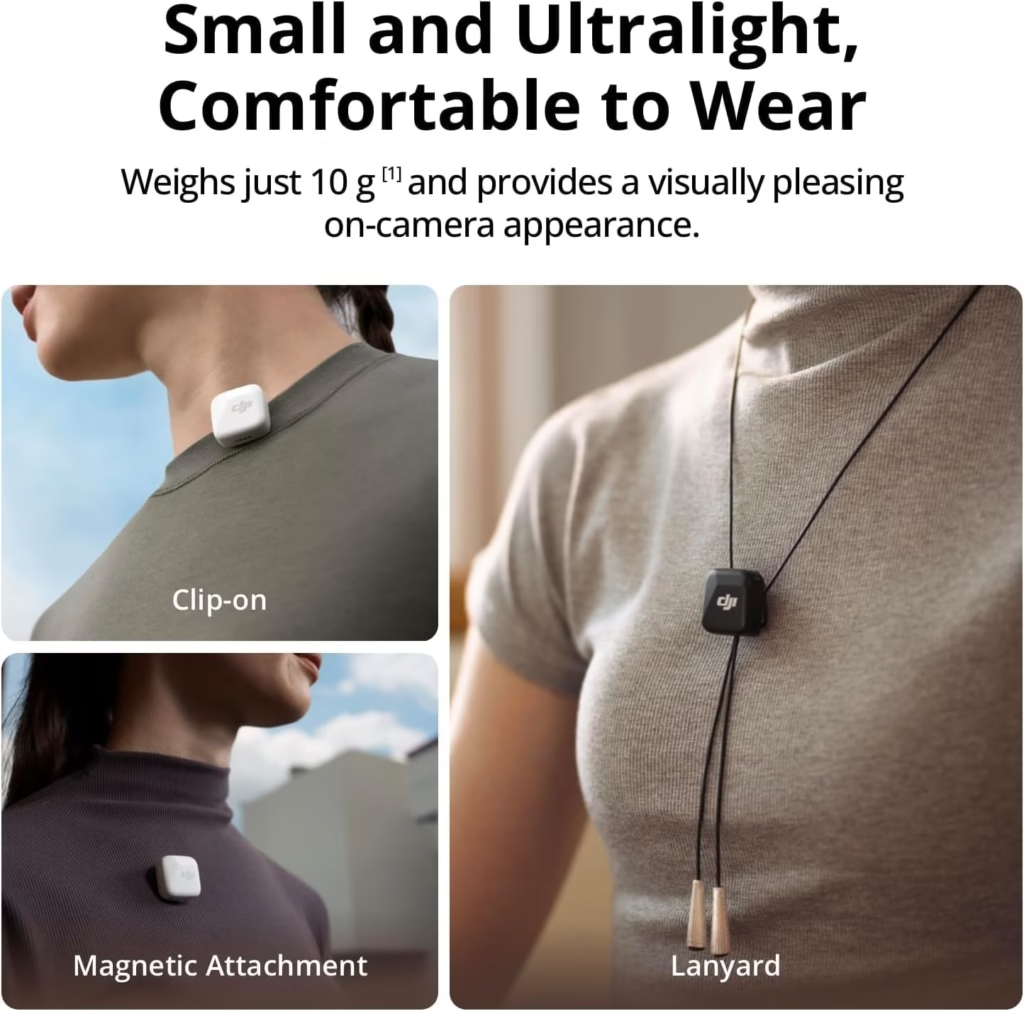
- a discreet microphone to clip onto you
- a very lightweight setup for travel or vlogging
And most importantly: the Insta360 X5 allows three types of connection , which adapts very well to your use.

🔌 Three ways to connect the DJI Mic Mini to the X5
Here are the three possible methods:
- Bluetooth – The simplest and completely wireless method
- 3.5 mm microphone adapter – The classic, reliable and professional method
- Direct USB-C connection – The new X5, simple, efficient, and often the best option
We look at each method in detail.
🔵 Option 1: Bluetooth connection (simple and without any cables)
This is the cleanest method: no cables, no openings on the camera, and your X5 remains completely waterproof.
🔧 How to connect it step by step
1. Activate pairing mode on the DJI Mic Mini
- Press and hold the pairing button
- The LED flashes blue/green → perfect
2. On the Insta360 X5
- Menu
- Bluetooth
- “Headset / Microphone”
- Start the search and select “DJI Mic Mini”
The LED turns solid blue → it’s connected.
3. Set the winnings
In Audio Settings → Bluetooth Headphones:
👉 +6 dB recommended , as the base level of the Mic Mini is quite low.
👍 The advantages
- Ultra simple setup
- Zero cables
- Always waterproof camera
- Ideal for short vlogs, travel, stories…
👎 The limits
- Compressed audio quality (e.g., “phone call” effect)
- The range is limited
- Obstructions = cuts
- Quick Capture → the first 30–40 seconds use the internal microphone before reconnecting
🧑🏫 Who is this for?
For those who want absolute simplicity and a minimalist setup.
But not ideal if you want the best audio quality for YouTube.

🎧 Option 2: The DJI Mic Mini with the microphone adapter (3.5 mm jack)
This is the classic method for older Insta360 devices.
It always works very well with the X5.
🔧 Step-by-step installation
1. Remove the USB cover from the X5
Small 45° movement, you pull upwards.
2. Connect the microphone adapter
It fits directly into the port.
3. Connect the 3.5 mm cable
- Jack → microphone adapter
- Red jack → DJI Mic Mini Receiver
4. Attach the receiver
⚠️ Important: it must be outside the 360 field of view .
Options:
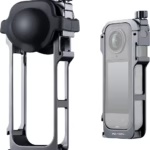
- Invisible cold shoe support
- cage X5 (when they become available)
- long cable + placement on the pole
👍 The advantages
- Better quality than Bluetooth
- Super stable
- Quick Capture compatible immediately
- The receiver turns on and off with the camera (great)
👎 The limits
- No more cables
- The setup is becoming fragile
- The X5 is no longer waterproof
🧑🏫 For whom?
For those who want a very reliable setup, clean audio, Quick Capture mode…
Perfect for YouTube, interviews, or more “serious” shoots.
🔌 Option 3: Direct USB-C connection to the Insta360 X5 – my preferred method
This is THE new feature of the X5: no more need for an audio adapter!
You can plug in the DJI Mic Mini:
- either directly via the USB-C adapter
- either via a USB-C cable to relocate the receiver
🔧 How to connect the DJI Mic Mini via USB
Method 1 — Receiver directly connected
- Remove the receiver head
- Insert the supplied USB-C adapter
- Connect directly to the X5
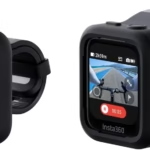
⚠️ Problem: the receiver protrudes from the stitch → visible in the image. Not ideal.
Method 2 — Using a USB-C cable
The best solution:
- USB-C → cable → receiver placed at the back of the pole or harness.
🎉 Bonus: compatible with the all-weather USB cover , so rain protection is possible.
👍 The advantages
- Top-notch audio quality, often better than via a microphone adapter
- Simpler setup
- Very good stability and range
- Compatible with Quick Capture
- No need to buy the microphone adapter
👎 The limits
- The X5 is no longer waterproof (except with the all-weather cover).
- The receiver remains powered on even when the camera is turned off.
🧑🏫 For whom?
For 80% of creators.
It’s really the simplest , cleanest , most effective combination.
🛠️ Recommended audio settings on the Insta360 X5
🎚️ 1. The Win
- Bluetooth: +6 dB
- 3.5 mm jack: medium level
- USB-C: often the default setting is sufficient
🎙️ 2. Dual Track Audio: always useful
The X5 can record:
- A normal track
- A less strong backup route
🧑🏫 Perfect for avoiding saturation if you shout, laugh, or film in the wind.

❓ Which method should I choose to connect my DJI Mic Mini?
🎒 For travel / simple vlogging → Bluetooth
Ideal if you want a minimalist setup without plugging anything in.
🎥 For serious filming → Microphone adapter
Top reliability, top quality, Quick Capture works perfectly.
⚡ For most uses → Direct USB-C
The best compromise available today.

🙋 FAQ – Frequently Asked Questions
Bluetooth takes a long time to connect, is that normal?
Yes, that’s a known limitation at Insta360.
Bluetooth is not instantaneous.
The receiver appears on the 360 image, how can I avoid it?
Use a USB-C cable to extend its reach.
Or an invisible cold shoe .
Is the X5 still waterproof?
- Yes → via Bluetooth
- No → via USB-C or with a micro adapter (except for the all-weather cover)
🤔 And how are you going to connect your DJI Mic Mini?
Everyone has their own filming style.
Personally, USB-C has become my preferred setup: simple, clean, efficient.
👉 If you want to discover or buy the camera:
🔗 Insta360 X5 (accessory included with your affiliate code)

Leave a Reply