
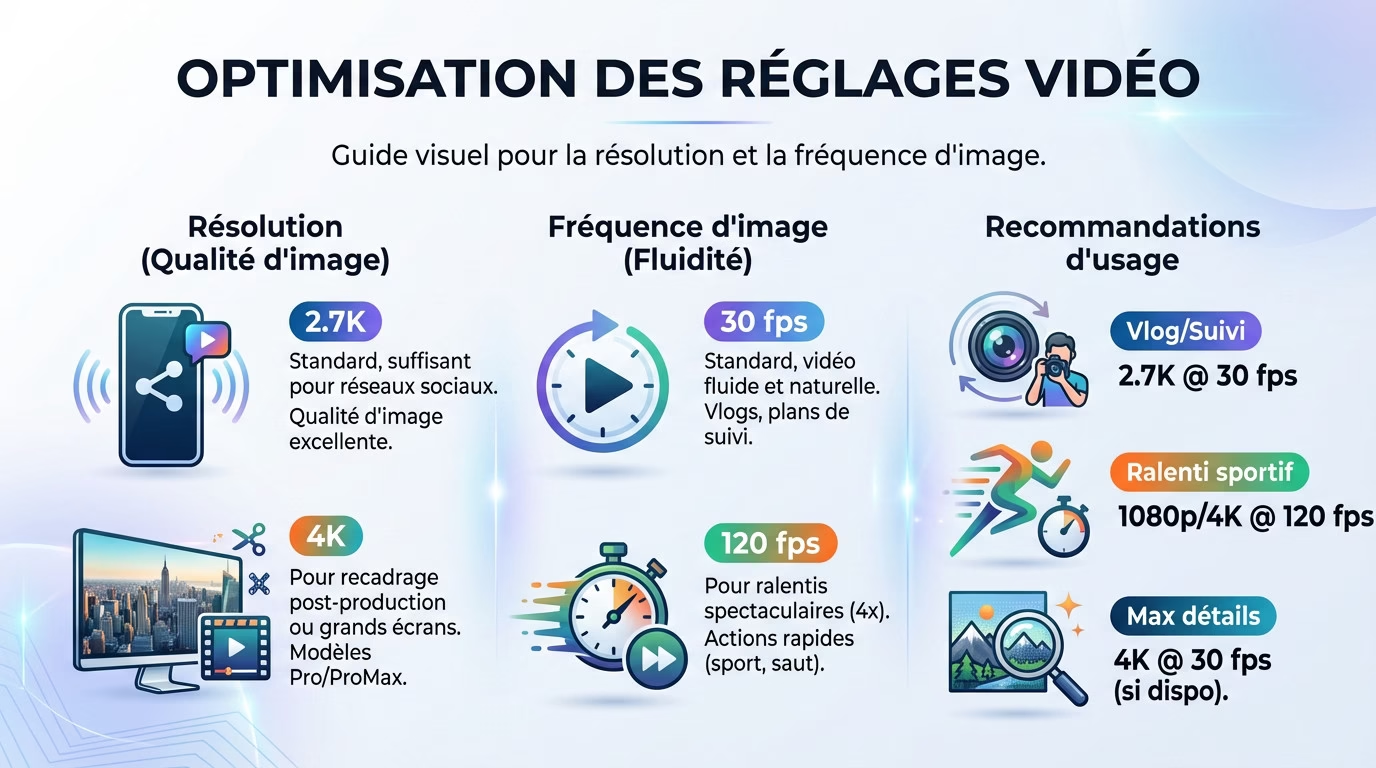
The key takeaway: the 2.7K at 30 fps setting offers the best balance for smooth, shareable videos . The 120 fps option should be reserved for fast-paced action to create impressive slow-motion footage . Choosing the right mode for the scene instantly transforms amateur footage into cinematic sequences, without spending hours in editing.
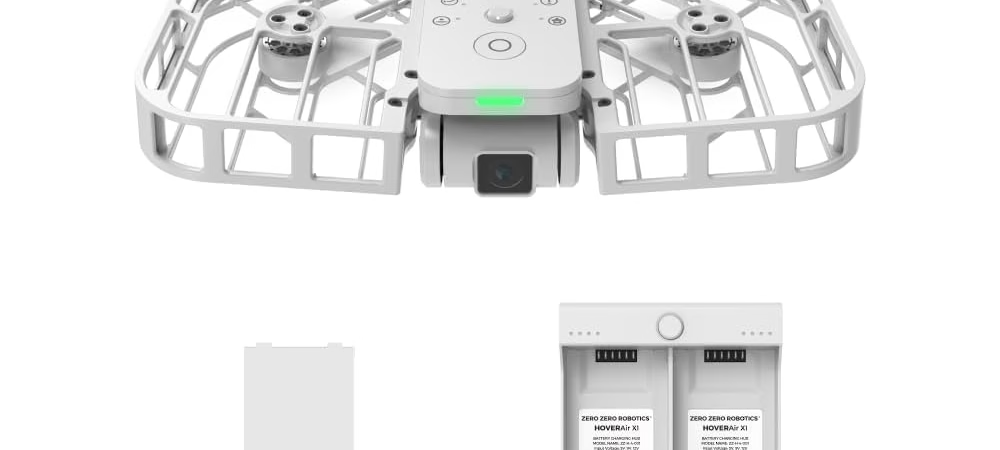
Do you find your footage lacks vibrancy or are you getting a little lost in the menus? Applying the best video settings for filming with the HOVERAir X1 is the quick solution for effortlessly achieving professional results . Let’s take a look at the exact resolution and frame rate settings that will enhance your next flights.
- Basic settings: resolution and frame rate
- Mastering color profiles for a professional image
- Adjust your settings to the conditions and flight modes
Basic settings: resolution and frame rate
Choosing the right resolution: 2.7K or 4K?
Good news: the best video settings for filming with the HOVERAir X1 offer superb image quality by default . The 2.7K resolution is more than enough for most uses, especially for social media.
The Pro and ProMax models go up to 4K . This is useful for cropping in post-production or displaying on a big screen with this pocket-sized selfie drone .
30 fps vs 120 fps: smooth or slow motion?
For smooth gameplay, 30 fps remains the standard . It’s the perfect choice for a natural look in your vlogs or regular videos.
The 120 fps mode is reserved for spectacular slow-motion effects. Choose this setting to freeze fast-moving action and slow it down four times during editing .
- For a vlog : 2.7K at 30 fps.
- For sports slow motion : 1080p (or 4K on ProMax) at 120 fps.
- For maximum detail: 4K at 30 fps (if available).
Mastering color profiles for a professional image
Normal mode (8-bit): simple and efficient
This is the default setting: you film, you share directly on social media. The colors are already bright and vibrant, so no retouching is necessary .
This mode records in 8-bit, which is more than sufficient for everyday content. However, it shows its limitations if the scene has very strong contrasts in brightness .
HLG and H-Log (10-bit): the expert touch
On the ProMax versions, the 10-bit profiles are a real game-changer for quality. The HLG (Hybrid Log-Gamma) mode is fantastic for outputting HDR video that’s immediately viewable on a compatible screen, without any hassle.
H-Log mode is aimed at post-production professionals. The image comes out very flat, but it captures a maximum of information for editing .
H-Log gives you complete freedom for color grading, but requires work. For effortless professional results, HLG is often the best compromise.
It is essential to use a LUT to “reveal” the H-Log colors during editing. HOVERAir officially provides one to make the process easier for you.
Adjust your settings to the conditions and flight modes
Presets per intelligent flight mode
Each intelligent flight mode, such as Follow or Orbit, requires a specific configuration to perform optimally . Don’t leave it to chance.
- Follow/Orbit mode : 2.7K/4K at 30 fps in Normal or HLG mode for maximum smoothness.
- Dolly Track mode : 30 fps for a natural panning shot.
- Slo-mo mode : 1080p/4K at 120 fps for slow-motion action.
The goal is simple: anticipate the desired final result before even launching your drone.
Manage exposure: auto, manual and ND filters
Automatic mode handles exposure very well most of the time. It’s the ideal, easy solution for quick flights or impromptu selfies without any hassle.
In bright sunlight, an ND filter is not an option, it is a necessity if you want cinematic motion blur without overexposing your image.
To achieve that “cinematic” look with motion blur , switch to manual mode. Use ND filters to control the shutter speed and the built-in electronic stabilization .
Tip: Opt for the H.265 codec when recording in 4K or 120fps to reduce file size .
You now have all the tools you need to get the most out of your HOVERAir X1. Choose the right resolution, adjust the frame rate, and experiment with advanced color profiles . The most important thing is to test these settings in real-world conditions . So, grab your drone and start filming like a pro.

Leave a Reply