
Filming a skate or BMX session is always a challenge: too much movement, constant vibrations, and often… a friend forced to run alongside with a shaky smartphone.
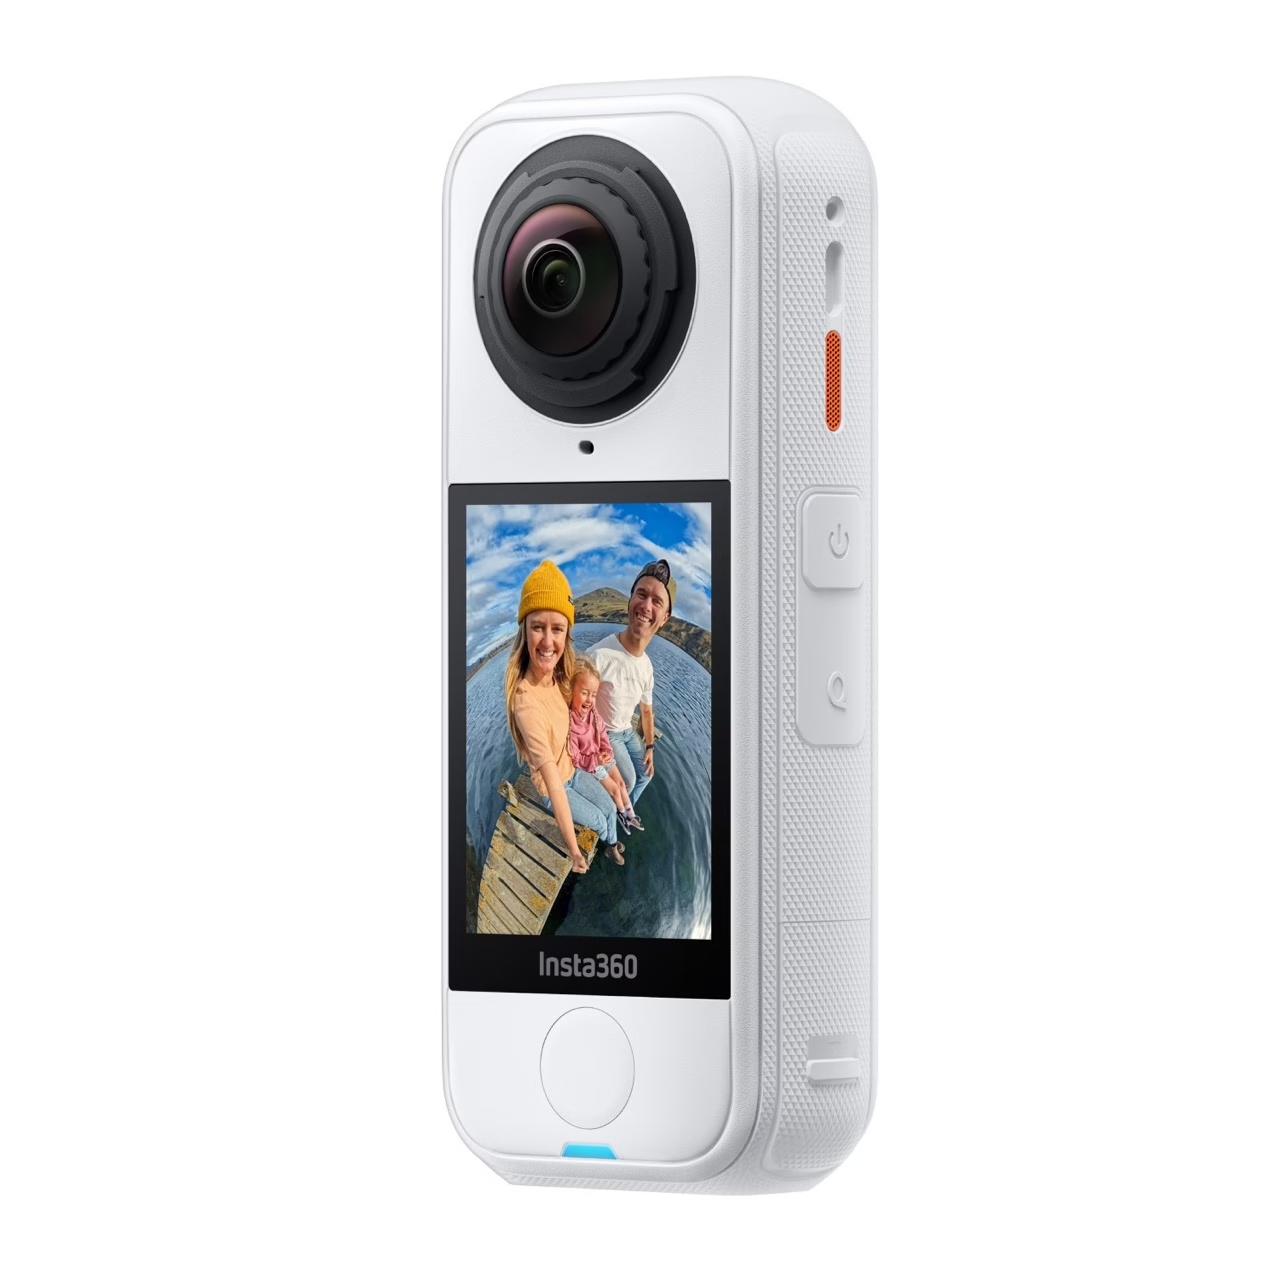
But since the arrival of the Insta360 X4 Air , everything has changed.
Ultra-light, stabilized and capable of filming in 360° in 8K , it transforms any outing to the skatepark or ramp into a fluid and immersive cinematic sequence .
In this article, I’ll show you how to film your skate or BMX session like a pro: which angles to choose, which accessories to use, and which tips to adopt for really impactful shots.

🎥 Why the X4 Air is perfect for skateboarding and BMX
A lightweight and robust 360 camera
Weighing only 165g , the Insta360 X4 Air is almost as light as a smartphone, but much more robust.
It is shockproof, dustproof and even water-resistant up to a depth of 15 meters .
You can attach it to a helmet, handlebars, an invisible selfie stick, or even your skateboard — and it will keep up without flinching.
FlowState stabilization makes all the difference
Whether skateboarding or BMXing, stability is anything but guaranteed.
Fortunately, FlowState stabilization and 360° horizon lock compensate for every vibration, jump, or curb bump.
Even after a 180 or a grind, the video remains straight, smooth and pleasant to watch.
The “drone” effect without a drone
That’s the magic of Insta360: by using the invisible pole , the camera automatically removes the handle from the shot.
The result: a “floating camera” effect as if there were a drone following you everywhere — without a pilot, without legal constraints, and without risk of crashing.
🛹 The best angles for filming a skate or BMX session
1️⃣ The invisible pole at arm’s length
It’s the classic but terribly effective angle: the camera fixed to the end of an invisible 114cm pole .
You get immersive selfie shots, perfect for transitions, tricks, lifestyle moments or POV shots.
💡 Tip: Keep the pole perfectly straight to enhance the “drone” effect.
2️⃣ Fixed to the handlebars or deck
For BMX or scooter riders, the handlebar attachment is incredible.
It allows filming the complete movement of the frame, wheels and body, offering an ultra-immersive on-board perspective .
For skateboarding, you can attach the camera to the deck or the nose (with an adhesive base), angled slightly towards the ground to capture tricks and rotations.
3️⃣ “follow cam” plan
A classic scenario: your friend follows you with a camera while you ride.
With the Insta360 X4 Air , you don’t even need to frame: in post-production, the Deep Track 3.0 mode automatically follows the main subject.
The result: dynamic sequences, centered on your movement, even if the camera moves a lot.
4️⃣ Attachment to helmet or chest harness
For total immersion, nothing beats the POV (point of view) .
Attach the camera to your helmet or chest harness to give the impression of “experiencing” the figure in first person.
It’s perfect for tutorials, trick reels, or progression videos.
⚙️ Essential accessories for riders
Here’s a selection of the most useful accessories for filming your sessions with the X4 Air 👇
| Accessory | Main use | Link |
|---|---|---|
| 🪶 Invisible pole 114 cm | Dynamic shots, drone effect | Buy from the Insta360 store |
| ⚙️ Handlebar/scooter mount | Stable tube attachment | Insta360 Store |
| 🎥 Helmet/harness attachment | Immersive POV (skateboarding, BMX) | Insta360 Store |
| 🎤 Mic Air | Improves the sound of wheels, grinds, and ambient noise. | Insta360 Store |
👉 These accessories are lightweight, compact and perfectly compatible with the X4 Air.
🎨 Filming tips for more professional footage
1️⃣ Use 8K mode at 30 fps for technical stunts
This is the most detailed mode for cropping. You can freely rotate within the image without losing quality.
2️⃣ Shot against the soft light
The late afternoon light enhances the reflections of the metal, concrete and railings.
Avoid direct sunlight at midday: the rider’s shadow can become too harsh.
3️⃣Activate FlowState + Horizon Lock
Essential in a bowl or park. The stabilization system corrects all jolts without manual intervention.
4️⃣ Edit your clips with the Insta360 app
In the app, try:
- FlashCut → automatic editing with music.
- Shot Lab → “freeze frame”, “clone trail” or “bullet time” effects.
- Deep Track 3.0 → intelligent reframing to automatically follow the rider.
🔊 Pay attention to the sound and the atmosphere
Sound is often overlooked, but it changes everything:
the sound of the wheels, the grip, the grind, or even the reaction of your crew.
- The Insta360 Mic Air captures sounds without distortion.
- You can also sync a royalty-free soundtrack (chillhop, punk or lo-fi depending on your style).
- If you want to focus on realism, keep the raw ambient sound: it gives character to the video.
🧠 Mistakes to avoid
- Neglecting the lenses → a grain of dust is visible in 8K.
- Shaking the pole too much reduces the invisible effect.
- Filming too close to an obstacle → 360° distortions become visible.
- Forgetting about Deep Tracking → you risk going off-track.
👉 Tip: always do a framing test before your real session.
🏁 Conclusion — Turn your sessions into professional clips
The Insta360 X4 Air completely changes the way skateboarding and BMX are filmed.
Thanks to its FlowState stabilization , its lightness , and its 360° angle , it captures every movement, every trick, every highlight — effortlessly and without a cameraman.
🎯 In summary:
- Test several angles (pole, helmet, deck).
- Use the right accessories to vary the perspectives.
- Let the Insta360 app work its editing magic.
Your next session will never have been so smooth, creative, and immersive.
👉 Discover the Insta360 X4 Air and its official accessories on the Insta360 store and transform your skatepark into a film set.

Leave a Reply