
Want to get the best possible image quality out of your Insta360 X6? In a recent video on my YouTube channel, I broke down the 11 settings and tips I actually use on my X6, from cleaning the lenses to export settings. Here’s the written version, so you can quickly refer back to it before your next shoot.
Insta360 X6 deal — Back to School
A free dual-lens kit with code INREC7J
By using my link, you currently get a free dual-lens kit with almost all Insta360 X6 bundles, in Arctic White and Midnight Black (Standard, Essentials, Travel, Premium, Diving, Moto MultiView, Road Cycling, Ski, Snowboard, Creator, POV…), on top of the current Back to School deals running until mid-September. Check the perk shown in your cart before paying — the microSD card isn’t included in any of these bundles, so remember to order it separately.
View Insta360 X6 offer →This link is an affiliate link. If you order through it, I may earn a commission at no extra cost to you. This helps fund the tests and content published on Drone & Cam.
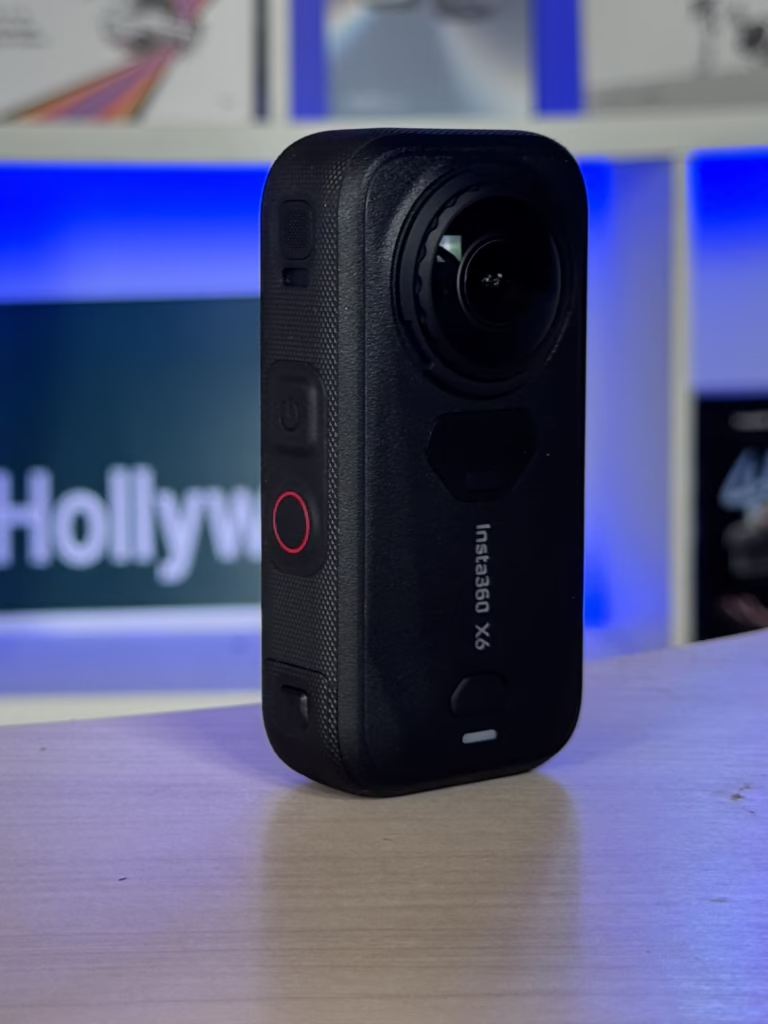
Tip 1: clean the lenses before filming
It’s the simplest tip on this list, but probably one of the most important. On a 360° camera, the lenses are very domed and capture a lot of light: a fingerprint, a drop of water, or even a speck of dust can create a blurry or reflective area that’s almost impossible to fix in editing.
Before every important shot, I always take a few seconds to check both lenses. I use a microfiber cloth for smudges, and a small blower for dust: it avoids unnecessary rubbing and leaving new marks. Another X6-specific point: its lenses are replaceable. If you swap one out, remember to rerun the stitching calibration in the camera settings, otherwise the two images won’t stitch together properly.
Tip 2: set the bitrate to “High”
In the camera settings, you can choose the bitrate used to record your videos. The higher it is, the more information the camera keeps in the file, at the cost of larger files. On a camera that shoots in 8K, I think it’s a shame to save a few gigabytes at the expense of quality, so I almost always shoot at high bitrate whenever image quality is the priority.
Remember to double-check this setting from time to time, especially after a major camera update: settings can sometimes get changed.
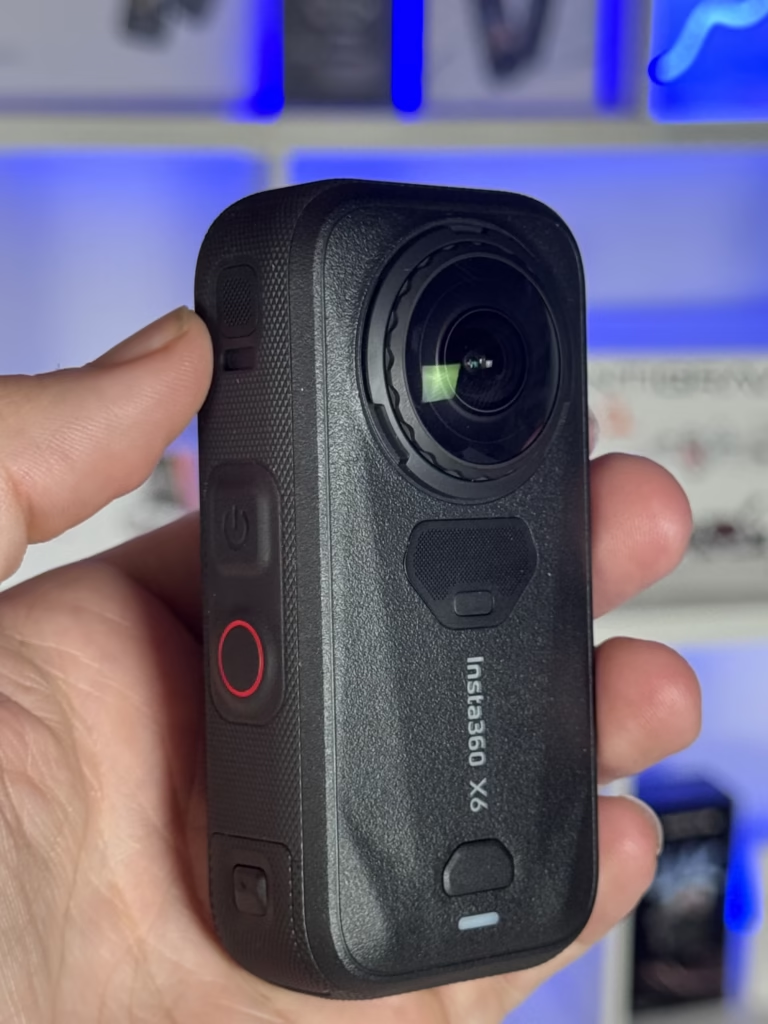
Tip 3: 8K 30 fps, my default daytime setting
The big new feature of the X6 is its ability to shoot 360° in 8K at up to 50 frames per second. You might think the higher number is always the best choice, but it’s not my default setting. For most travel videos, hikes, vlogs, or everyday scenes, 30 fps is more than enough: it’s also the mode that lets you use advanced features like Dolby Vision or I-Log.
If I had to keep just one preset for 80 to 90% of situations, it would be: 8K 30 fps, HDR on, high bitrate. This is really the setting to use as your default on the X6.
Tip 4: switch to 50 fps as soon as there’s movement
50 fps becomes interesting as soon as there’s a lot of action: motorbike, cycling, skiing, running, hiking, or any sport. Motion looks smoother, and you gain the option to do slow motion in editing.
So it’s not about the “best mode in absolute terms”, but choosing the setting that fits what you’re filming: 8K 30 fps for everyday use, 8K 50 fps as soon as the action picks up.
Tip 5: enable PureVideo as soon as the light drops
A classic mistake is keeping the same settings between a video shot in bright sunlight and one shot at night on a dark street. The X6 has made real progress in low light thanks to larger sensors and more processing, but you still need to enable the right mode.
At night, or in a dark scene, I always switch to PureVideo mode (still in 8K 30 fps and high bitrate): it uses more processing to reduce digital noise and keep detail in dark areas. Before an important shot, test 10 seconds in standard mode then 10 seconds in PureVideo and compare on a screen: as soon as it’s dark, PureVideo wins almost every time.
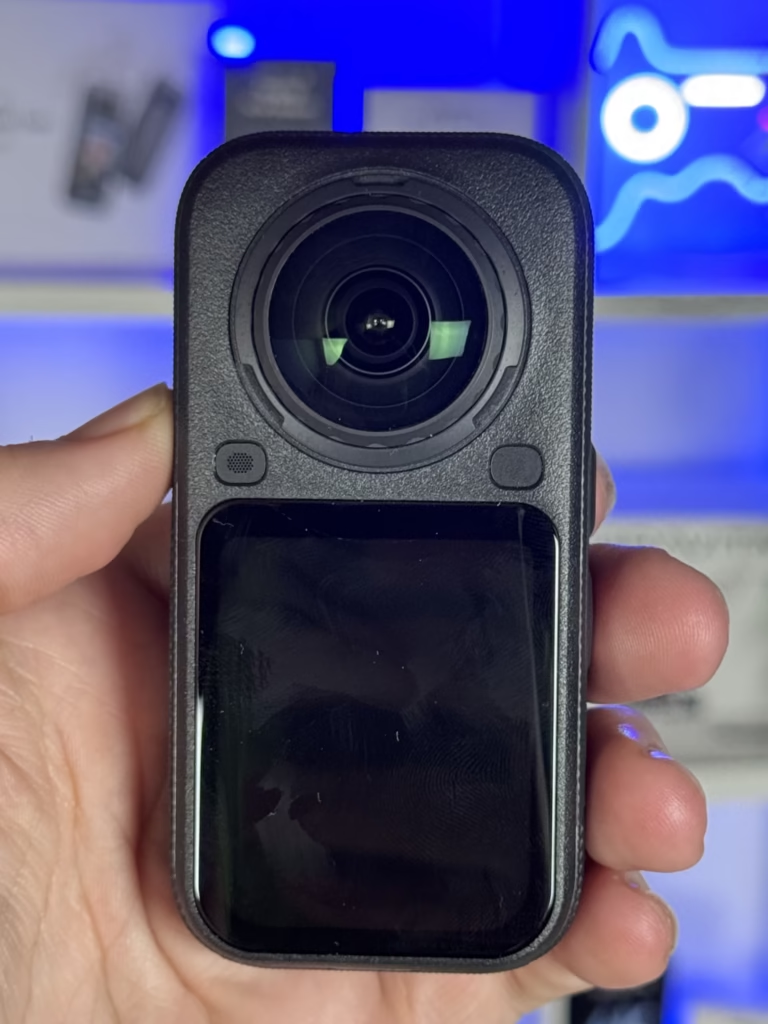
Tip 6: don’t overcomplicate color (LOG, Dolby Vision)
The X6 records in 10-bit and offers Dolby Vision and I-Log. If you’re filming your vacation, a few YouTube videos, or Instagram, stick to a standard color profile: the X6’s colors are already very good straight out of camera, and you’ll save a lot of time in editing.
Dolby Vision is interesting if you like a very contrasty HDR look and you have a compatible screen and workflow. I-Log is more for people who color grade in post: the image looks flatter at first, but you keep more latitude for colors, shadows, and highlights. Don’t shoot in LOG just because it “looks more pro”: if you’re not grading afterwards, stick to a standard profile.
Tip 7: watch out for the stitch line
A 360° camera uses two ultra-wide-angle lenses, and the software then has to stitch the two images together to create the full sphere. The area exactly on the sides of the camera is therefore a stitching zone, where a subject that’s too close can cause distortions.
When possible, place your main subject facing one of the two lenses rather than on the side. The rule becomes even more important the closer the subject is: at several meters, no problem; at 10 cm from the lens and right on the stitch line, you may see artifacts that can ruin a shot.
Tip 8: keep some distance from the camera
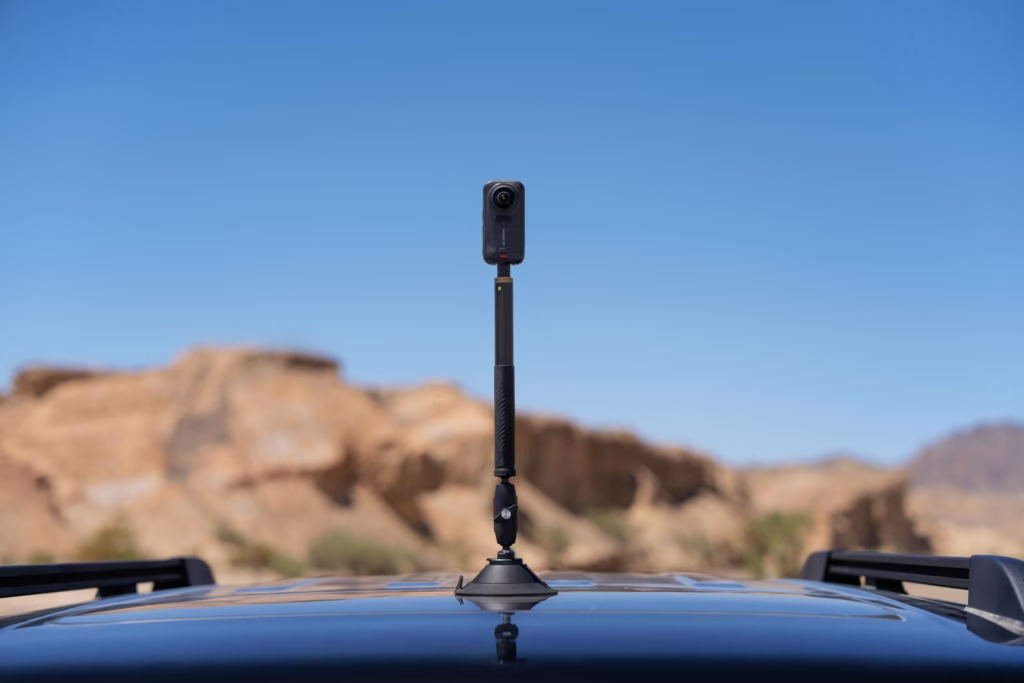
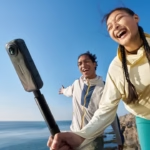
360° cameras are impressive when they have space around them: that’s what enables the “invisible selfie stick” effect. But if you press the camera up to your face or your hand partly covers the lens, even the best stitching algorithm will struggle.
With a selfie stick, I always try to extend it far enough: framing looks more natural, the invisible selfie stick effect works better, and stitching issues drop significantly.
Tip 9: try InstaFrame 2.0 to avoid reframing
A lot of people think that with a 360° camera, you have to reframe everything afterwards. With InstaFrame 2.0, that’s no longer mandatory: the camera can directly create a flat 4K video by automatically tracking a person, an animal, or an object. It’s very handy for vlogging, filming your family, or walking while talking to the camera.
In daylight, my setting is simple: InstaFrame, 4K, 30 fps. You can also choose to keep the original 360° file in addition to the auto-reframed version: it takes more storage, but it’s a useful safety net for an important clip that you can always reframe yourself later.
Tip 10: don’t forget single-lens mode
The X6 can also work like a classic action camera by using just one lens: up to 5K 60 fps, a wide field of view up to 170° in 5K 30 fps, or 4K 120 fps for slow motion.
If you mount the camera on a helmet for cycling and you know in advance you want a classic POV video, there’s no need to shoot in 360°: single-lens mode is enough. And as soon as you want the freedom to choose your framing afterwards, just switch back to 360°. That’s really what makes this camera interesting: three different ways to use it with a single device.
Tip 11 (bonus): dial in your export settings
You can shoot a great 8K clip with the best settings, then destroy some of that quality with bad export compression. In Insta360 Studio, a good baseline for a standard video is H.265, Rec. 709, 10-bit, with a bitrate of at least 50 Mbit/s : I don’t hesitate to push the bitrate higher when file size isn’t an issue.
The idea is to keep as much information as possible, especially if you then export to Premiere Pro, DaVinci Resolve, or Final Cut Pro: every additional compression step costs a bit of quality. Try to keep your files clean until your final export.
Recap: my Insta360 X6 settings
| Situation | Recommended setting |
|---|---|
| Daytime / standard 360° | 8K 30 fps, HDR, high bitrate |
| Action / fast movement | 8K 50 fps |
| Night / low light | 8K 30 fps, PureVideo, high bitrate |
| Color grading in post-production | 8K 30 fps, 10-bit / I-Log |
| Vlog without reframing | InstaFrame 2.0, 4K 30 fps |
| Action cam (helmet, cycling…) | Single-lens, 5K 30 or 60 fps |
| Slow motion | Single-lens, 4K 120 fps |
| Standard export (Insta360 Studio) | H.265, Rec.709 10-bit, ≥ 50 Mbit/s |
These settings are a reliable baseline, not a rigid rule: adapt them to the light, movement, and editing time you have available.
Insta360 X6: take advantage of the current deal
Code: INREC7J — free dual-lens kit on almost all bundles; check in your cart before paying.
View current Insta360 X6 price →Also worth reading about the Insta360 X6
- Insta360 X6 Guide: Settings, Tips, and Free Ebook
- In-depth Insta360 X6 review: verdict, what’s new, video quality, and price
- Insta360 X6 vs X5: all the differences that matter
- Which microSD card should you choose for the Insta360 X6?
- Insta360 X6: which bundle should you choose?
- Insta360 X6 promo code: discount, offer, and free accessories




Leave a Reply