
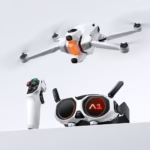
The first flight with the Antigravity A1 doesn’t require ten years of drone piloting experience. However, it deserves more than a hasty unboxing in a parking lot. The A1 combines a drone, Vision goggles, and a control grip: taking ten minutes to prepare this setup avoids incomprehensible alerts, a refused takeoff, or an unpleasant surprise in the field.
Here, we share the simplest method for getting started with the A1, along with some useful field tips. This doesn’t replace local regulations: before flying, always check authorized zones, limitations, and local conditions.
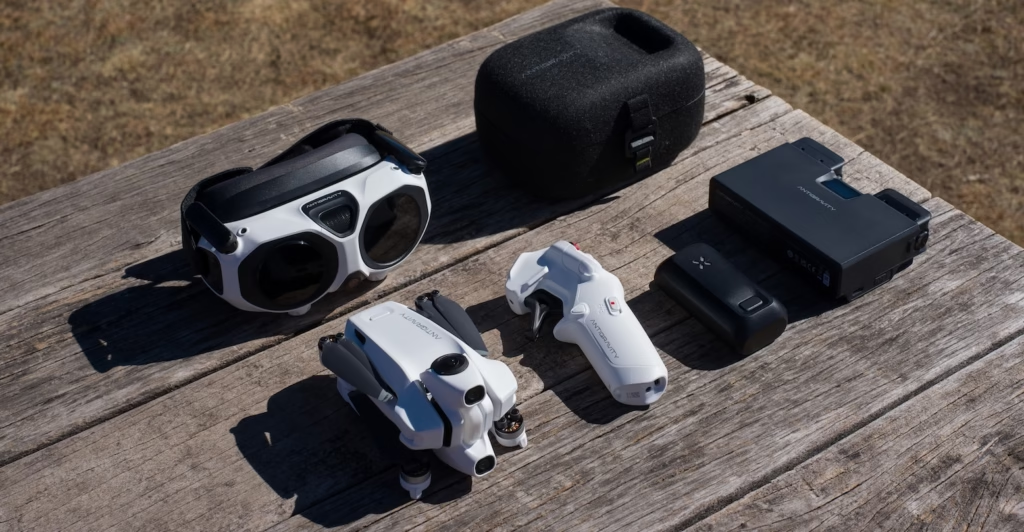
Before you start: what to take out of the box
Place the drone on a stable table and keep the flight battery, Vision goggles with their external battery, the control grip, the provided cables, and a compatible microSD card within reach. The A1 has 20 GB of internal storage, but a microSD card is highly recommended if you plan to film. To avoid recording slowdowns, we recommend a recognized V30/A2 microSD card, such as the SanDisk Extreme PRO, Lexar Silver Plus, or Kingston Canvas Go! Plus ranges.
Choose a proper test site: flat ground, clear space, away from people, animals, power lines, branches, and water. Sensors are an aid; they don’t replace the pilot’s observation or judgment.
Ready for the first flight?
Check the Antigravity A1 pack available today.
See the official A1 offer →Affiliate link: no extra cost for you.
Step 1: Wake up and charge the A1 battery
Upon delivery, the flight battery is in hibernation to preserve its charge level. Insert it into its slot, then connect the drone’s USB-C port to a power supply to activate it. The battery indicator light will flash green during this phase. We recommend waiting for at least three lights to be on before the first use.
For convenient charging, use the Antigravity GaN fast charger or a 65W or higher USB PD charger. Do not exceed the 12V voltage limit at the drone’s charging port. Once the battery is ready, remove the chassis stickers, unfold the rear arms first, then the front arms, and ensure all propellers are fully open.
Then, flip the A1 over and deploy its landing gear. This detail may seem trivial, but it’s part of the manufacturer’s explicit checks before any flight.
Step 2: Prepare the Vision goggles without rushing
The Vision goggles do not have an integrated battery: they must be powered by their external battery using the provided USB-C to DC cable. Stick to the provided USB-C to DC cable: a standard USB cable is not suitable. Charge the Vision battery, again aiming for at least three indicator lights, then connect it to the goggles and attach it to the chest strap.
Unfold the antennas, adjust the headband with the Velcro, and adjust the cable length if necessary. Before putting on the goggles, remove anything that might obstruct your feet. This is not a decorative precaution: once immersed in the image, you must be able to remain perfectly stable.
If you wear glasses, Vision offers diopter adjustment from -5.0 D to +2.0 D. First, roughly set the markers, put on the goggles, then fine-tune. Never force the adjustment wheels to their stops.
Step 3: Charge and turn on the control grip
The grip recharges via USB-C. After charging, a brief press of its power button displays the battery level. To turn it on, press once then hold the button for about two seconds. The controls are more intuitive when discovered on the ground: the trigger manages speed, the wheel is used to recenter the menu, and the flight stick is used for both takeoff and landing.
Never test these actions with the drone in hand. Our advice is very simple: no takeoff or landing in your palm, and never put your hands near rotating propellers or motors.
Step 4: Turn on, connect, and activate the A1
Turn on the drone, goggles, and grip with the same sequence: a brief press, then a press for more than two seconds. The three devices are factory-paired, so you shouldn’t normally need to repeat the operation. If you can see the drone’s view in the goggles and the RC signal icon, everything is ready hardware-wise.
For first use, download the Antigravity app and enable Wi-Fi and Bluetooth on your smartphone. Follow the activation wizard on a stable Wi-Fi network. Also, prepare any identity information requested by the app. Until activation is complete, the A1 is limited to 30m altitude and 50m range: do not postpone this step.
Before ordering
Check the pack contents and availability of the Antigravity A1.
Discover the Antigravity A1 →Step 5: Adjust flight settings before arming the motors
In the Vision goggles, check the maximum altitude, distance limit, Return To Home (RTH) altitude, and chosen behavior in case of signal loss. Choose this altitude before takeoff: once the return is initiated, it cannot be changed. Adjust it according to the actual obstacles around you.
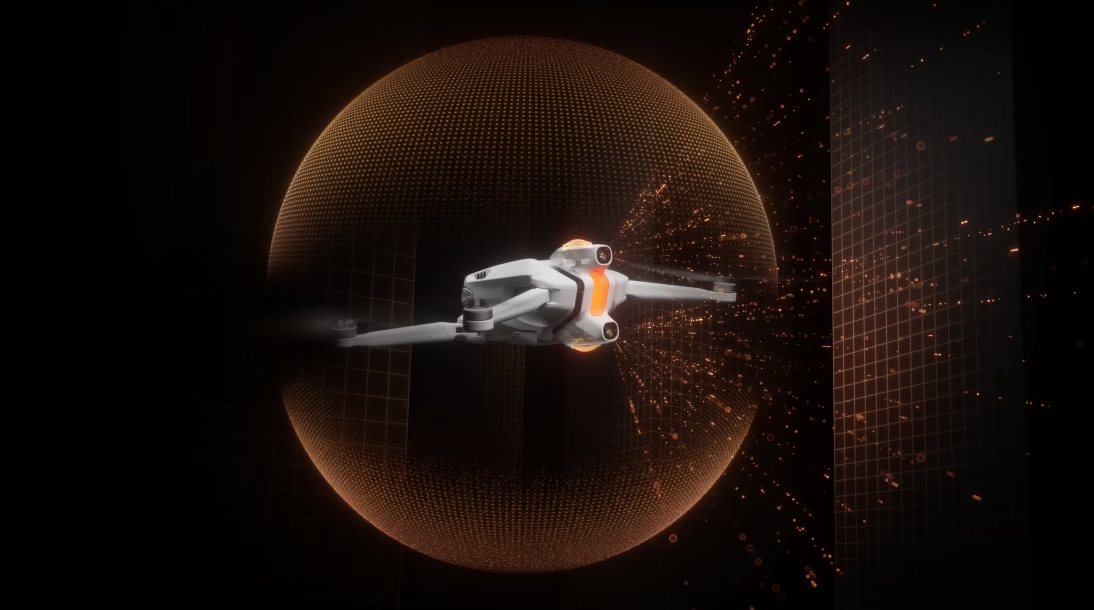
To start, keep the Normal flight mode and Free Movement control mode. Sport mode increases sensitivity and automatically disables obstacle avoidance; there’s no reason to use it on a first flight. In case of weak GNSS signal or unavailable sensors, the A1 may switch to ATTI mode and drift: land the drone as soon as possible.
The 30-second pre-flight checklist
- Battery, propellers, lens, and chassis: nothing loose, cracked, or dirty.
- Drone, Vision, and grip: sufficient charge.
- MicroSD card installed if you want to record.
- Landing gear deployed and takeoff area clear.
- RTH, maximum altitude, and distance limits set for the location.
- Signal and alerts checked in the goggles.
- Visual observer present if you are flying FPV: this is an essential precaution for safe flight.
To arm, push the flight stick up twice quickly. When the motors are idling, push the stick up continuously: the A1 will take off and hover at about 1.2m. Don’t try to get a good shot at this moment. First, check the drone’s behavior, signal, and the readability of information in the goggles.
My advice: the first flight should be very short
Do a simple out-and-back, test the braking, then land the drone. You’ll have time to film, try Cinematic mode, or reframe 360° sequences on your next outing. A controlled three-minute flight is better than spending an entire first battery improvising.
To go further, also find our overview of the Antigravity A1 offer and our guide on pairing the drone, goggles, and grip.
Is the equipment ready?
All that’s left is to choose your Antigravity A1 and prepare for your first flight.
Check availability →To Go Further
These guides can help you further, depending on your needs:


Leave a Reply