

Hyperlapse is one of those video effects that instantly captivates. Time speeds up, landscapes flash by, and movements become fluid and dynamic. With the Insta360 X5 , creating these kinds of sequences is within everyone’s reach, whether you’re a beginner videographer or an experienced creator. Thanks to TimeShift mode, you can transform a simple walk or car ride into a spectacular video ready to be shared.
In this guide, I will show you how to use the Insta360 X5 to create your hyperlapses, from camera preparation to final editing, with practical tips and some creative tricks to take things further.
What is a hyperlapse and why use it?
A hyperlapse is a variation of the timelapse. While a timelapse is done with a fixed camera (a camera mounted on a tripod that captures images at regular intervals), a hyperlapse is done while moving. You move forward, walk, drive, and the camera records a sequence that will then be sped up.
The effect gives a very cinematic look, perfect for:
- Show a route during a trip (road trip, hike, city walk).
- Add rhythm to a YouTube video or vlog.
- Create a “wow” effect on Instagram or TikTok.
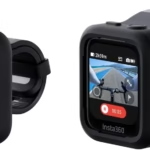
The Insta360 X5 is particularly suited to hyperlapse thanks to its TimeShift mode, FlowState stabilization and its ability to film in 8K.
a:hover { transform: scale(1.05); } a[href*=”amazon”]:hover { background-color: #e68a00; } a[href*=”insta360″]:hover { background-color: #222222; } a[href*=”lacameraembarquee”]:hover { background-color: #0052a3; }

The advantages of hyperlapse with the Insta360 X5
Why use an Insta360 X5 for your hyperlapses, rather than a smartphone or a traditional camera? Here are the advantages that make the difference:
- FlowState stabilization : even if you are walking, running or filming from a vehicle, the video remains ultra smooth.
- Horizon Lock : the camera automatically maintains the horizon line, even if you rotate the selfie stick.
- 8K video quality : your hyperlapses are sharp and detailed, even after cropping in post-production.
- Post-production cropping : thanks to 360° capture, you can choose your angles once the video has been filmed.
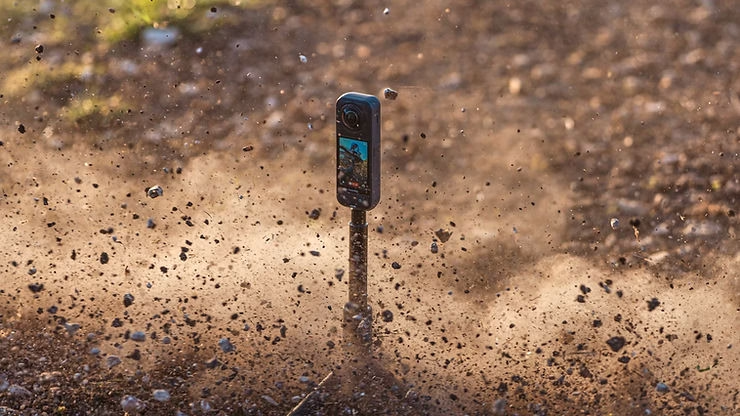
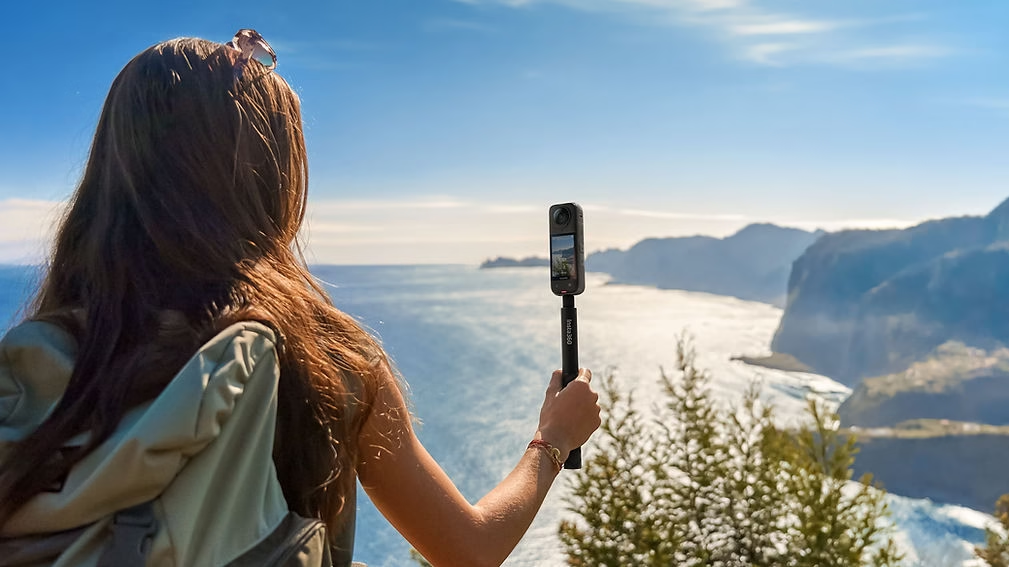
- Invisible selfie stick : the stick disappears automatically, giving a unique drone effect.
These features make hyperlapse not only easy to achieve, but also far more impressive than on other cameras.
Prepare your Insta360 X5 camera before filming
Before you start creating a hyperlapse, it is important to properly prepare your camera.
- Check your SD card : use a UHS-I V30 or higher card to avoid recording interruptions.
- Charge the battery : the Insta360 X5 has solid battery life, but hyperlapse is power-hungry. Consider bringing an extra battery.
- Choose your accessories : an invisible selfie stick or a chest mount allows for better fluidity.
- Activate TimeShift mode : accessible from the X5’s touchscreen, this mode is designed specifically for hyperlapses.
How to film a hyperlapse with the Insta360 X5
Let’s get practical!
- Activate TimeShift mode : on the touch screen, select this shooting mode.
- Choose your speed : you can accelerate x2, x4, x10 or even x30. The higher the multiplier, the more the time will be compressed.
- x2 or x4: for short trips.
- x10: ideal for a stroll around town.
- x30: perfect for a long car journey.
- Keep the camera steady : use a selfie stick and keep it directly in front of you. If you are walking, maintain a steady pace.
- Film for a sufficient amount of time : to obtain a final video of one minute, allow several minutes of actual filming depending on the speed chosen.
- Let the stabilization do its work : there’s no need to strive for perfection, FlowState takes care of smoothing your movements.
Recommended settings for a successful hyperlapse
Even though the Insta360 X5 performs very well in automatic mode, here are some settings that can improve your hyperlapses:
- Resolution : Choose 5.7K or 8K depending on your needs. When traveling, 5.7K is often a good compromise between quality and file size.
- Stabilization : Ensure that FlowState is enabled.
- FOV (field of view) : use MegaView for a natural rendering or UltraWide to accentuate the effect.
- Lighting : opt for filming during the day or at the golden hour for a more cinematic result.
Concrete example: for a 30-minute walk around town, use the TimeShift x10 mode. You will get a sequence of approximately 3 minutes, which you can then shorten during editing.
Editing your hyperlapse in the Insta360 app
Once your video is filmed, it’s time to edit. The Insta360 app makes this process accessible to everyone.
- Transfer your video to your smartphone via the Insta360 app.
- Choose your angle : thanks to 360° capture, you can decide afterwards where to point the camera.
- Adjust the speed : you can still speed up or slow down certain parts of the hyperlapse.
- Add music to enhance the immersive effect.
- Export in the format compatible with your platform:
- 16:9 for YouTube,
- 9:16 for TikTok/Instagram,
- 1:1 for Facebook.
a:hover { transform: scale(1.05); } a[href*=”amazon”]:hover { background-color: #e68a00; } a[href*=”insta360″]:hover { background-color: #222222; } a[href*=”lacameraembarquee”]:hover { background-color: #0052a3; }
Useful accessories for filming a smooth hyperlapse
Although the Insta360 X5 is already very powerful on its own, some accessories can help you further improve your results:
- Invisible selfie stick : the essential item for creating the drone effect.
- Chest mount : ideal for a “POV” viewpoint.
- Grip handle or compact tripod : for better stability when you’re on the go.
- Additional battery : for filming long sequences without interruption.
👉 Find these products in the official Insta360 accessories store.
Practical tips for a professional result
Here are a few more tips to give your hyperlapses a more professional look:
- Choose dynamic locations : a busy street, a scenic road, a mountain trail.
- Film at different times of day : golden hour for warm colours, blue hour for a more cinematic look.
- Add transitions between your hyperlapses and your regular shots to make your edit more dynamic.
- Vary the angles : combine a sequence shot by hand, another with chest fixation, and another from a car.
- Avoid unnecessary jerking : even though FlowState compensates, the smoother your movements, the better the result.
Frequently Asked Questions
What is the difference between timelapse and hyperlapse?
Timelapse is static, hyperlapse is dynamic. The Insta360 X5 allows both.
What speed should I choose for a hyperlapse?
It all depends on the length of the journey. The x10 is the most versatile.
How long do you need to film to get 1 minute of video?
At x10, it takes approximately 10 minutes of actual filming to obtain 1 minute of final sequence.
Is it possible to do a hyperlapse in low light?
Yes, but use the PureVideo mode on the Insta360 X5 to limit noise.
And you, what will be your first hyperlapse with the Insta360 X5?
Hyperlapse is one of the most creative and spectacular modes of the Insta360 X5 . Whether for a road trip, a hike, or a simple stroll around town, it brings rhythm and energy to your videos.
Now that you know how to do it, all that’s left is to try it yourself. So, what will your first hyperlapse with the Insta360 X5 be like?
Leave a Reply