The DJI Osmo Nano is a mini action camera designed for those who want to capture spontaneous moments without the hassle. With its ultra-compact size, built-in creative modes, and DJI Mimo app, it’s the perfect companion for travelers, vloggers, and creators just starting out. But when you unbox a new camera, it’s not always easy to know where to start: which settings to enable, how to optimize quality, which modes to prioritize?
In this tutorial, I’ll guide you step-by-step so you can get started with your DJI Osmo Nano from day one. We’ll cover essential settings, framing tips, creative modes to try, and best practices for extending its lifespan.
Unboxing and first handling
When you open the box, you will usually find:
- the DJI Osmo Nano,
- a USB-C cable for charging and transfers,
- a wrist strap,
- and sometimes a protective pouch depending on the pack chosen.
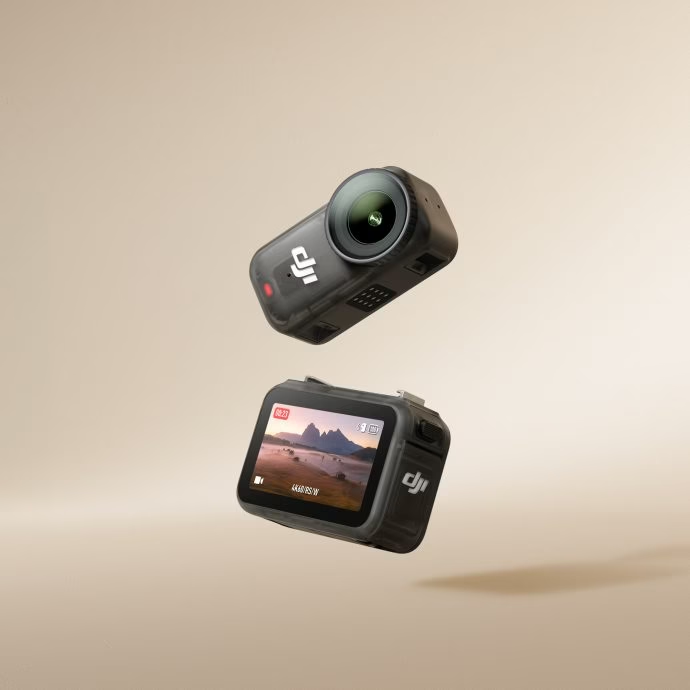
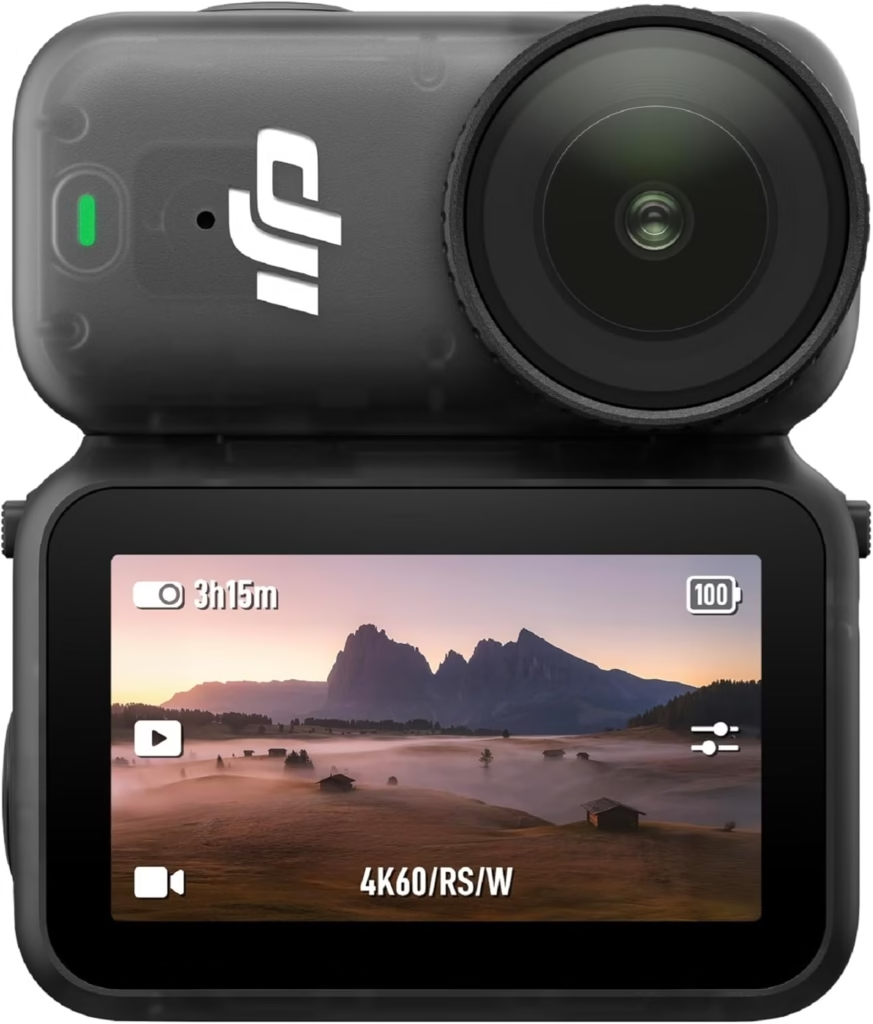
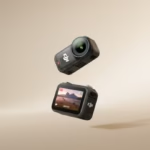
The camera weighs just a few dozen grams and fits easily in the palm of your hand. Design-wise, it features:
- a power button on the side,
- a touch screen on the back to navigate the menus,
- a status LED on the front,
- and a built-in microphone on top.
👉 First reflex: hold down the power button to turn on the camera. The screen then displays the basic interface with the main icons (video mode, photo, settings, etc.).
DJI Osmo Nano
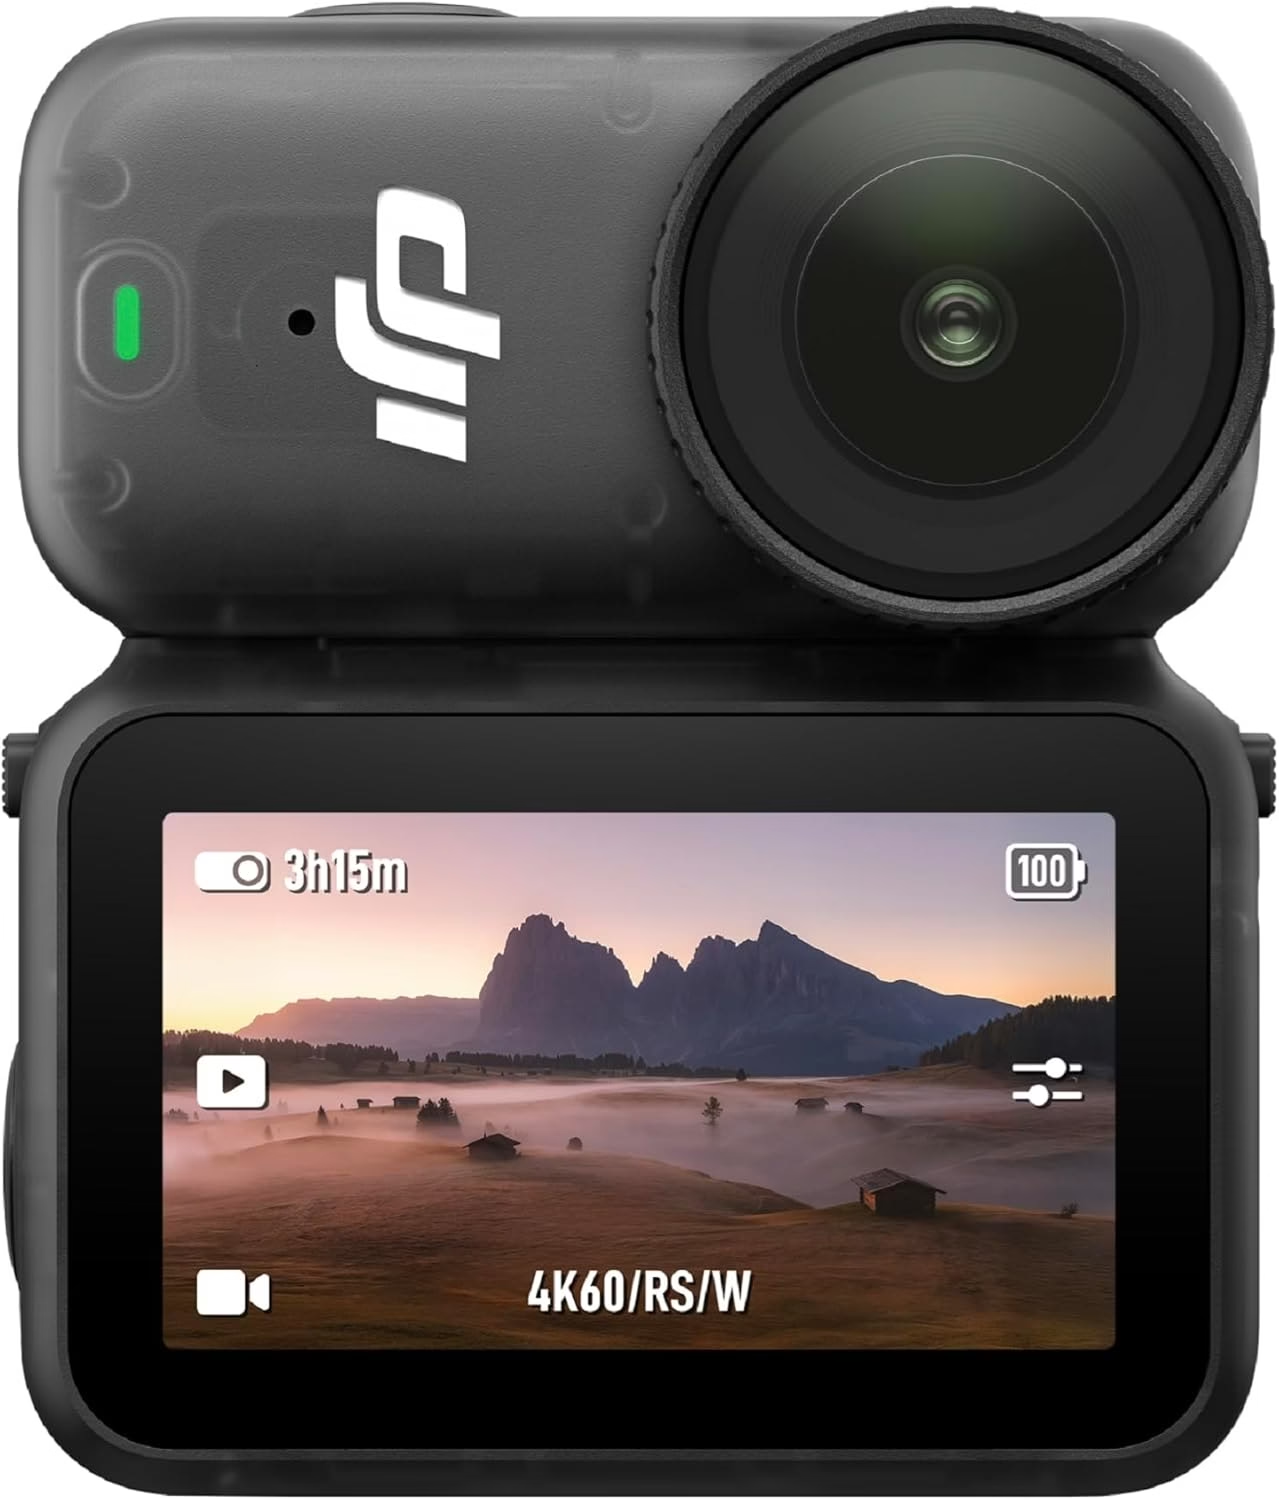
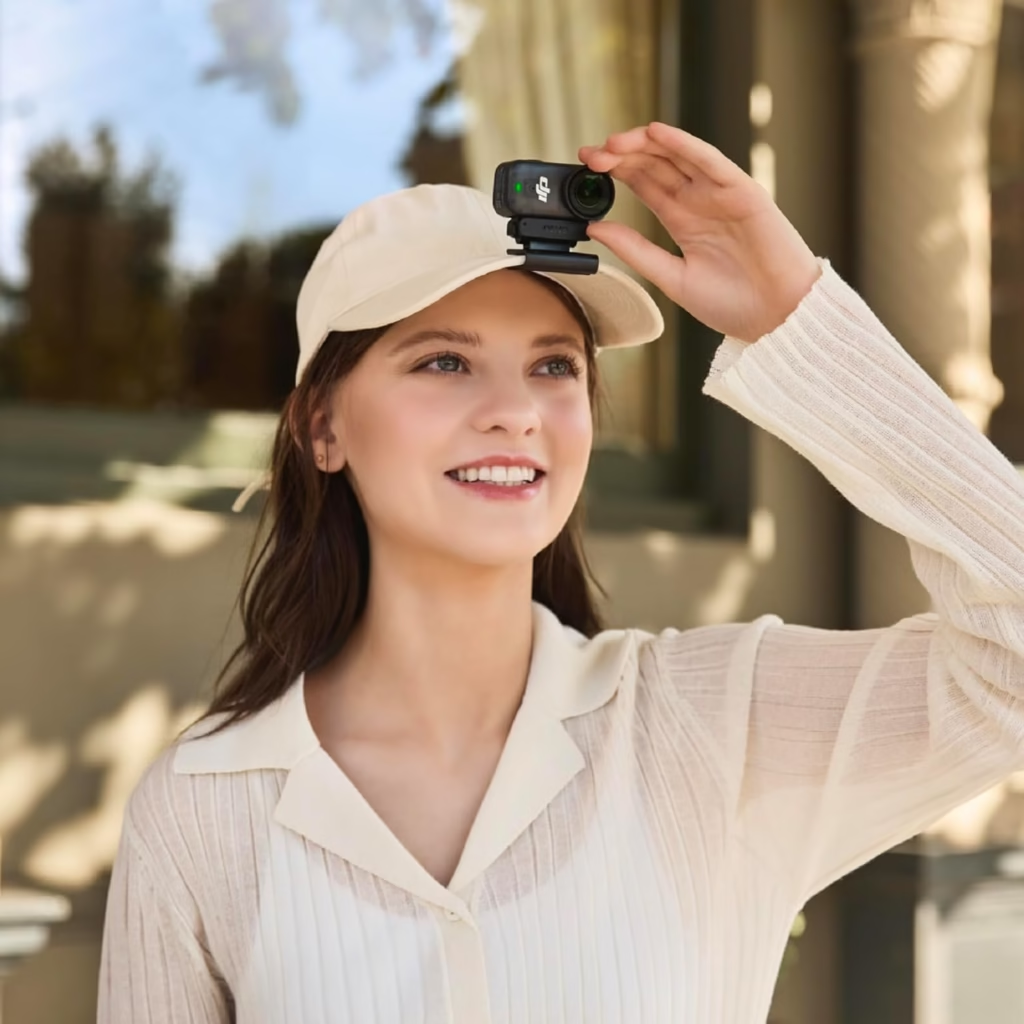
Ultra-compact micro camera with 1/1.3″ sensor, 4K/60fps video, 4K/120fps slow motion and convenient magnetic mount!
Update and activation
Before you even start filming, take the time to connect your camera to the DJI Mimo app. Here are the steps:
- Download DJI Mimo from the App Store or Google Play.
- Turn on your smartphone’s Wi-Fi and Bluetooth .
- Turn on your DJI Osmo Nano and launch DJI Mimo.
- Follow the on-screen instructions to pair the camera with your phone.
Once connected, the app will likely prompt you to update the firmware . This is crucial: updates fix bugs, add features, and optimize image quality. Always accept the update before your first shoot.
Essential settings to know
1. Resolution and Frame Rates
The DJI Osmo Nano can film in several definitions: 4K, 2.7K and 1080p .
- 4K at 30/60 fps : Perfect for high-quality videos and big-screen viewing.
- 2.7K : good compromise between quality and file size.
- 1080p : Ideal for filming long sessions or for quickly sharing on social media.
👉 My advice: film in 4K 30 fps for posed scenes (travel, vlog), and switch to 4K 60 fps if you want to slow down the action a little during editing.
2. Stabilization and field of vision
The Nano features RockSteady stabilization, which automatically compensates for camera shake. Keep it active at all times, especially if you’re filming while you’re moving (walking, cycling, or exercising).
For the field of vision ( FOV ), you have the choice between:
- Wide (wide angle) : to capture as much of the scenery as possible.
- Standard : A balanced framework for vlogging.
- Linear : Corrects distortion, ideal for speaking in front of the camera.
3. Exposure and white balance
In Auto mode, the camera adjusts the brightness itself. But you can go further:
- ISO : Leave on Auto, unless you want to reduce noise in low light (low ISO = less grain).
- Shutter speed : general rule = double your frame rate (e.g. 1/60 to film at 30 fps).
- White Balance : Auto works well, but you can set it to 5500K in daylight to keep colors stable.
4. Built-in audio and microphone
The DJI Osmo Nano has a decent microphone for vlogging. Consider enabling wind noise reduction if you’re filming outdoors. For more professional content, you can connect an external microphone via a USB-C adapter.
DJI Osmo Nano

Ultra-compact micro camera with 1/1.3″ sensor, 4K/60fps video, 4K/120fps slow motion and convenient magnetic mount!
Framing and shooting tips
A miniature camera allows for a lot of creativity, but there are a few rules to follow:
- Use a pole or mini tripod for added stability.
- Avoid backlighting : always place the light behind the camera, not behind your face.
- Vary the angles : outstretched hand for a vlog effect, low tripod for a dramatic angle, POV fixed on the torso for total immersion.
- Selfie mode : Turn it on so the camera automatically frames you while keeping the background in focus.
👉 Tip: If you’re just starting out, enable touchscreen lock mode once you’ve framed your shot. This prevents any mishandling while filming.
Creative modes to get started
One of the big advantages of the DJI Osmo Nano is that it includes modes that immediately give a professional look:
- TimeLapse : Perfect for capturing a sunset or a moving city.
- Hyperlapse : A time-lapse version of a walk or car ride, very dynamic.
- Slow Motion : films in 120 fps to slow down an action (sport, jump, waterfall).
- Story Mode : In DJI Mimo, choose a preset template and the camera will instantly stitch together a stylish short video with transitions and music.
These modes are accessible from the touchscreen: a swipe or tap is enough to switch.
Backup and transfer files
You can watch your videos directly on the camera, but to share them, you have two options:
- Wireless transfer via DJI Mimo :
- Connect your phone to the camera.
- Open the album and select your videos.
- They download directly to your smartphone.
- Wired transfer :
- Connect your DJI Osmo Nano via USB-C to your computer.
- Copies files like on a USB drive.
👉 Don’t forget to use a UHS-I V30 microSD card to avoid recording interruptions and enjoy the best speed.
Best practices to extend lifespan
- Charging : Use an official or compatible 9V/2A charger for fast charging.
- Battery life : Record in 1080p if you want to save battery, or turn off the screen when you don’t need it.
- Maintenance : Wipe the lens with a microfiber cloth. Avoid abrasive products.
- Outdoor use : The camera is splash-proof, but use a waterproof case if you plan to dive.
- Temperature : Avoid prolonged filming in direct sunlight, the camera can heat up in 4K 60 fps.
DJI Osmo Nano

Ultra-compact micro camera with 1/1.3″ sensor, 4K/60fps video, 4K/120fps slow motion and convenient magnetic mount!
And then?
Once you’ve mastered the basics, you can explore advanced settings:
- film in D-Log to correct the colors during editing,
- add ND filters to manage exposure in bright sunlight,
- use accessories like bike or helmet mounts to vary the points of view.
The DJI Osmo Nano is designed to be simple from the start, but it offers enough possibilities to grow with you.
So, ready to film your first videos with the DJI Osmo Nano?
With these essential settings, you’ll be able to capture stable, well-exposed, and creative footage. Whether it’s for a travel vlog, a sports video, or just capturing memories with friends, this little camera has everything a big camera can.


Leave a Reply