
Are you tired of your aerial shots lacking character and looking like a beginner’s work, despite your high-quality equipment? Let’s explore the essential DJI Mini 5 Pro video settings to ditch automatic mode and finally give your footage a truly cinematic style. Get ready to elevate your shots by simply mastering light and motion, because these adjustments will make all the difference to the final result.
- The fundamentals for a cinematic look
- Mastering light: the secret to a professional image
- The finishing touch: color and challenging conditions
The fundamentals for a cinematic look
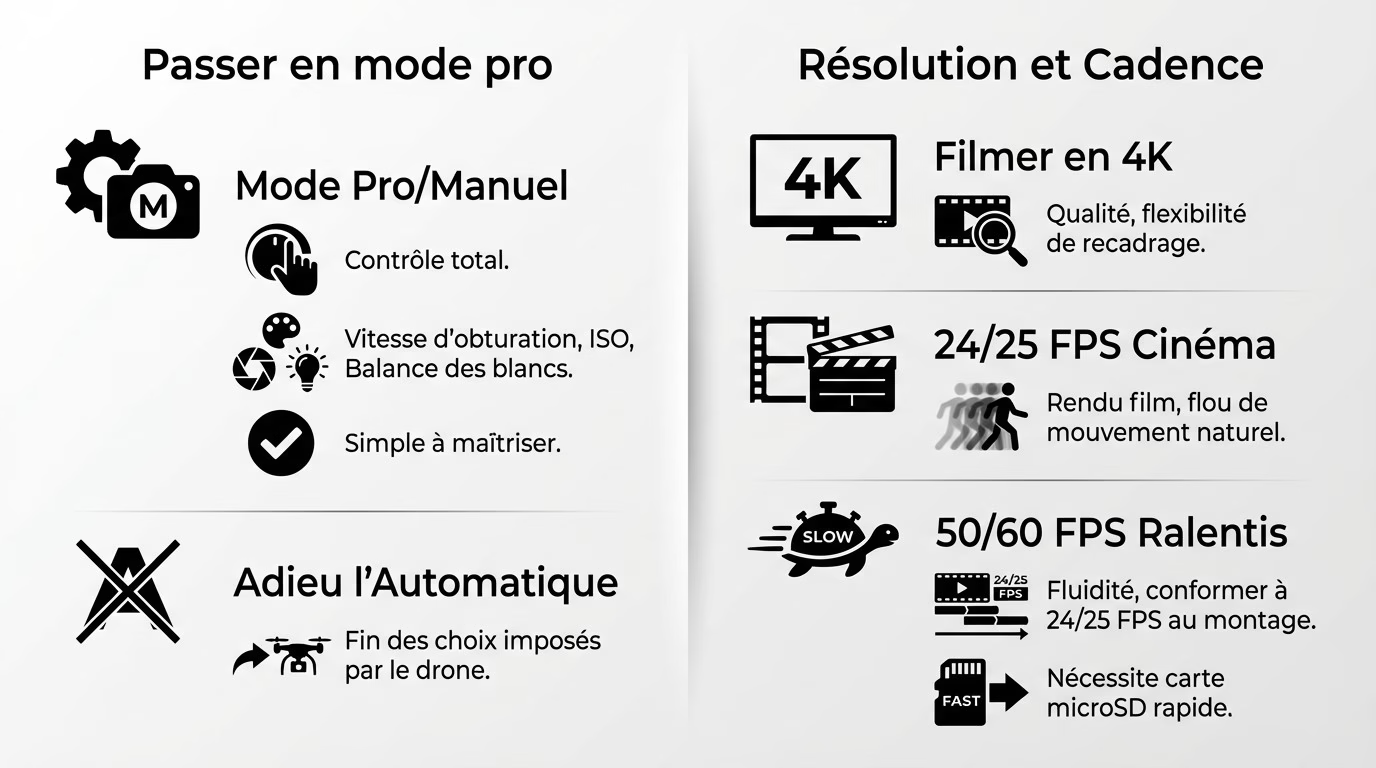
Going pro: the first non-negotiable step
Forget automatic mode if you want a truly polished look. Immediately switch the camera to “Pro” mode in the DJI Fly app. It’s the only way to have complete control.
This mode unlocks everything: shutter speed, ISO, and white balance. We stop letting the drone “think” for us. You take back control and impose your own choices.
The term “Pro” sounds intimidating, but it’s actually quite simple. A few rules are all you need to quickly master everything. These principles also apply to the essential settings of the DJI Osmo Nano .
Resolution and frame rate: the backdrop of your image
I recommend always filming in 4K. It’s the current standard and offers enormous flexibility. You’ll be able to crop during editing without any visible loss of quality.
Next, you choose the frame rate (FPS). For that “cinematic” look with natural motion blur, stick with 24 or 25 fps. This is the absolute standard in the film industry.
Filming at 50 or 60 fps is only useful for smooth slow-motion footage. These shots are then adjusted during editing. Note that 4K requires choosing the right microSD card to keep up.

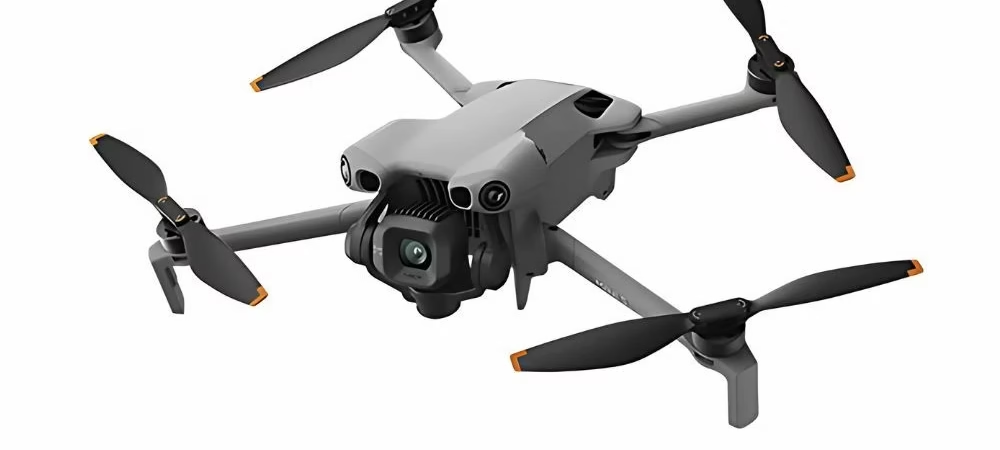
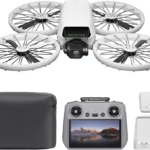
DJI Mini 5 Pro
The next generation ultra-compact drone from DJI. High-quality video, advanced stabilization, intelligent tracking and enhanced security — all in a lightweight and portable format.
Discover more on DJI →Mastering light: the secret to a professional image
The 180-degree rule: your new best friend
To achieve that natural motion blur, one golden rule governs all of filmmaking: your shutter speed must be exactly twice your frame rate. This is the secret pros use to avoid that jerky, amateurish look. Apply this simple principle now.
Let’s take a concrete example for your DJI Mini 5 Pro video settings. If you’re filming at 25 fps, you absolutely must set the shutter speed to 1/50s. For smooth slow motion at 60 fps, aim for 1/120s.
Adhering to this precise mechanics makes all the difference visually. It’s the true boundary between a choppy image and a smooth, professional rendering.
ND filters: the essential tool in broad daylight
The problem is that in bright sunlight, setting the shutter speed to 1/50s completely overexposes the image. You can’t cheat on the shutter speed without losing the precious cinematic blur. The only technical solution is to use ND filters.
Think of them as high-quality sunglasses for your drone. They reduce incoming light to maintain a low shutter speed, even at midday. This also allows you to keep the ISO at 100, ensuring maximum image quality.
| Weather conditions | ND filter recommended |
|---|---|
| Full sun | ND32 or ND64 |
| Slightly cloudy | ND16 |
| Overcast skies | ND8 |
| Dusk | ND4 or no filter |
The finishing touch: color and challenging conditions
D-log or normal: choosing the color profile
The “Normal” mode delivers vibrant, ready-to-use colors. Conversely, a flat profile like D-Log (or D-Cinelike) produces a washed-out image, but one rich in detail. It’s a raw file that needs to be brought to life.
Why do experts prefer D-Log? This profile offers complete flexibility in post-production for color grading. It’s essential for creating a custom cinematic look.
Here’s my advice for your DJI Mini 5 Pro video settings. If editing intimidates you, stick with Normal. If you’re aiming for perfection, switch to D-Log.
- Normal Profile: Ideal for quick sharing, vibrant colors, no post-production work required.
- D-Log Profile: For demanding creators, maximum dynamic range, requires calibration to reveal colors.
Filming in low light: the right reflexes
At night, the strategy changes. Forget ND filters; the goal is to capture every ounce of light. The 180-degree rule then becomes more flexible.
Reduce the shutter speed (e.g., 1/25s) to allow the sensor to breathe. Then, increase the ISO, but do so gradually to avoid overwhelming the image with digital noise.
Be careful with automatic white balance. Urban lighting often throws the sensor off. Set it manually (around 3200K) to avoid strange colors and maintain consistent rendering.
You now have the perfect settings to transform your videos into true cinematic films. Remember that technique is just a tool: it’s your creativity that will make the difference. So, install your ND filters, switch to manual mode, and start capturing incredible images today. It’s your turn!

Leave a Reply