
Worried about damaging your new drone or messing up the activation? This DJI Avata 360 guide walks you through every step, from unboxing to initial gimbal settings, ensuring a smooth experience every time . We’ll give you all the tips and tricks to master the RC Motion 3 and optimize your panoramic videos like a true expert.
- Getting Started with the DJI Avata 360 Guide: Components and Activation
- Technical configuration and energy management
- Intuitive piloting: flight modes and motion control
- Camera settings and 360 video processing
- Flight safety and maintenance reflexes
Getting Started with the DJI Avata 360 Guide: Components and Activation
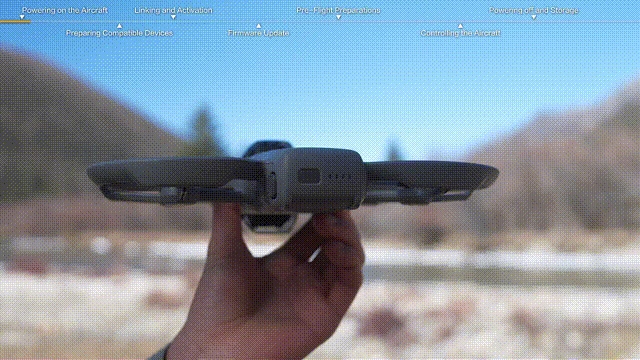
After receiving your precious package, the first step is to discover what’s inside the box and prepare the equipment for its very first flight.
Inventory of equipment and removal of protective coverings
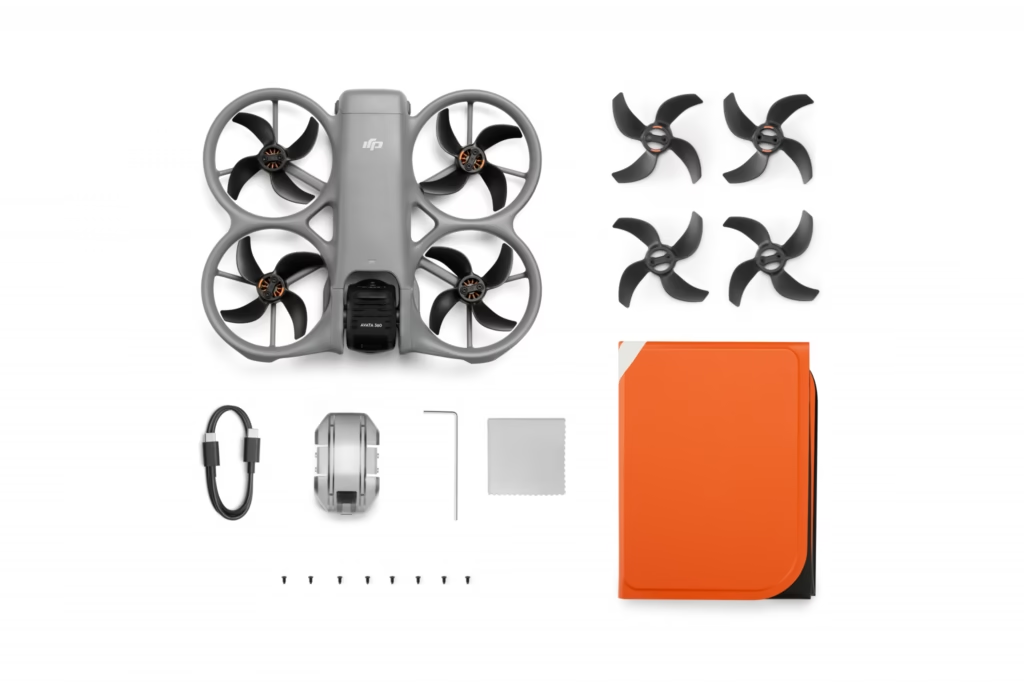
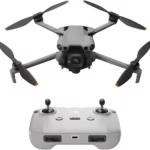
Your bundle contains essential items like the drone, the DJI RC Motion 3, and the N3 Goggles. Take the time to compare each item with the official packing list . This will help avoid any unpleasant surprises before you begin.
It is essential to remove the gimbal cover before switching on the device. This prevents putting undue stress on the motors during initialization. A simple precaution to protect the precision mechanics .

Visually inspect the condition of the propellers and frame. Make sure nothing has been damaged during transport. This quick check guarantees a smooth flying experience from the start, without unnecessary technical risks.
Carefully identify the cables and adapters included in the box. These small accessories are often forgotten at the bottom of the box. Yet, they are essential for charging and connecting your devices.
- Check for the presence of the drone
- Testing the gondola’s freedom of movement
- Identify the motion controller
- Bring out the smart batteries
Activation procedure via the DJI Fly app
Download the DJI Fly app to your smartphone now. Then connect your mobile device to the remote controller using the appropriate USB cable. Launch the interface to begin the guided setup .
The registration step officially links the drone to your DJI user account. Carefully follow the on-screen instructions to validate your warranty. This procedure is mandatory to unlock all the device’s features and fly freely .
Allow access to location services on your mobile phone. This enables the system to update flight zones in real time. Without this, takeoff may be restricted for safety reasons.
Ensure your internet connection remains stable throughout the entire process. An interruption could corrupt the initial activation of your equipment . It’s best to stay near your Wi-Fi router.
Now that activation is complete, a confirmation message finally appears . Take a moment to read the safety tips displayed by the application. This is the perfect time to learn the basics of piloting. And that’s it!
Technical configuration and energy management
Once the drone is activated, it’s time to make sure that your machine’s electronic brain is fully up to date and that your batteries are ready to use .
Firmware update and component synchronization
Install the latest software versions for all your equipment. This includes the drone, FPV headset, and remote controller. Updates often fix important bugs and improve overall signal stability.
If the download fails, check your Wi-Fi network quality. Restart your devices if the progress bar appears stuck. Patience is often the best technical solution .
Pair the goggles with the air unit. Press and hold the pairing buttons until you hear a beep. This step synchronizes the video feed for a smooth image return .
Ensure that all components are using the same firmware version. A conflicting version can lead to fatal communication errors .
Restart your entire system after each successful update. This allows the new settings to take effect correctly . You are now ready to proceed.
Maintenance and charging of flight batteries
Always use the official charging station for your smart batteries. It intelligently manages charging cycles to extend their lifespan . Never leave a battery charging unattended for extended periods.
For storage exceeding ten days, leave the batteries at approximately 60% charge . Avoid deep discharge, which could irreversibly damage the cells. Store them in a cool place.
Observe the LED indicators before each takeoff. A quick glance confirms that you have enough battery life for your session.
- Ideal storage temperature between 20 and 28 degrees.
- Avoid humidity .
- Do not load immediately .
- Check for any swelling .
Well-maintained batteries ensure consistent performance . A voltage drop in mid-flight is every pilot’s nightmare. Take care of your power source.
Intuitive piloting: flight modes and motion control
Now that the technique is perfected, let’s move on to the practical side to understand how to steer this machine with precision and fluidity.
Differences between Normal and Sport modes
Normal mode is perfect for beginners. It activates all obstacle sensors and limits speed for maximum control . It’s the ideal setting for learning basic driving lines without stress.
Sport mode unleashes the drone’s power for impressive top speeds . Be aware that some detection systems are disabled in this mode. Reserve this mode for wide-open spaces.
Use the physical switch on your remote control to instantly switch between modes . This responsiveness is essential in case of an unexpected situation. Learn how to operate this button without removing your headset.
Adjust the joystick sensitivity in the application’s menus. A smoother response often makes it easier to capture cinematic shots .
Experiment with both modes in a safe environment. Understanding the aircraft’s inertia at different speeds is key to successful piloting. Don’t rush the process.
Mastering the DJI RC Motion 3 and Head Tracking
The DJI RC Motion 3 offers a revolutionary flying experience. Simply tilt your wrist to steer the drone in the desired direction . It’s an intuitive approach reminiscent of piloting a fighter jet.
Activate Head Tracking to synchronize the gimbal with your head movements. Look to the left and the camera will follow naturally. This total immersion radically changes your perception .
The AR cursor projected onto the goggles lets you change your settings without landing the drone . Point the controller at the menus to adjust the exposure or flight mode. It’s quick and efficient.
Practice hovering with the motion controller. Altitude control requires a short adjustment period at first.
| Functionality | Classic Controller | RC Motion 3 | Advantage |
|---|---|---|---|
| Trajectory accuracy | Maximum via joysticks | Fluid and organic | Precision vs. Fluidity |
| Learning curve | Standard (two hands) | Ultra fast and natural | Immediate accessibility |
| Immersion | Classic | Total (movements) | Sensation of real flight |
| Scope | Optimal with antennas | Excellent in FPV | Signal stability |

Camera settings and 360 video processing
Good piloting is not enough if the image does not follow; let’s see how to enhance your shots right from the capture stage.
ISO configuration and color profiles
Manually set the shutter speed to achieve natural motion blur. As a general rule, use twice your frame rate. This avoids unpleasant jerkiness during quick turns. Your accelerations will be much smoother .
Choose a flat color profile like D-Log M. This setting preserves maximum detail in dark areas, greatly simplifying color grading later. It also provides incredible flexibility in post-production.
ND filters are essential in bright sunlight. They act like sunglasses for your camera sensor, allowing you to maintain a slow shutter speed even in intense light. They’re an accessory you should always have with you.
Keep the ISO as low as possible. This minimizes digital noise, ensuring a clean image even in low light . Your video will remain sharp and professional.
Always check your exposure settings before takeoff. A helmet monitor can sometimes be misleading about the actual brightness. A quick glance can prevent ruining a unique shot .
Exporting and editing panoramic files
Use the QuickTransfer function to send your videos to your smartphone wirelessly . It’s the fastest way to share your achievements. For large files, however, a card reader is recommended.
Raw footage often needs to be converted on a computer. Use dedicated software to process panoramic files. This step allows you to choose the best viewing angles . That’s the magic of 360.
Dynamic reframing simulates camera movements impossible to achieve live. Play with waypoints to create smooth transitions. Your videos will instantly gain a more professional look . The result will be truly dynamic.
Remember to regularly empty your microSD card. High-resolution videos quickly fill up the available storage space. This will prevent you from getting stuck in the middle of your trip.
Always back up your projects to an external hard drive. You can never be too careful with your travel memories. Good news: your images are now safe for the long term .

Flight safety and maintenance reflexes
To ensure the enjoyment lasts , the safety and maintenance of your equipment must become second nature.
Setting up Return to Home and GEO zones
Carefully adjust the Return to Home (RTH) altitude. It must be higher than the tallest obstacle in your area. If the signal is lost, the drone will climb to that height before returning . This prevents unnecessary collisions.
Always consult the integrated GEO zone map. Some areas are strictly prohibited or require prior authorization. Respecting the regulations is essential for the future of our passion . It’s the reflex of a responsible pilot.
Learn how to manually trigger Return to Home (RTH) using the remote control. This is a lifesaving reflex if you lose visual or video contact. Don’t panic, the system is designed for this. The drone will return to its starting point on its own .
Check that the starting point has been correctly recorded by the GPS. Wait until you have a sufficient satellite signal before taking off. This is essential for a safe return .
- Check the RTH altitude
- Consult Geozone DJI
- Test the pause button
- Monitor the number of GPS satellites
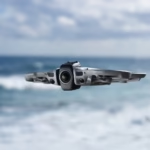
DJI Avata 360 – Maximum safety and built-in protection
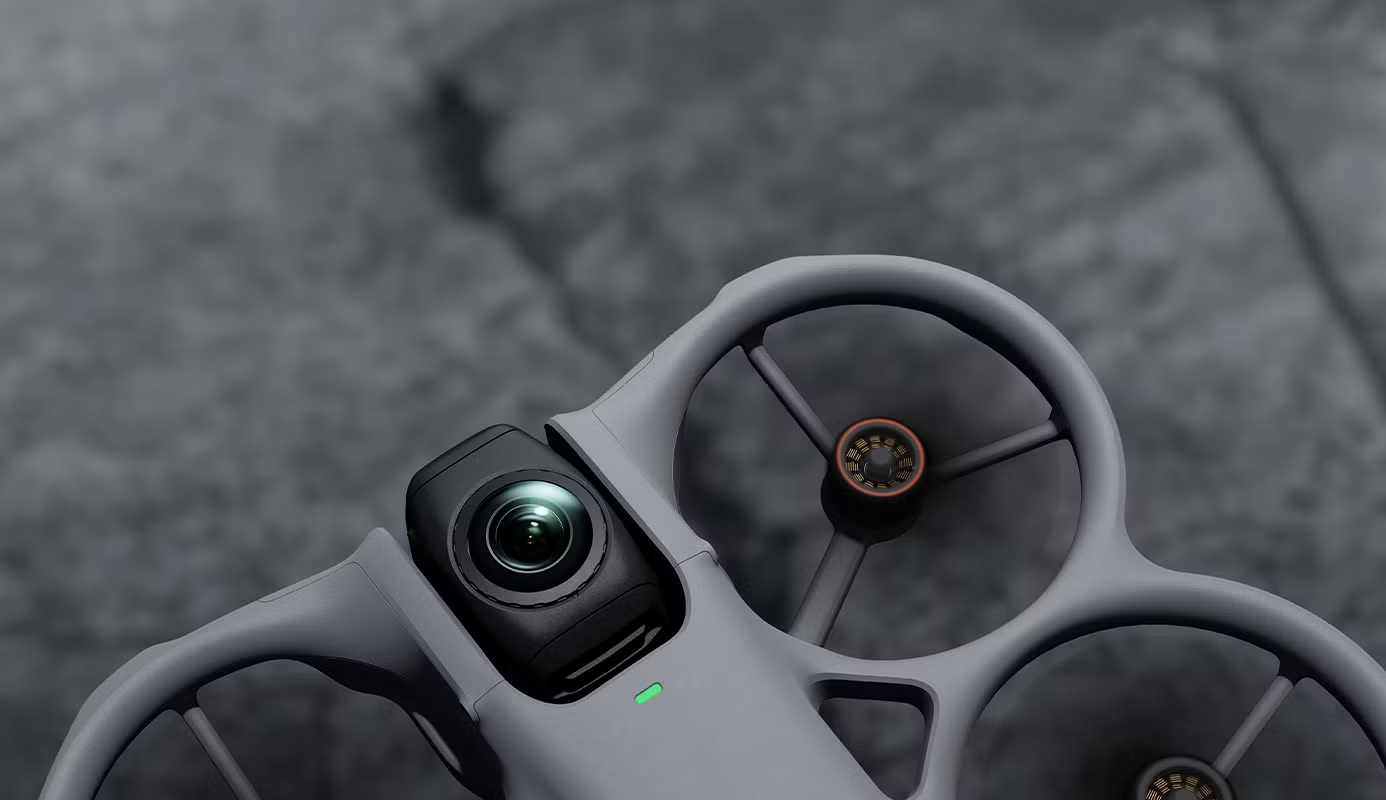
Fly with confidence thanks to omnidirectional obstacle detection and complete propeller protection. Ideal for beginners as well as experienced pilots.
🚀 Check out the DJI Avata 360Rapid troubleshooting and calibration of the gondola
If your drone is drifting abnormally, calibrate the IMU and compass. Place the device on a perfectly flat surface and follow the application’s steps. This simple procedure resolves most stability issues . It’s quick and effective.
Shaky footage often indicates a need for gimbal calibration. Use the software realignment tool to correct the horizon. A straight image is the foundation of quality video . Your viewers will thank you for the smoothness.
Clean the optical sensors and lens after each flight. Dust or fingerprints can interfere with obstacle detection. Use a soft, clean cloth to avoid scratching anything. A clean sensor means a safer flight .
If you encounter a persistent error message, consult the manual in French. Most error codes have a simple, documented solution . No need to stress unnecessarily.
Always store your drone in a suitable carrying case. Protect the lenses and propellers from impacts. Well-maintained equipment will last for many years. Tip: Recharge your batteries every 3 months if you are not flying.
Mastering this DJI Avata 360 guide ensures successful activation, intuitive piloting, and optimal safety . Prepare your batteries and update your firmware now to enjoy total immersion. Your next spectacular flight awaits!


Leave a Reply