
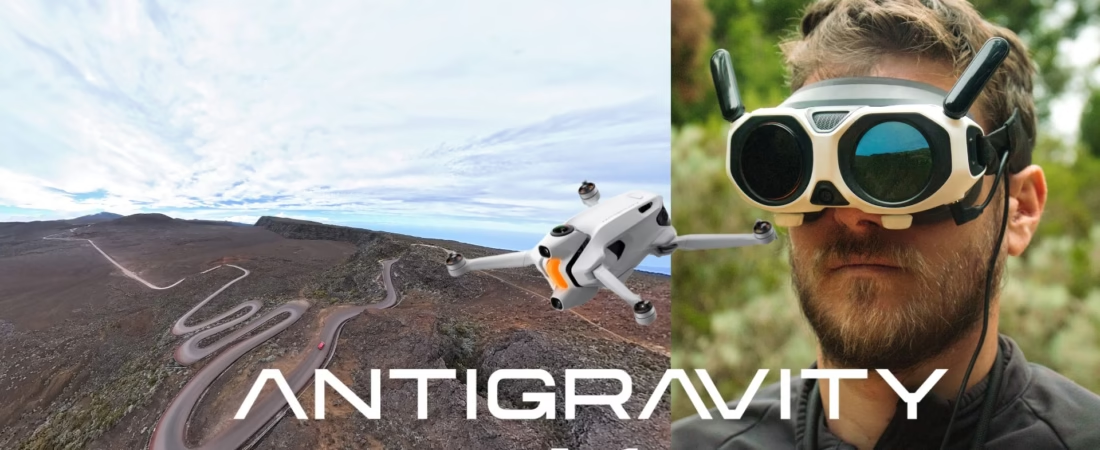
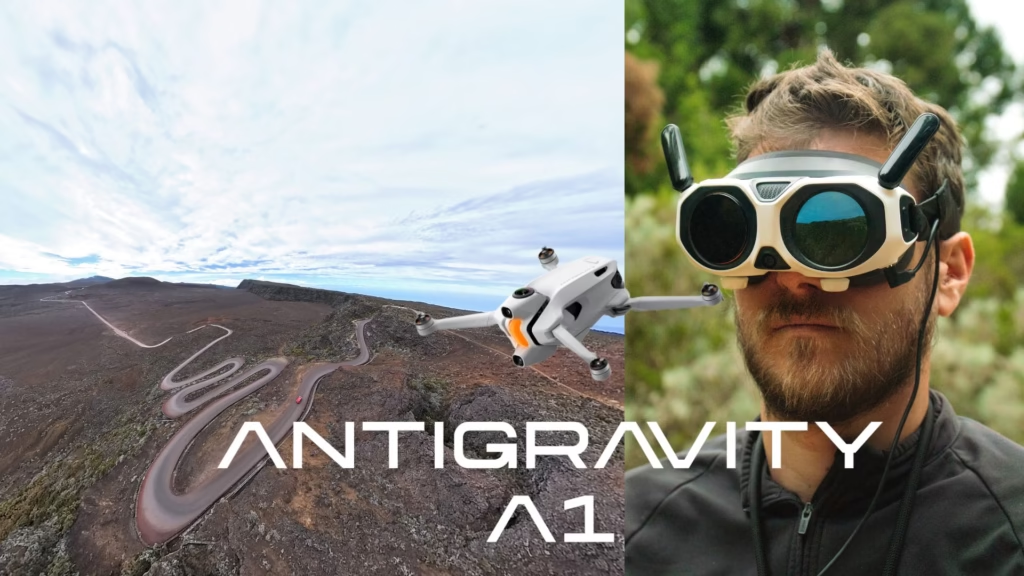
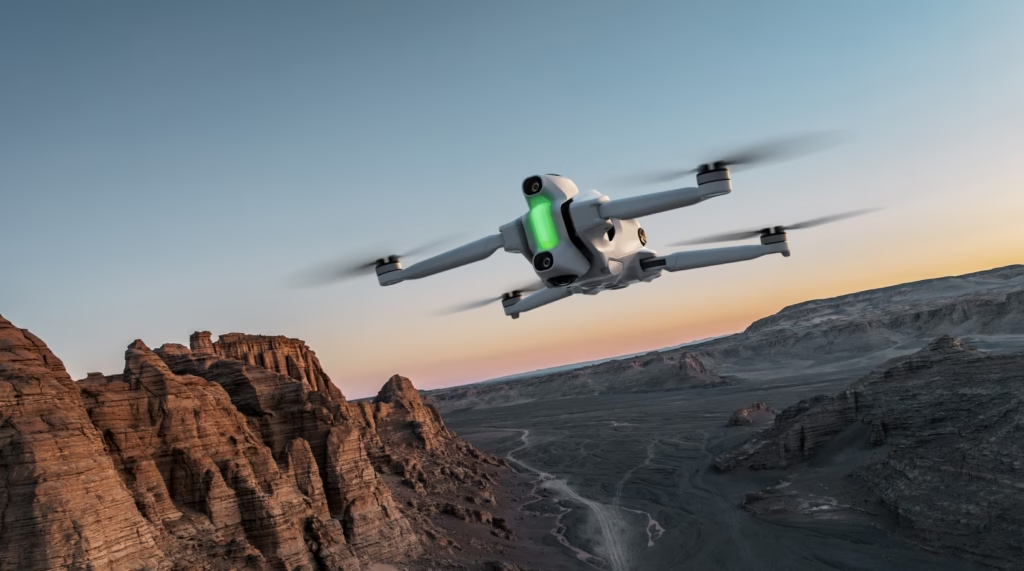
If you are looking for a simple, clear and complete guide to setting up your Antigravity A1 drone , you are in the right place.
Whether you’ve just bought it, are starting out in the world of drones, or simply want to make sure you do things right, this tutorial will guide you step by step through the entire installation of the Antigravity A1 , from unboxing to your first flight.
The goal is simple:
👉 ensuring your drone is perfectly ready, secure, and optimized from the very first use,
👉 so you can immediately enjoy the unique 360° immersive experience of the A1,
👉 and that you understand how to use it without stress, even if you have never flown a drone before.
This guide details each step with concrete explanations, practical advice and accessible language.
⭐ Before you begin: what you need
Charge all batteries
First and foremost, connect and charge:
- the drone’s battery,
- the Vision glasses battery,
- the battery of the Grip Motion Controller.
This is essential for everything to initialize correctly.
Install the Antigravity app
Download the official app on your smartphone (iOS or Android).
It will be used to activate your equipment, update firmware, and manage your media.
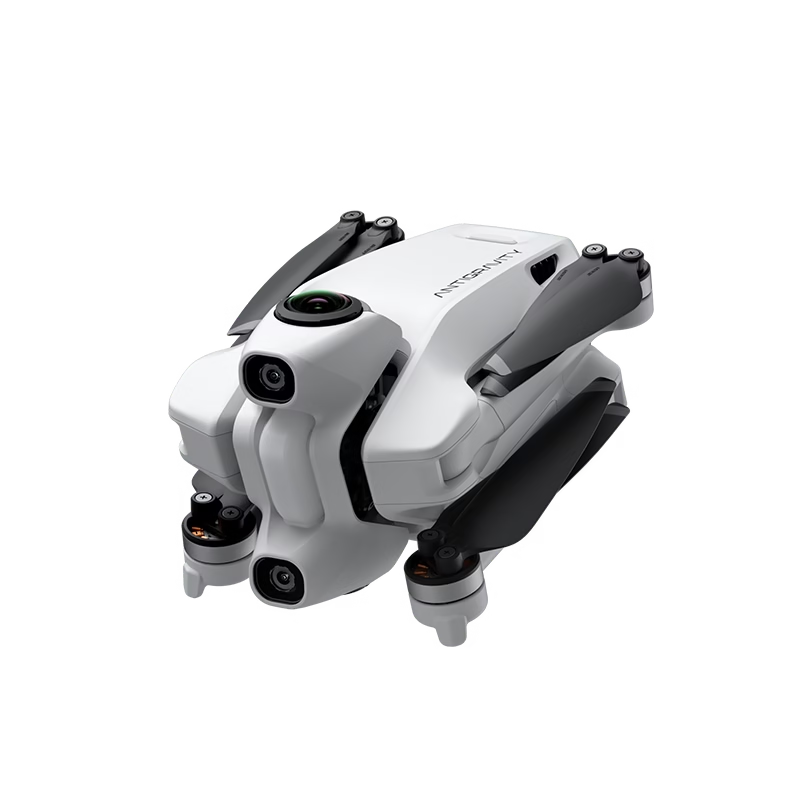
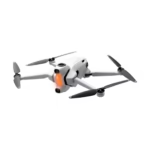
⭐ Step 1: Prepare your drone
The drone automatically deploys its landing gear when switched on.
That’s normal: it prevents damage to the lower lens, which is very exposed on a 360° drone.
Afterwards :
- Check that both lenses (top and bottom) are clean.
- Insert your SD card,
- Place the drone in an open area.
⭐ Step 2: Install and adjust the Vision glasses
The Vision glasses are one of the biggest strengths of the A1: they allow you to see 360° around you in real time, without perceptible latency.
To install them correctly:
- Adjust the strap for a comfortable fit.
- Adjust the diopter if necessary.
- connect the external battery,
- Turn them on before turning on the drone.
They will connect automatically.

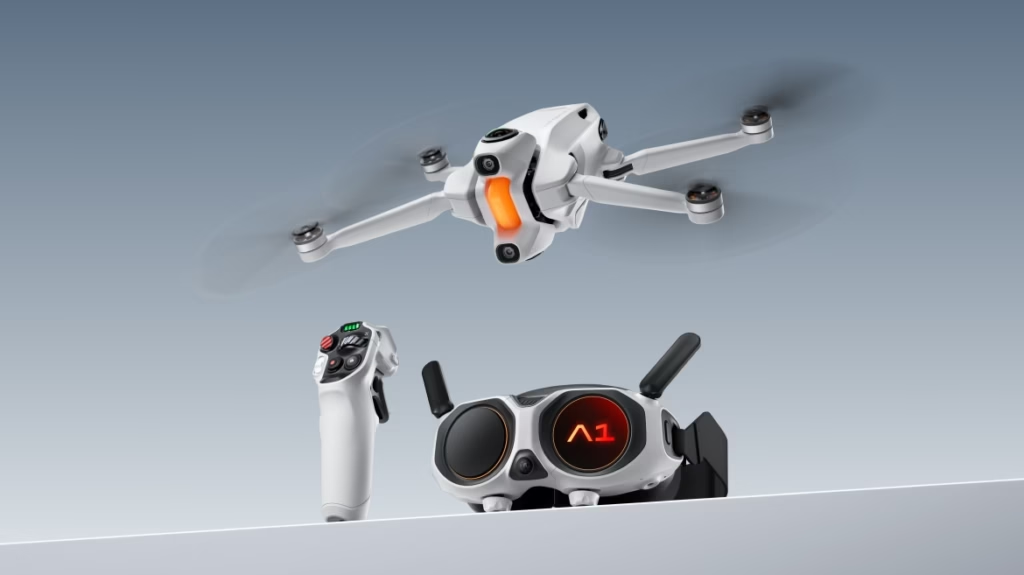
⭐ Step 3: Configure the Grip Motion Controller
The controller is the brains of your flight.
In FreeMotion mode, you just point in a direction… and the drone goes there.
It’s literally the most natural driving experience I’ve ever tested.
Before the first flight:
- Turn on the grip,
- check its battery level.
- Make sure it pairs properly with the drone (this is automatic in 99% of cases).
⭐ Step 4: Update the firmware
This is a step that should absolutely not be skipped.
Within the application:
- connects the Vision glasses, the drone and the grip,
- A notification “update available” will appear.
- Launch the update and let it do its thing.
⚠️ Important: all three devices must have sufficient battery power.
This step unlocks essential features (Sky Genie, Deep Track, stabilization…).
⭐ Step 5: Secure your first flight
Choose a location:
- cleared,
- without trees nearby
- away from antennas and power lines.
Position yourself a few meters from the drone, and make sure that the area between you and the A1 is clear.
The system automatically detects horizontal obstacles.
Nothing to calibrate: everything is already ready.
⭐ Step 6: First takeoff
Simply press the trigger on the Grip while pointing slightly forward.
To tame the drone:
- start by going up and then down.
- Make a few gentle turns,
- Try looking around you through the glasses (you’ll understand the magic of 360°).
You can switch to FPV mode if you want a more “classic” feel, but FreeMotion is more than enough to get started.

⭐ Step 7: Initial video settings
The A1 films in 360° 8K , which allows you to reframe any angle afterwards.
My recommended settings:
- resolution: 8K
- exhibition: car
- maintain a smooth flight speed
- filming outdoors with good light
During editing, you can choose your final angle with one click.
⭐ Step 8: Return to the starting point
The RTH (Return To Home) button is your friend.
Press and hold, and the drone will return on its own, avoiding obstacles.
With the official carpet, it even lands with ultra-precise accuracy.
You can cancel the RTH by pressing again.
⭐ Step 9: Import and view your videos
You have three options:
Vision glasses
You remove the SD card from the drone, insert it into the goggles… and relive your flight as if you were there.
On smartphone
Quick transfer via the app → AI editing → video ready to share.
On a computer
Antigravity Studio allows for more advanced editing with keyframes and manual cropping.
⭐ Tips for making rapid progress
- Sky Path test for autonomous flights
- Play with Deep Track (the subject remains centered even if you mess up your framing).
- Explore Sky Genie for cinematic movements
- creates multiple versions of the same flight using 360°
- uses dynamic rotations in post-production
The more you practice, the more you realize the immense freedom that this drone offers.
⭐ Bonus: Take advantage of my promo code
If you want to buy the drone or a bundle, you can use my promo code: AGRRLOV
🎁 He’s offering you a free accessory with your order.
Always good to have!
⭐ In conclusion…
Once properly configured, the Antigravity A1 drone reveals its full potential: total immersion, intuitive piloting, and creative freedom that very few drones can offer. It’s not just a device that flies—it’s a tool that literally changes the way you film and see the world.
With a good setup, you’ll start on a solid foundation to fully enjoy the experience. And honestly, after a few flights, the 360° combination, the Vision goggles, and the FreeMotion mode become so natural that you instantly forget the limitations of traditional drones. It becomes pure pleasure.
If you want to go further, learn how to use advanced modes, optimize your settings or master 360° editing, I can help you create other, more comprehensive guides.
A quick reminder before we let you take off:
👉 Your promo code AGRRLOV gives you a free accessory when you purchase your Antigravity A1 drone.
Enjoy it — and above all, enjoy the flight.
Leave a Reply